


How to Make Embroidered Patches with an Embroidery Machine

You can make an embroidered patch with the same machine and hoop you already use for shirts and towels. The patch is stitched "in the hoop" on a sturdy base, finished with a dense satin border, then cut out and backed so it can be ironed, sewn or stuck onto a jacket, hat, backpack or denim vest.
This guide walks through the method shown in our video, where we turned the Penguin Applique Frame design into a felt patch. The same steps work for any applique or fill-stitch design that has a closed satin edge.
What You Need to Make an Embroidered Patch
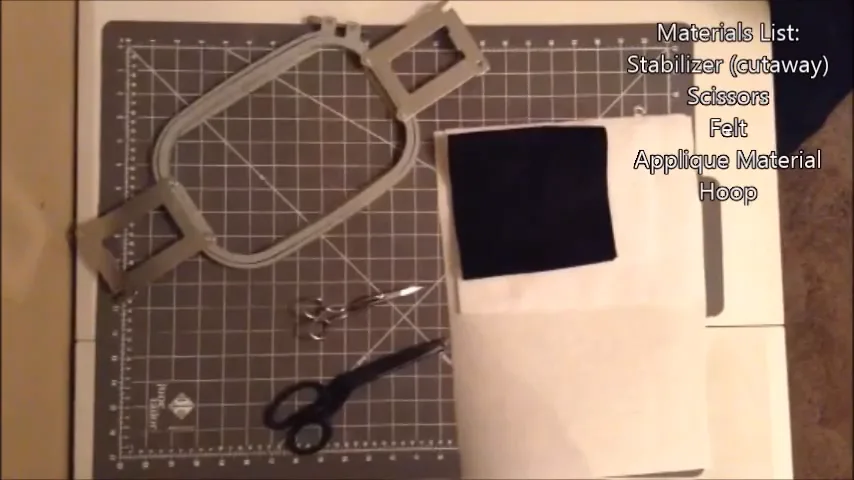
- A patch-friendly design. Look for a design with a satin border all the way around. Applique designs are ideal because the fabric does most of the coverage and the border seals the edge.
- Base fabric. Felt does not fray, so it is the easiest choice for beginners. Polyester twill is the traditional patch fabric and gives a crisp, professional look.
- Stabilizer. A firm cutaway (what we use in the video) keeps the patch flat and stiff. Fibrous water-soluble stabilizer is another good option if you want no stabilizer left around the edge. See our Stabilizer 101 guide for how the different types behave.
- Applique fabric for any applique pieces in the design.
- Temporary spray adhesive (basting spray) to hold fabric in place.
- Curved applique scissors or duckbill scissors for trimming close to the stitches.
- A sharp 75/11 needle.
- Backing material for the finished patch: heat-seal film or fusible web for iron-on, or hook-and-loop tape.
How to Make an Embroidered Patch, Step by Step
1. Hoop the stabilizer
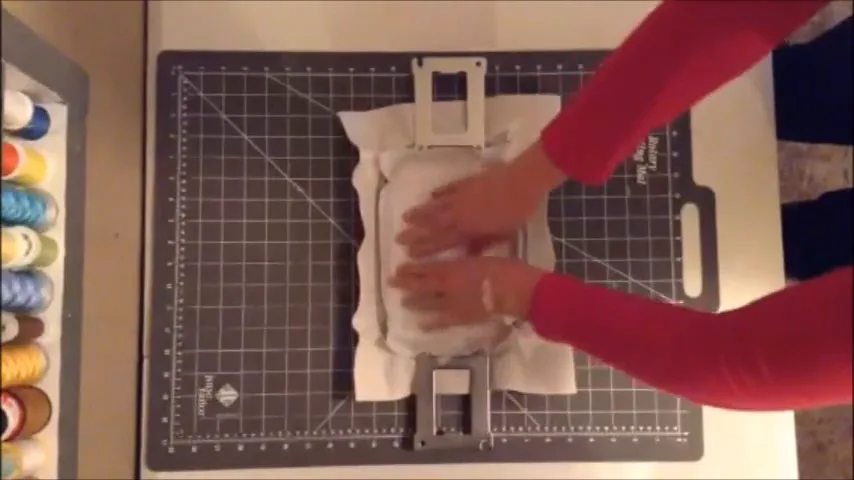
Hoop one or two layers of cutaway stabilizer drum-tight. The patch is only as flat as the stabilizer under it, so do not skimp here. If you use water-soluble stabilizer, two layers are safer than one.
2. Stitch the placement line
Load the design and run the first color stop. This stitches an outline directly on the stabilizer that shows exactly where your base fabric needs to go.
3. Lay down the felt or twill
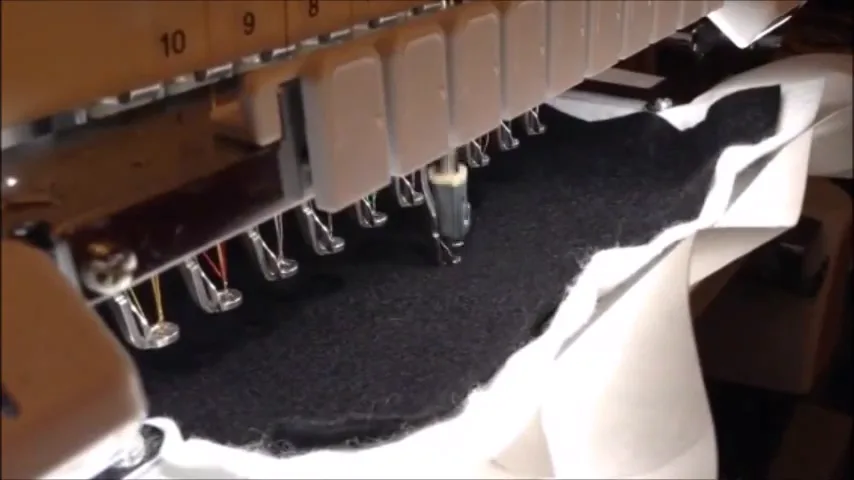
Lightly spray the back of the felt with basting spray and press it over the placement line so it covers the outline with a little extra all around. Run the next color stop to stitch the tack-down line, which holds the fabric in place.
4. Trim close to the tack-down stitch
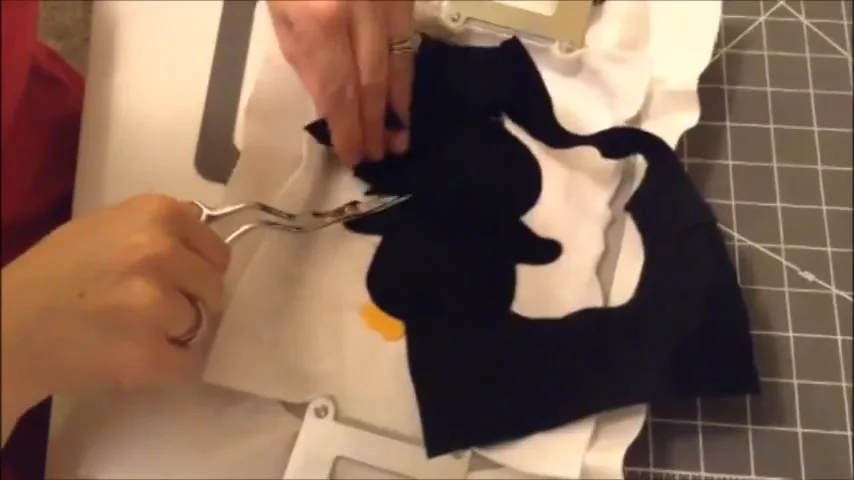
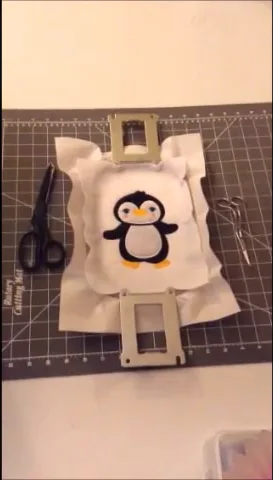
Take the hoop off the machine without unhooping the stabilizer. Trim the fabric as close to the tack-down stitches as you can without cutting them. Any fabric you leave outside the line will poke out from under the satin border later.
5. Add applique pieces and stitch the details
Put the hoop back and repeat the place, tack down and trim steps for each applique piece. Then let the machine stitch the fill and detail colors.
6. Stitch the satin border last
The dense satin border should always be the last thing that stitches. It covers the raw fabric edge and locks every layer together. If you are digitizing your own patch, make the border at least 3 mm wide and give it an edge-walk and zigzag underlay so it sits high and covers well.
7. Cut the patch out
Unhoop and cut around the patch just outside the satin border, taking care not to nick the stitches. If you used cutaway, trim the stabilizer flush with the edge. If you used water-soluble stabilizer, trim the excess and dab the rest away with a damp cloth. A drop of seam sealant such as Fray Check on the cut edge keeps it tidy.
If your patch is made from polyester twill and polyester stabilizer, you can also cut it with a hot knife or wood-burning pen, which melts and seals the edge as it cuts. Do not use a hot knife on cotton or felt blends.
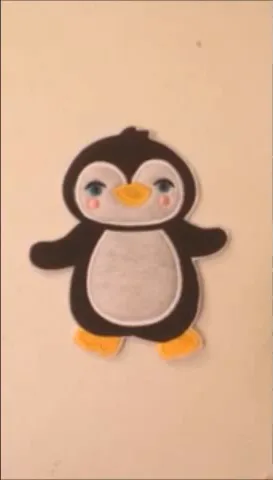
How to Make an Iron-On, Sew-On or Velcro Patch
Once the patch is cut out, choose a backing based on where it will go.
| Backing | How to add it | Best for |
|---|---|---|
| Iron-on | Fuse heat-seal film or a fusible web such as HeatnBond to the back, then trim it to the patch shape. Follow the temperature and time on the product package. | Cotton and denim that can take heat: jackets, jeans, tote bags |
| Sew-on | No backing needed. Stitch around the patch just inside the satin edge by hand or with a straight stitch. | Hats, nylon and coated fabrics, anything washed often |
| Hook-and-loop | Sew or fuse the hook side to the patch and the loop side to the garment or bag. | Swappable name patches, backpacks, uniforms |
Iron-on backing is the quickest, but sewing is the most durable. For patches on hats or items that go through the wash a lot, sew the patch on even if it already has an iron-on back.
Common Patch Mistakes and How to Fix Them
- Gaps between the fill and the border. The fabric shifted while stitching. Hoop tighter, use a firmer stabilizer and spray adhesive, and make sure your design has enough overlap between the fill and the border.
- Puckering. The stabilizer is too light for the stitch count. Add a second layer or switch to a heavier cutaway.
- Fabric fuzz poking out of the edge. The fabric was not trimmed close enough before the satin border. Trim right up to the tack-down stitch.
- Wavy, soft patches. Felt and one layer of stabilizer can be too floppy for large patches. Use twill or add a second layer of cutaway.
Embroidery Designs That Make Great Patches
These designs already have the closed shape and satin edge a patch needs:
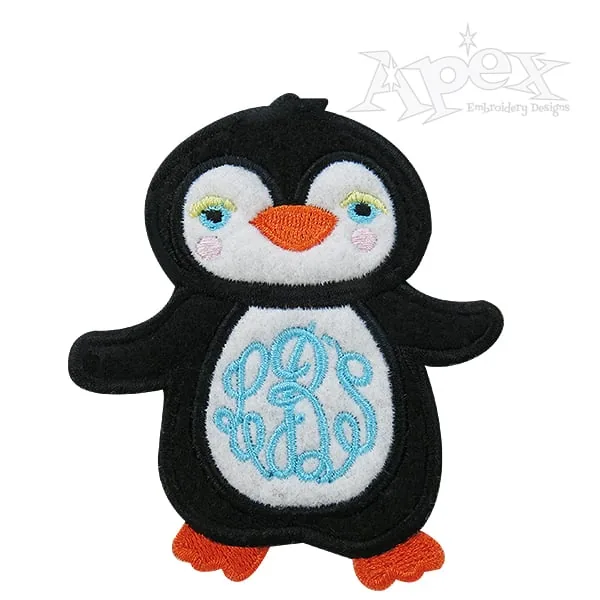


- Penguin Applique Frame Embroidery Design (the one in our video). It comes in six sizes, so you can make small and large patches from one download.
- Stay Rad Patch, a retro saying that works well on denim jackets.
- Watch Me on YouTube Patch, great for backpacks and gamer gifts.
- Nut Allergy Patch, a practical patch for kids' lunch bags and backpacks.
- Doner Kebab Patch and Sewciopatch Embroidery Design for fun, gift-worthy patches.
You can also turn most designs from our applique collection into patches. For more on the technique itself, read our complete guide to applique embroidery. If you want patches for hats, pair this tutorial with our hat embroidery ideas.
Want Patches Made from Your Own Logo?
Patches are a popular way to put a team, club or business logo on hats and jackets. Send us your artwork through our custom embroidery digitizing service and we will digitize it as a patch-ready design with a proper satin border. If you would rather learn to do it yourself, start with our guide on how to digitize a logo for embroidery.
Embroidered Patch FAQ
Can you make patches without an embroidery machine?
Yes. You can hand-embroider a design on felt or twill, then finish the edge with a tight blanket stitch before cutting it out. Machine embroidery is faster and gives the dense, raised border most people expect from a patch.
What stabilizer is best for embroidered patches?
A heavy cutaway stabilizer gives a firm patch that holds its shape. Fibrous water-soluble stabilizer works well when you want the edge completely clean. Avoid thin film stabilizers, which can perforate under a dense satin border.
What fabric is best for patches?
Polyester twill is the traditional choice and can be heat-sealed. Felt is the easiest for beginners because it does not fray.
What size should an embroidered patch be?
Most iron-on patches are between 2 and 4 inches. Back patches for jackets can be much larger, but they need a heavier base fabric so they do not curl.