


How to Make an Embroidered Monogram Pocket Tee (Frocket Tutorial)

Monogrammed pocket tees, sometimes called "frocket" shirts (a fake pocket), are a fun way to add fabric and personality to a plain t-shirt. They are especially popular for sorority Big/Little pairs, family photos and kids' outfits. There are two ways to make one with your embroidery machine, and we cover both below.
Method 1: Sew On a Monogrammed Fabric Pocket
This is the method in our video. You embroider the monogram on a piece of fabric, turn it into a lined pocket, and sew it onto the shirt.
What you need
- A cotton t-shirt, prewashed
- A piece of fabric at least 5.5 x 12 inches for the pocket
- A small monogram font. We used a small pillow-style monogram; our Pillow Embroidery Font is a good match.
- Stabilizer (see our embroidery stabilizer guide)
- Fabric marker, iron and a sewing machine
1. Cut and fold the fabric
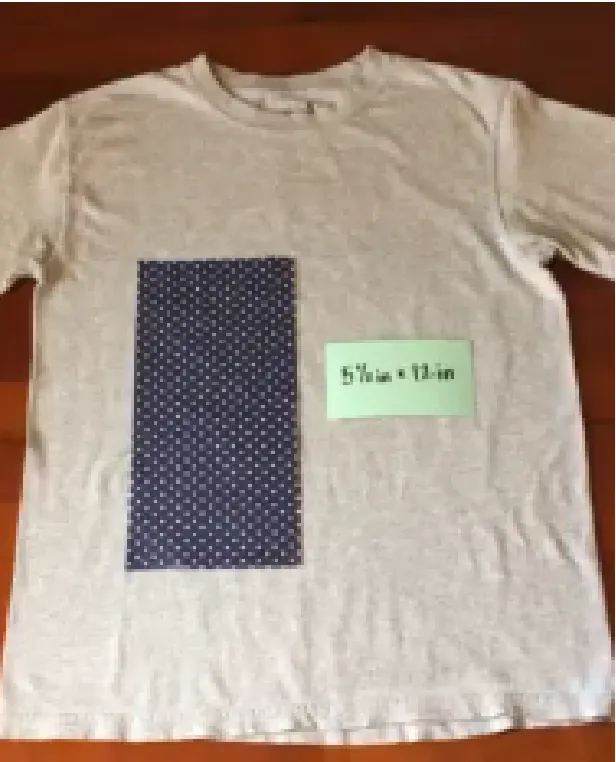
Cut the fabric to 5.5 x 12 inches. Fold it in half so it measures 5.5 x 6 inches with the right side facing out.
2. Mark the center
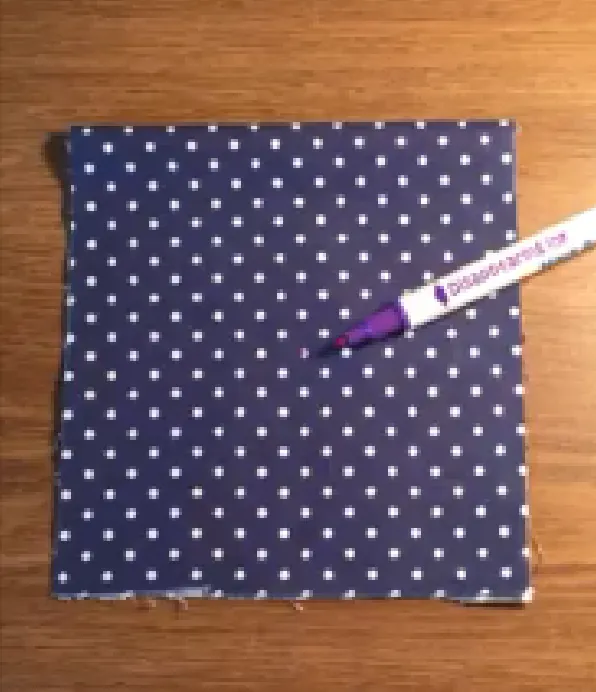
Mark the center of the folded piece so you know exactly where the monogram goes.
3. Embroider the monogram
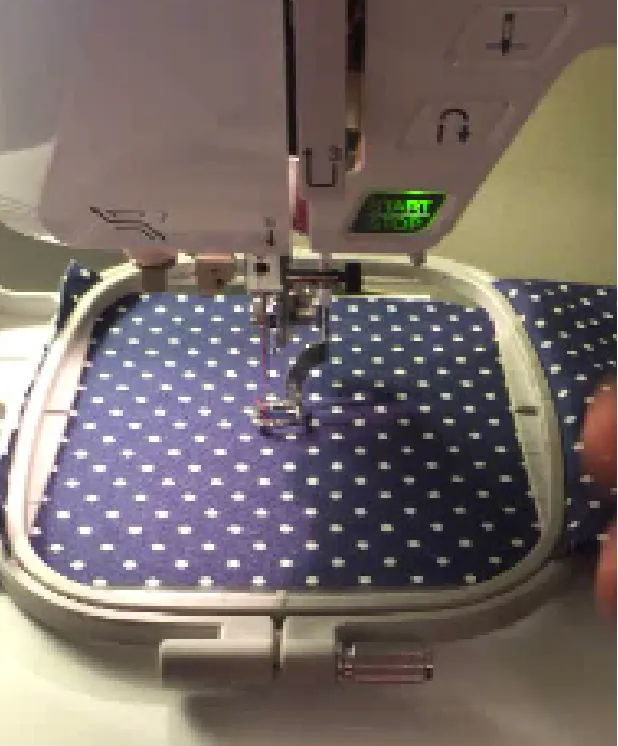
Hoop the fabric with stabilizer behind it and stitch the monogram on one half (the half that will be the front of the pocket).
4. Draw the pocket shape
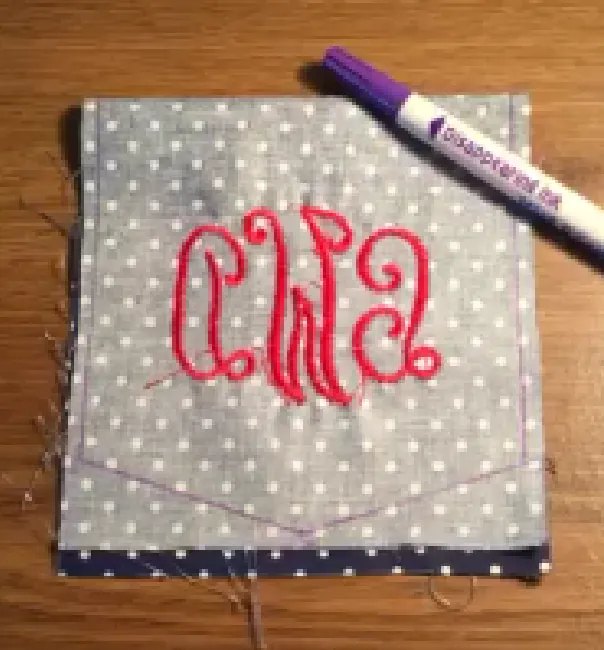
Fold the fabric with the right sides facing in. On the wrong side, draw the pocket shape you want around the monogram. A classic pocket has straight sides and a pointed or rounded bottom.
5. Sew, turn and press
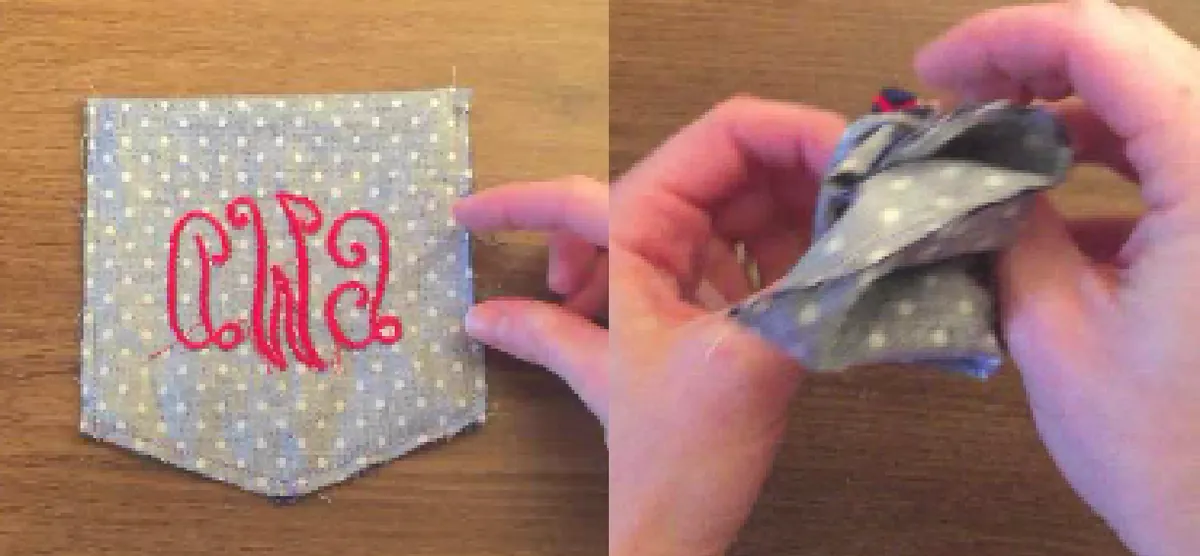
Straight stitch along the drawn line, but not along the fold, and leave a 1-inch gap on one side. Trim the seam allowance, turn the pocket right side out through the gap, tuck in the raw edges at the gap and press flat. If you like, add a line of stitching across the top above the monogram so it looks like a real pocket.
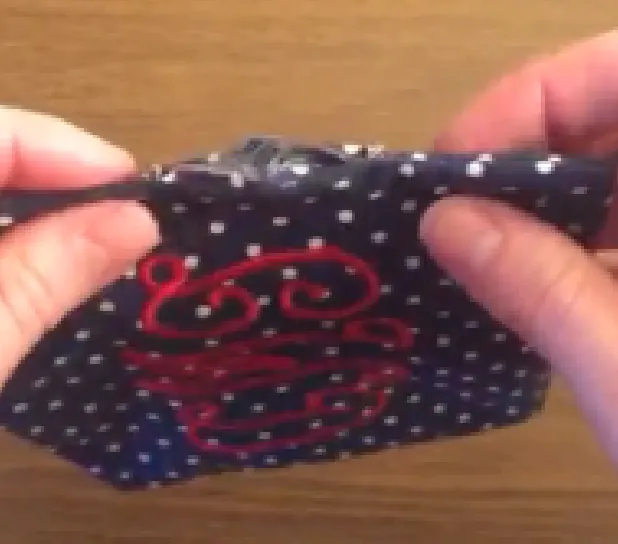
6. Sew the pocket to the shirt
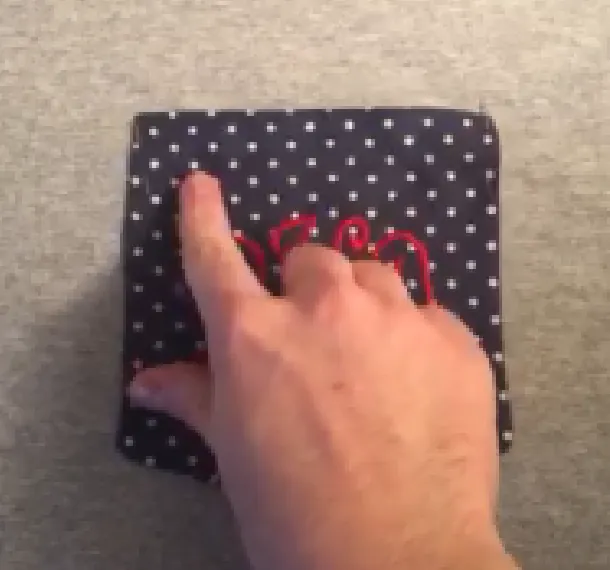
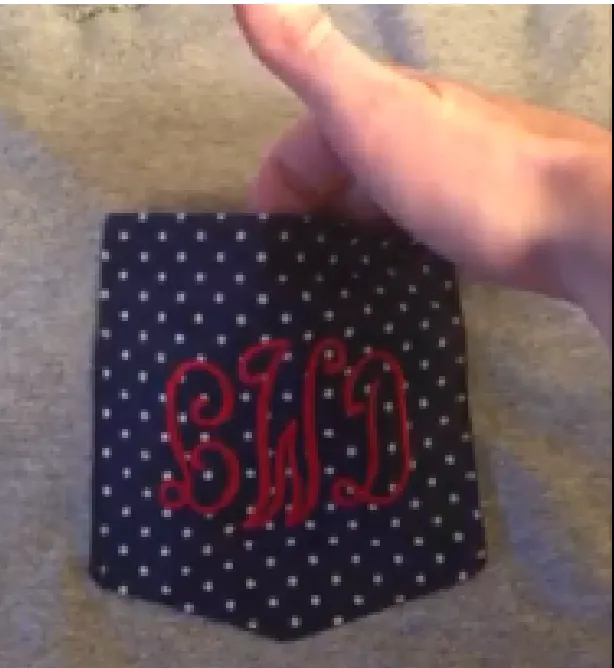
Try the shirt on (or put it on a dress form) to find the right spot, usually over the left chest. Pin the pocket, then sew down the left side, along the bottom and up the right side, leaving the top open. Backstitch at the two top corners, since they take the most strain.
Method 2: Stitch the Pocket in the Hoop
If you don't want to sew by hand or machine, our Applique Pocket Frocket Machine Embroidery Design stitches the pocket directly onto the shirt like an applique, leaving the top open so it works as a real pocket. It comes in 10 sizes, from 2 inches for baby clothes to 6 inches for adult shirts, each with satin, running and zigzag edge options.
- Hoop the shirt (or float it) with cutaway stabilizer, centered over the left chest.
- Stitch the placement line, lay your pocket fabric over it and stitch the tack-down.
- Trim the fabric close to the stitches and let the border stitch.
- Stitch your monogram on the pocket, or stitch it first on the fabric before it goes down.
For the full applique process, see our applique embroidery guide.
What size pocket?
| Shirt | Pocket size |
|---|---|
| Baby and toddler | 2 to 2.5 inches |
| Kids | 3 to 4 inches |
| Adult small and medium | 4.5 to 5 inches |
| Adult large and up | 5.5 to 6 inches |
Big/Little Sorority Pocket Shirts
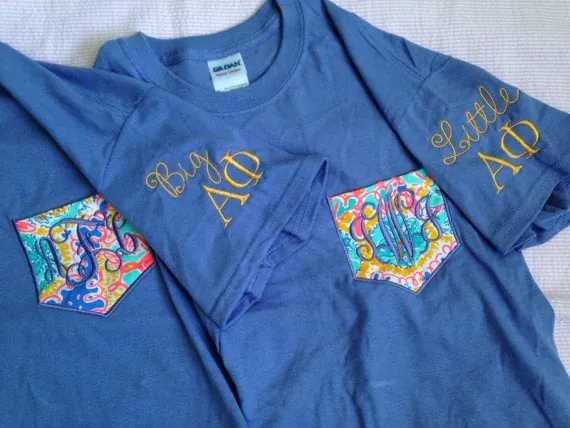
The bond between a sorority Big and Little is special, and matching pocket shirts are a favorite way to celebrate it. A customer made the pair above with patterned applique pockets, monograms on the pocket and Greek letters on the sleeves. Personalize with sorority colors and fabric.
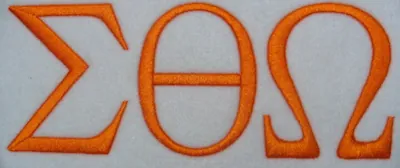
- Greek letters: Times Greek Embroidery Fonts.
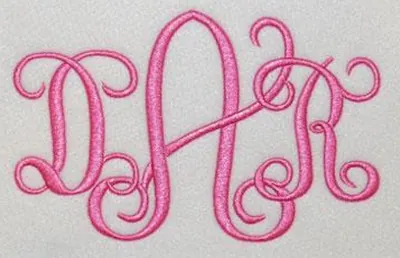
- Pocket monogram: Vine Interlocking Monogram Embroidery Font.
More Pocket Ideas
- Sunshine in Pocket Embroidery Design and USA Pocket Print Embroidery Design: designs made to look like something is peeking out of a pocket.
- Have a Cricut? Try Pocket Monogram Designs Cuttable or the Halloween Pocket Ghost Cuttable Design in heat transfer vinyl.
Need a specific sorority crest or logo? Our custom embroidery digitizing service can make it.