


How to Embroider a Onesie: Floating Method Step by Step

Baby onesies (bodysuits) are tiny, stretchy and hard to fit in a hoop, which is why most people float them instead of hooping them. Floating means you hoop only the stabilizer, make it sticky, and smooth the onesie on top. The fabric never gets stretched in the hoop, so there are no hoop marks and no distorted designs.
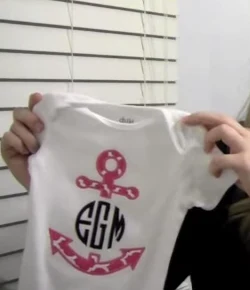
In our video, we floated a onesie on a Bernette Deco 340 and stitched the anchor applique frame from our Anchor Frame Pack with a circle monogram in the middle. The steps below follow the video.
What You Need
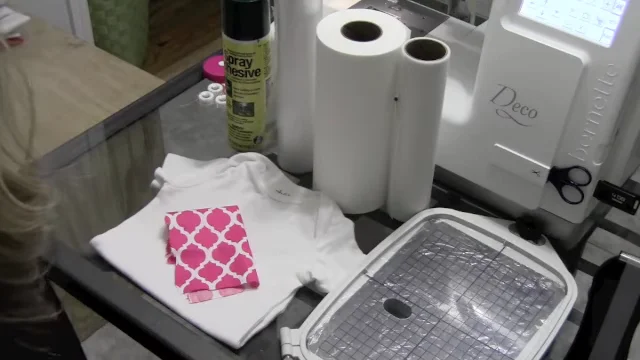
- A onesie. Prewash it so it doesn't shrink and pucker the design later.
- Stabilizer. A soft mesh cutaway is best for knits that will be washed often. Sticky tearaway works for very light designs. Our embroidery stabilizer guide explains the difference.
- Temporary spray adhesive, or a sticky stabilizer.
- A ballpoint needle (75/11), which slips between knit fibers instead of cutting them.
- Applique fabric if your design has applique pieces. We used a pink quatrefoil cotton.
- Your design. See the size chart below.
How to Float a Onesie for Embroidery
1. Hoop the stabilizer and mark the center
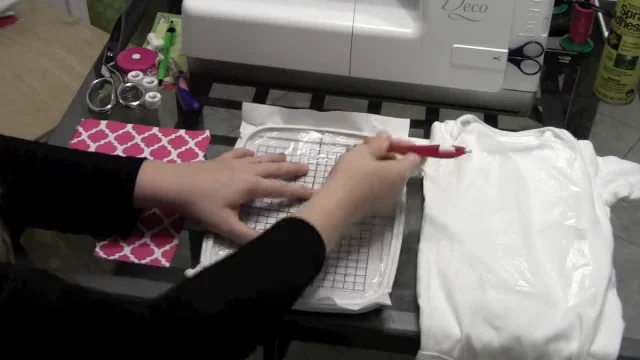
Hoop the stabilizer alone, drum-tight. Use the plastic hoop template to find and mark the center, so you know exactly where the design will stitch.
2. Make the stabilizer sticky
Lightly spray the hooped stabilizer with temporary adhesive (spray away from your machine), or use a sticky stabilizer and score and peel the paper backing.
3. Slide the onesie over the hoop
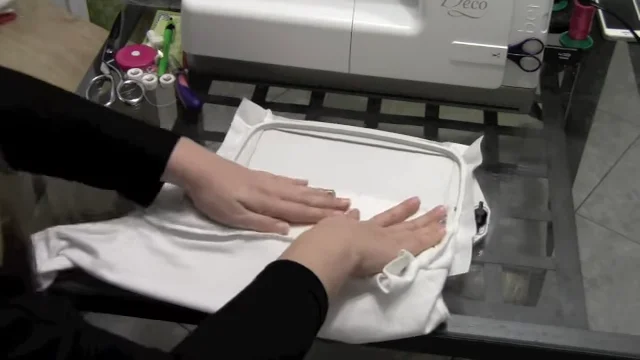
Slip the hoop inside the onesie from the bottom opening, so only the front layer is on top of the stabilizer and the back is underneath, out of the needle's path.
4. Smooth the front onto the stabilizer
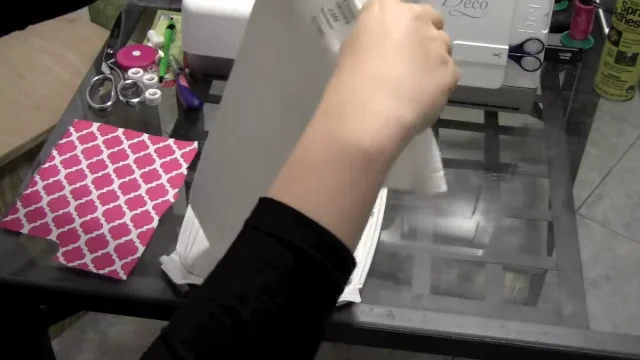
Line up the center of the chest with your mark, then smooth the fabric out from the center. Don't stretch it. The knit should lie flat and relaxed, exactly as it will be worn.
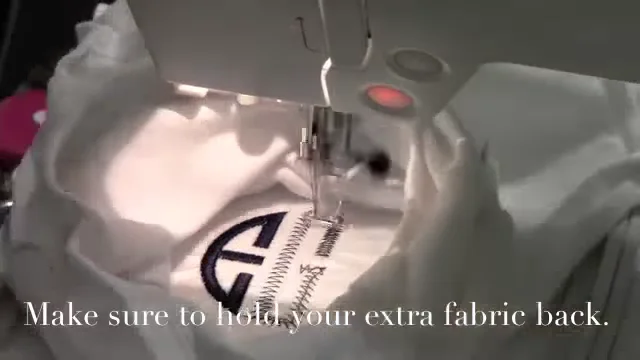
5. Stitch, holding the extra fabric back
Attach the hoop to the machine and check the placement on the screen. Roll or clip the sleeves and the rest of the onesie away from the needle. As the design stitches, keep an eye on it and hold the extra fabric back so it never slides under the needle. Stitching the back of the onesie to the front is the most common onesie mistake.
For applique designs, stitch the placement line, lay your fabric down, stitch the tack-down, then trim close to the stitches before the satin border runs. Our applique embroidery guide covers this in detail.
6. Finish the back
Remove the onesie from the stabilizer and trim the excess cutaway about 1/4 inch from the stitches, rounding the corners. To keep the stitches off baby's skin, iron a soft fusible backing (such as a tricot "cover-the-stitches" interfacing) over the back of the design.
What Size Design Fits a Onesie?
| Onesie size | Recommended design size |
|---|---|
| Newborn | about 2.5 to 3 inches wide |
| 0–3 and 3–6 months | about 3 to 3.5 inches wide |
| 6–12 months | about 3.5 to 4 inches wide |
| 12–24 months | up to about 4.5 inches wide |
Lay a printed template on the onesie before you stitch. The chest is narrower than it looks once you allow for the neckline and the arm openings. Place the top of the design about 1.5 to 2 inches below the neckline.
Common Problems and Fixes
- The back got stitched to the front. The extra fabric slid under the hoop. Roll it up and clip it, and watch the first few seconds of every color.
- Puckers around the design. The knit was stretched while floating, or the stabilizer was too light. Smooth without pulling, and use cutaway.
- The design is crooked. Align the onesie's center fold with the marked center line on the stabilizer before you smooth it down.
- Holes in the fabric. Use a ballpoint needle, and choose lighter designs for tiny knits. Very dense fills are too heavy for a onesie.
Onesie Design Ideas
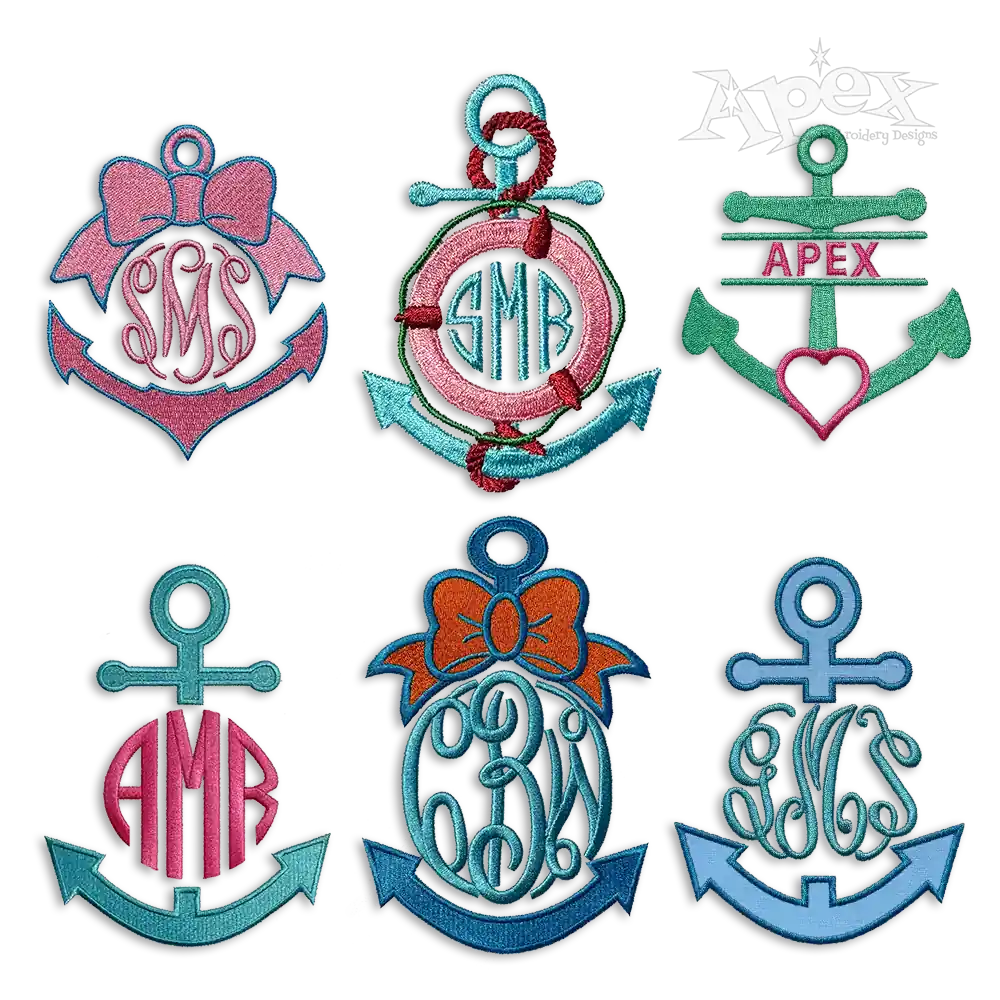

- Anchor Frame Pack: the anchor frames from our video, in several sizes, with room for a monogram. Pair them with a circle monogram font like our Circle Full Embroidery Fonts.
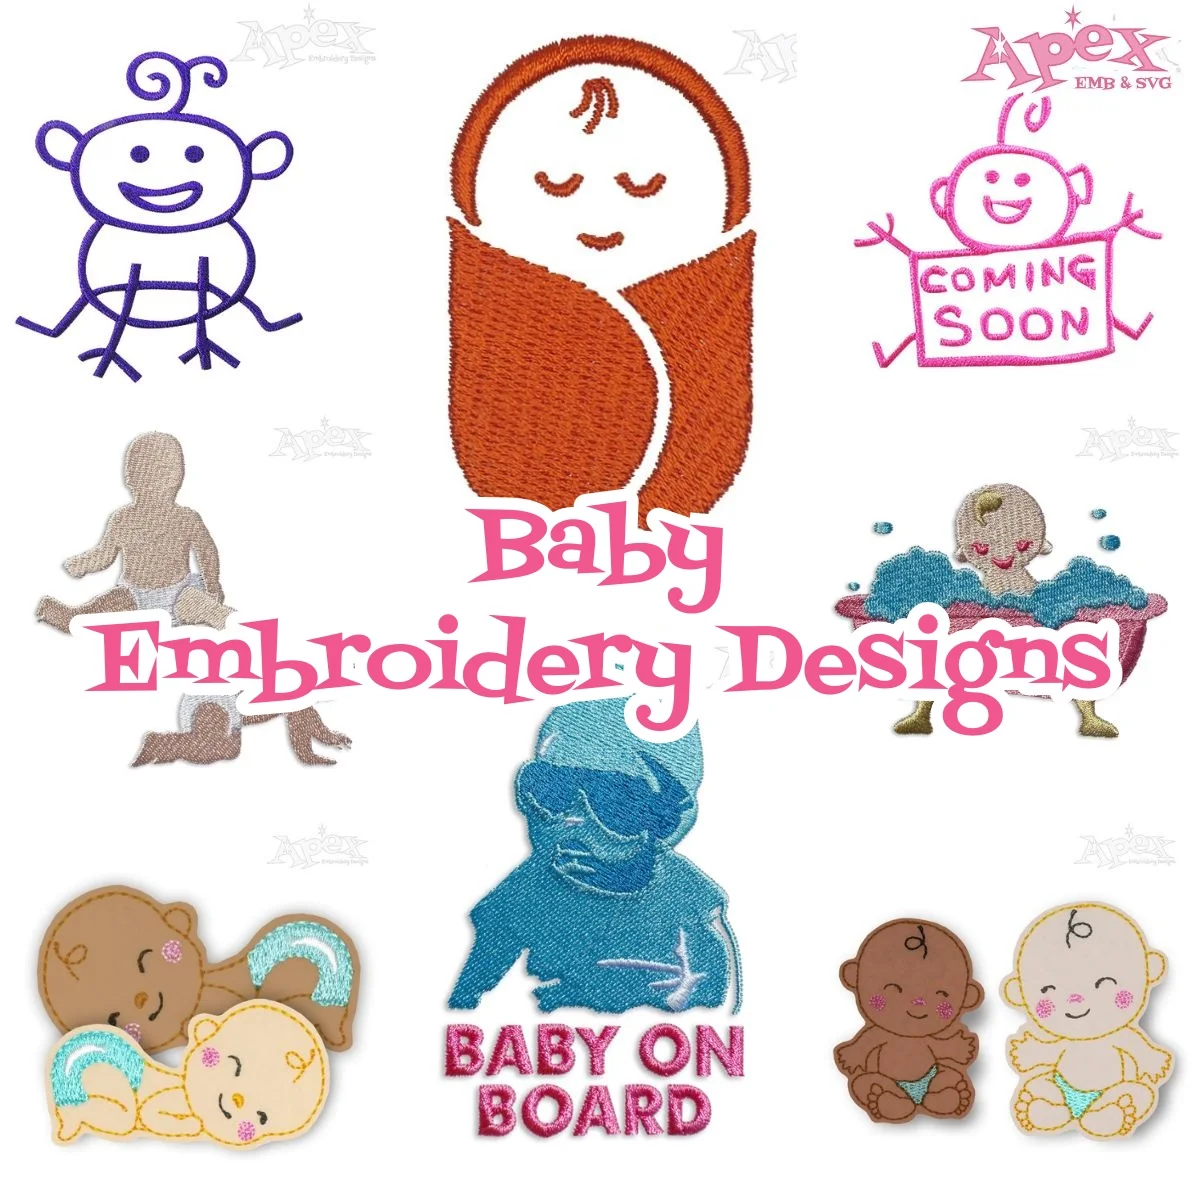
- New Baby Embroidery Designs Bundle and New Born Baby Onesie Embroidery Design: baby shower and new-arrival designs.
- Big Brother and Little Embroidery Designs and Big Sister and Little Embroidery Designs: perfect for announcing a new sibling.
- Little Peanut Embroidery Design and Baby Feet Embroidery Designs: sweet, simple designs for tiny sizes.
- Baby Girl Embroidery Fonts and Baby Polka Dots Embroidery Font: name fonts for personalized baby gifts.
For dozens more ideas, see our post on baby embroidery designs, or browse the baby embroidery collection.
FAQ
Can you hoop a onesie instead of floating it?
You can on larger sizes if the onesie fits in a small hoop without stretching, but floating is easier and avoids hoop burn and stretched knits. For newborn sizes, floating is usually the only option.
What is the best stabilizer for onesies?
A soft mesh (no-show) cutaway. It supports the stretchy knit through many washes and stays soft against baby's skin. Add a soft fusible backing over the stitches after embroidering.
Can I embroider a onesie on a 4x4 machine?
Yes. Most onesie designs are under 4 inches, so a 4x4 hoop is enough. Floating makes it easier to get the small chest area into a small hoop.