


How to Make an In-the-Hoop Gift Tag with Your Embroidery Machine

Personalized details can make even a simple gift feel much more special.
Instead of using disposable paper tags, you can create a reusable embroidered gift tag directly in your embroidery hoop. Add a name, monogram or small embroidery design and the tag becomes part of the gift itself.
In this tutorial, we’ll walk through the basic process of creating an in-the-hoop gift tag, often called an ITH gift tag, using your embroidery machine.
If you prefer to watch the process first, you can also follow our video tutorial:
Video Tutorial:
https://youtu.be/4y5ItI6jCzg
What Is an In-the-Hoop Gift Tag?
An in-the-hoop gift tag is a small fabric, felt or similar tag that is constructed primarily inside your embroidery hoop.
Instead of sewing the entire project separately on a traditional sewing machine, the embroidery machine stitches the placement lines, decorative elements and finishing stitches for you.
ITH projects are especially useful for smaller embroidery projects such as:
- Gift tags
- Bag tags
- Backpack tags
- Luggage tags
- Keychains
- Holiday ornaments
- Personalized party favors
- Basket tags
- Stocking tags
Because many of the construction steps are handled by the embroidery machine, they can also be a fun introduction to in-the-hoop embroidery projects.
Explore more projects in the Apex In-the-Hoop Embroidery Designs collection:
Supplies You Will Need
Before starting your embroidered gift tag, gather the following materials:
- Embroidery machine
- Embroidery hoop
- ITH gift tag embroidery design
- Embroidery thread
- Bobbin thread
- Embroidery stabilizer
- Felt, vinyl or suitable fabric
- Temporary adhesive spray or embroidery tape
- Small embroidery scissors
- Ribbon, cord or twine for attaching the tag
You can also add a monogram, name or small embroidery motif to personalize the finished project.
Choosing Your Gift Tag Material
Felt is one of the easiest materials to use for this type of project because the edges do not fray easily.
Vinyl can create a cleaner, more structured look and works well for bag tags or reusable personalized tags.
If you prefer fabric, choose something sturdy enough to keep its shape and use the appropriate stabilizer for your material.
How to Make an In-the-Hoop Gift Tag
Step 1: Download Your ITH Gift Tag Design
Start by choosing an embroidery design that fits your project.
For a classic shape, try the Apex:
Oval Frame Gift Tag ITH Embroidery Design
https://apexembdesigns.com/embroidery/product/oval-frame-gift-tag-ith-embroidery-design
The design is available in several sizes, making it easy to choose a version that works with your hoop and intended project.
Before transferring the file to your embroidery machine, make sure you select the correct file format for your machine.
Step 2: Hoop Your Stabilizer
Secure your stabilizer firmly inside the embroidery hoop.
The stabilizer creates the foundation of your ITH project, so make sure it is smooth and tight without wrinkles.
Load the hoop into your embroidery machine and open your gift tag design.
Check that:
- The design fits your hoop.
- The correct size has been selected.
- Your thread colors are ready.
- The design is properly positioned.
Step 3: Stitch the Placement Line
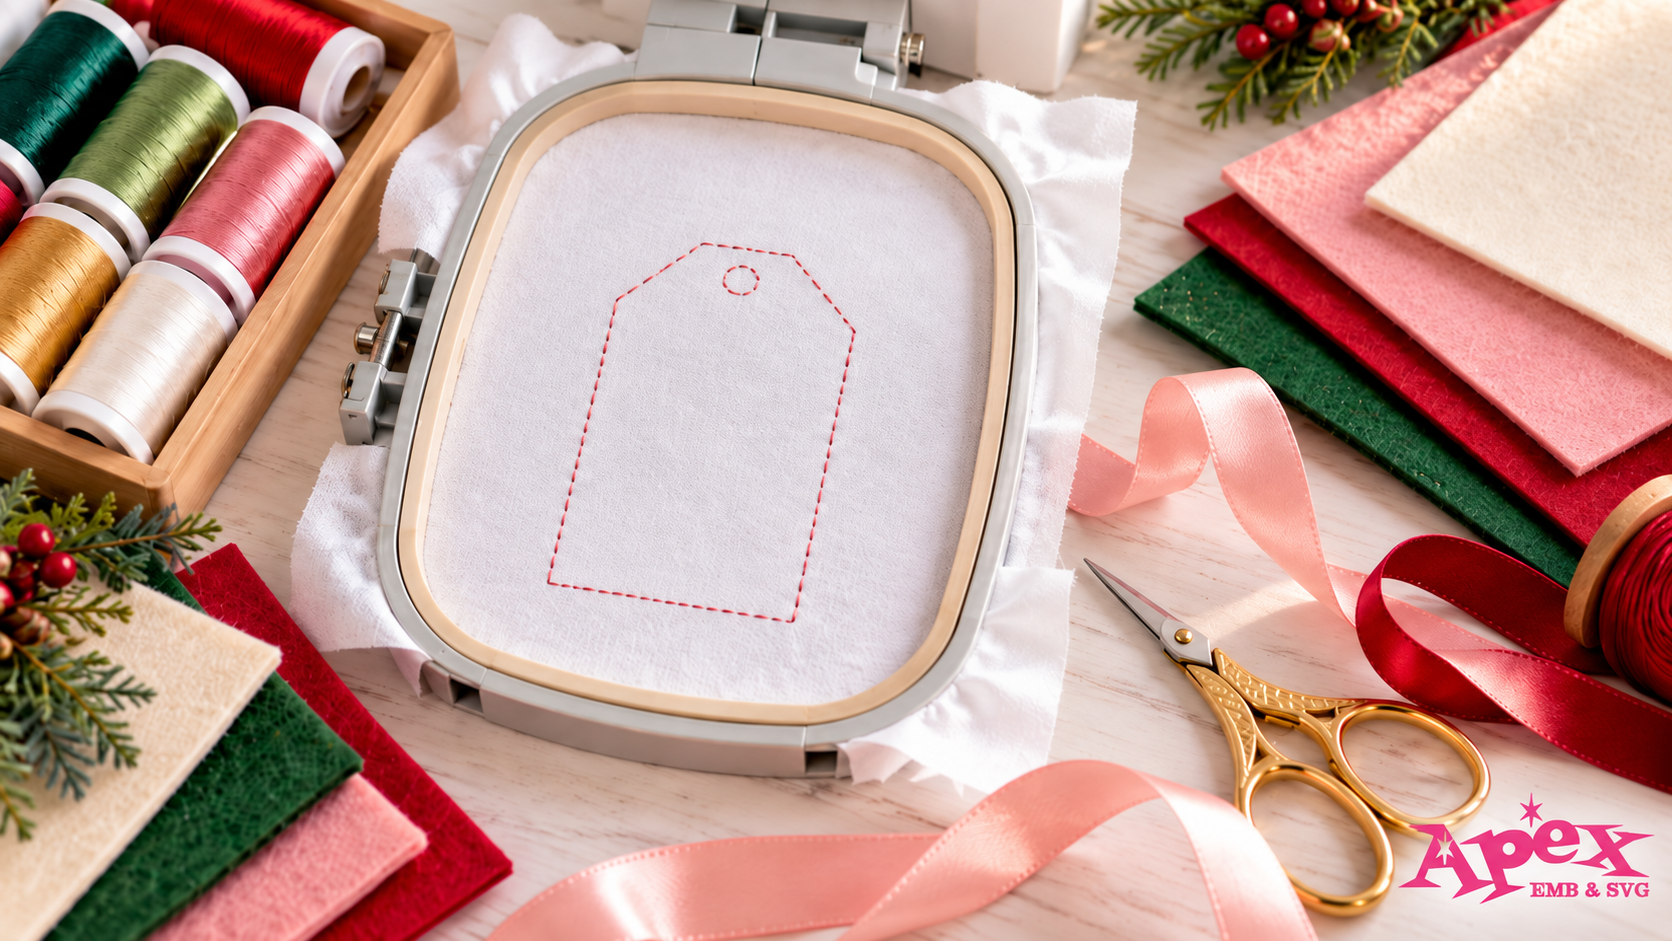
The first stitching step usually creates a placement line.
This line shows exactly where your fabric, felt or vinyl needs to sit.
Allow the machine to stitch the placement outline, then temporarily remove the hoop from the machine.
Do not unhoop the stabilizer.
Step 4: Position Your Fabric
Place your chosen material over the stitched placement line.
Make sure the material completely covers the outline.
You can use a small amount of temporary adhesive spray or embroidery tape to keep the material from moving.
Return the hoop to your embroidery machine.
The next stitching sequence will usually secure the material to the stabilizer.
Step 5: Add Your Name or Monogram
This is where you can make the gift tag truly personal.
Try adding:
- A first name
- Initials
- A three-letter monogram
- A family name
- A small holiday message
- A simple decorative embroidery design
Personalization can transform a basic tag into something the recipient can reuse long after the gift has been opened.
For example, a personalized Christmas gift tag could later be used as a stocking tag or ornament.
A child's gift tag could become a backpack or lunch bag tag.
Step 6: Complete the Decorative Stitching
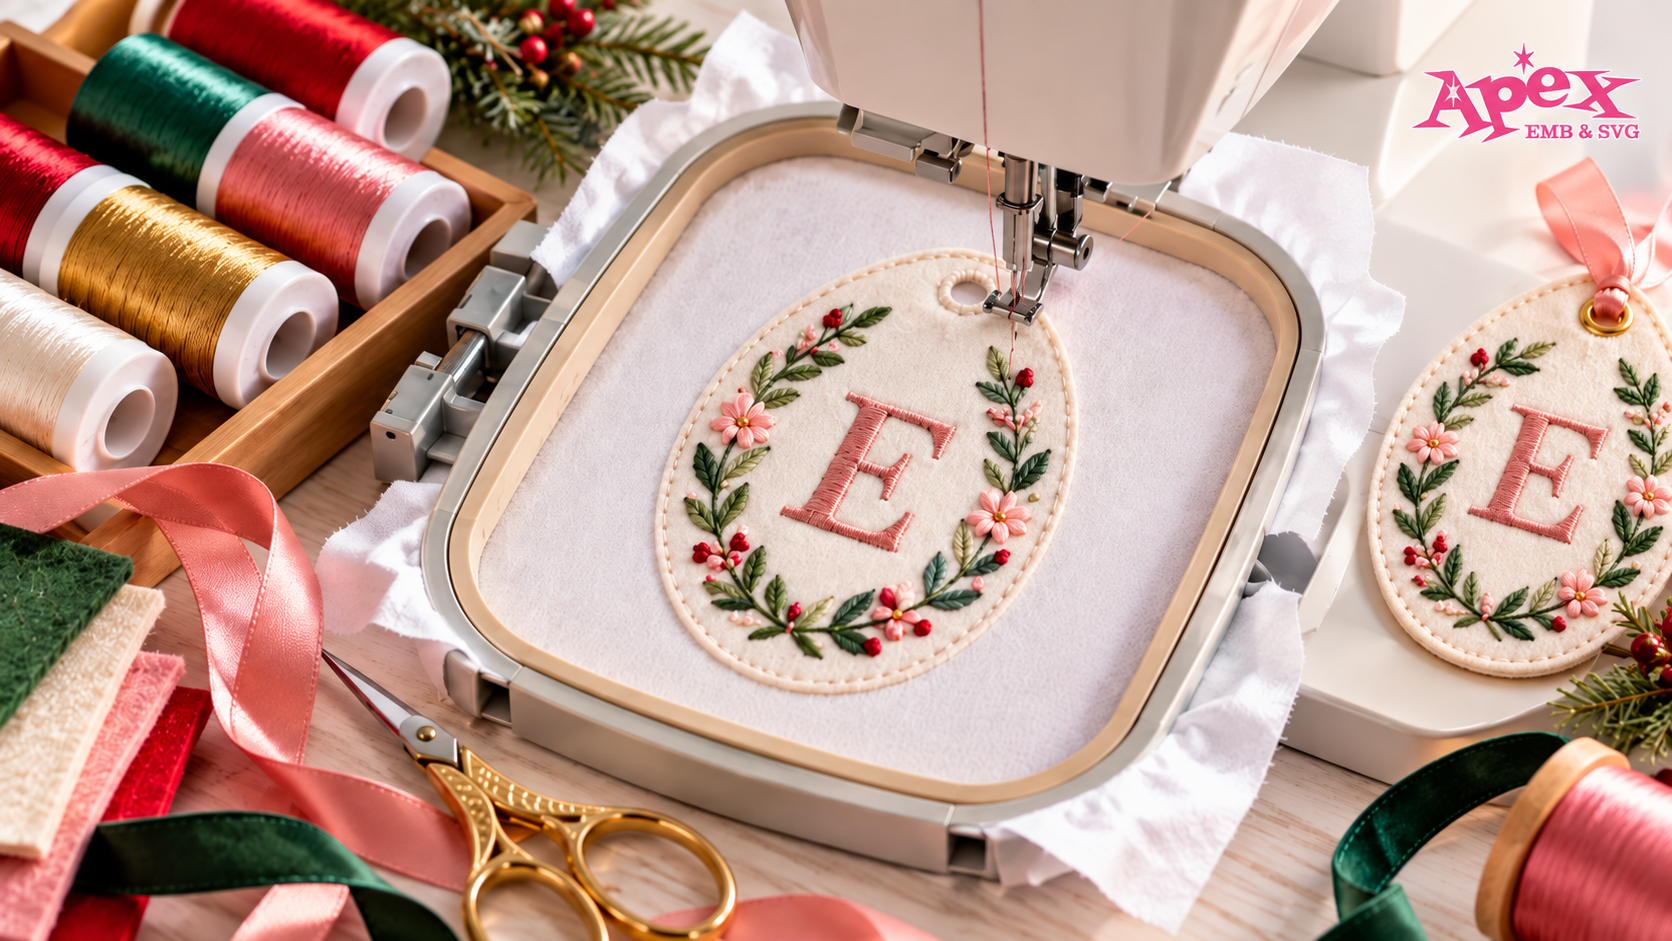
Continue following the color stops on your embroidery machine.
Depending on the design, your machine may stitch:
- The tag outline
- Decorative embroidery
- A monogram or name
- Additional borders or details
- The final construction stitches
Always allow each section to finish before moving to the next step.
If you're using multiple thread colors, this is also where you can coordinate the tag with your gift wrapping.
For example:
Elegant: cream + gold
Christmas: red + green
Baby gift: pastel pink, blue or neutral beige
Kids: bright contrasting colors
Wedding: white + champagne
School bag tag: school or team colors
Step 7: Add the Back Layer
Many ITH projects use a front and back piece.
When your embroidery machine reaches the appropriate stop, remove the hoop from the machine without removing the stabilizer.
Place another piece of felt, vinyl or fabric on the back of the hoop, covering the stitched area.
Secure it carefully with embroidery tape.
This creates the finished back of your gift tag.
Place the hoop back into your machine and continue stitching.
The final stitches will secure the layers together.
Step 8: Remove and Trim the Gift Tag
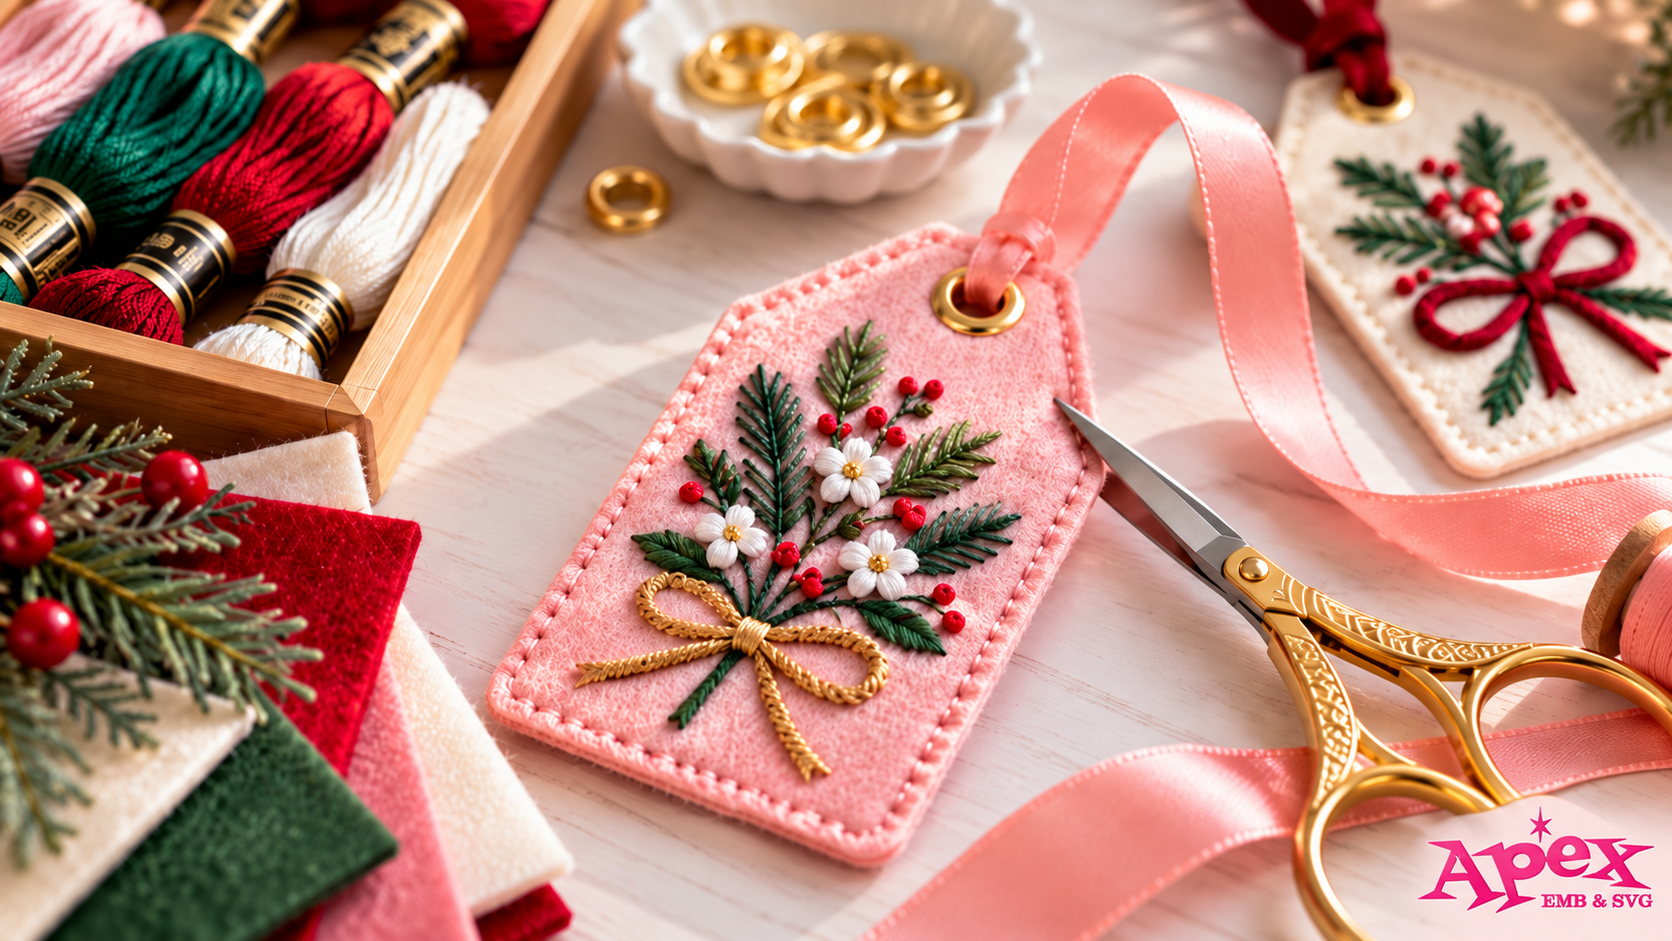
Once your machine finishes stitching, remove the hoop.
Take the project out of the hoop and carefully remove the excess stabilizer.
Using sharp embroidery scissors, trim around the outside edge of the tag.
Be careful not to cut through the finishing stitches.
If your design includes an opening for ribbon or cord, trim or open that area carefully as well.
Step 9: Add Ribbon or Cord
Finish your embroidered gift tag by threading ribbon, twine or decorative cord through the opening.
Now your tag is ready to attach to:
- Wrapped gifts
- Gift bags
- Wine bottles
- Christmas stockings
- Easter baskets
- Backpacks
- Tote bags
- Party favors
And unlike a paper gift tag, an embroidered tag can be used again and again.
Creative Ways to Use ITH Gift Tags
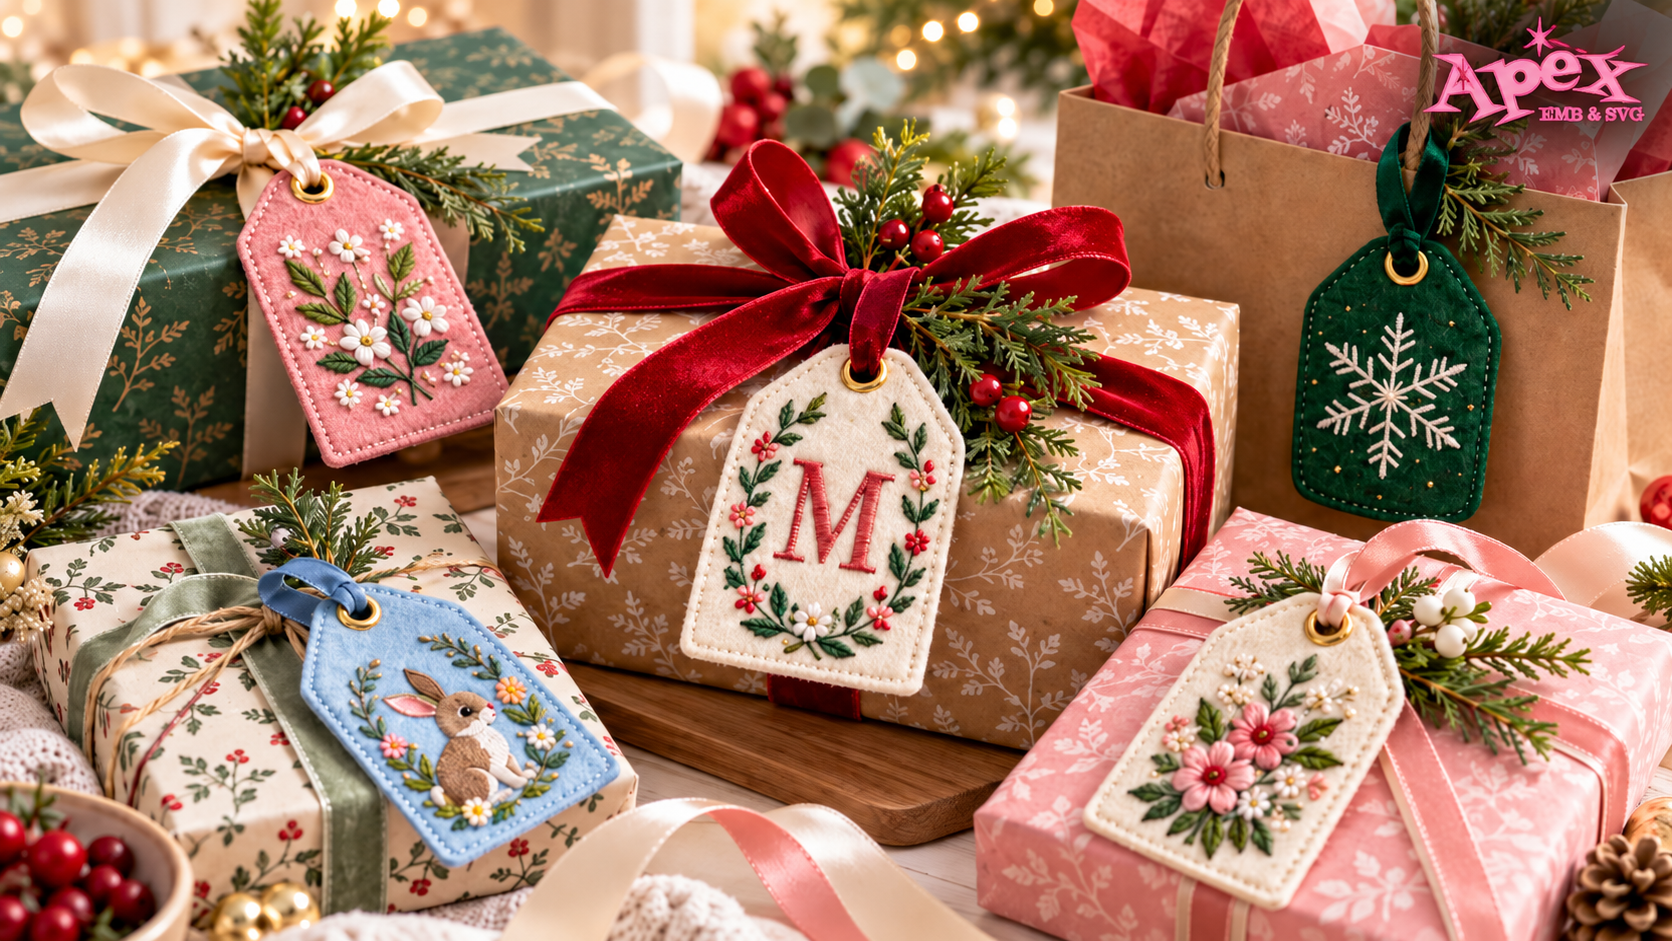
Once you understand the basic technique, there are plenty of ways to use embroidered tags beyond traditional gift wrapping.
Personalized Christmas Gift Tags
Instead of writing names on disposable paper tags every Christmas, create one embroidered tag for each member of your family.
Use the same tags every year.
You can coordinate them with stockings, Christmas pajamas or your holiday decor.
Backpack and School Bag Tags
Add a child's name or initials and attach the tag to a backpack, lunch bag or sports bag.
Try designs related to their interests, such as:
- Dinosaurs
- Sports
- Animals
- School mascots
- Initials
- Colorful monograms
Apex also offers different tag shapes and themed ITH designs, so you don't have to stick with a traditional rectangle or oval.
Wedding and Bridal Party Gift Tags
An embroidered monogram can make a simple bridal party gift feel much more personalized.
Create tags using:
- Bridesmaid initials
- Couple monograms
- Wedding dates
- First names
- Elegant script lettering
Attach them to makeup bags, tote bags, pajamas or welcome gifts.
Baby Shower Gift Tags
Create a reusable embroidered tag featuring the baby's name or initials.
After the shower, parents can reuse it as:
- Nursery decor
- Diaper bag tag
- Toy basket tag
- Keepsake
- Travel bag tag
Gift Tags for Small Businesses
If you sell handmade products, embroidered tags can also become part of your packaging.
Try adding:
- A small logo
- Shop initials
- Customer names
- Seasonal designs
For custom artwork that you want converted into an embroidery-ready file, you can also explore Apex's Custom Digitizing service.
Tips for Better ITH Embroidery Results
Use Sharp Scissors
Clean trimming makes a major difference to the final appearance of an ITH project.
Small curved embroidery scissors can be particularly useful when trimming close to satin stitches.
Keep the Hoop Stable
Avoid repeatedly removing the project from the hoop.
During construction steps, remove the hoop from the machine, but keep the stabilizer hooped until the design is completely finished.
Test New Materials
Different types of felt, vinyl and fabric behave differently under embroidery.
If you are working with an unfamiliar material, test a smaller project first.
Check Your Design Size
Always confirm the design dimensions before sending the file to your machine.
Don't assume that a design labelled "4 inch" will fit every 4x4 hoop without checking its exact dimensions.
Experiment With Personalization
The tag itself is only the starting point.
Try combining an ITH tag with:
- Embroidery fonts
- Monogram fonts
- Applique letters
- Small motifs
- Seasonal embroidery designs
That's where you can create something completely unique.
More ITH Gift Tag Ideas to Try
Apex has several different gift-tag styles that work for different projects.
You might experiment with:
Oval Gift Tags
A timeless shape that works especially well with monograms and names.
Square Gift Tags
Perfect for modern layouts, initials and small embroidery motifs.
Bag Label Gift Tags
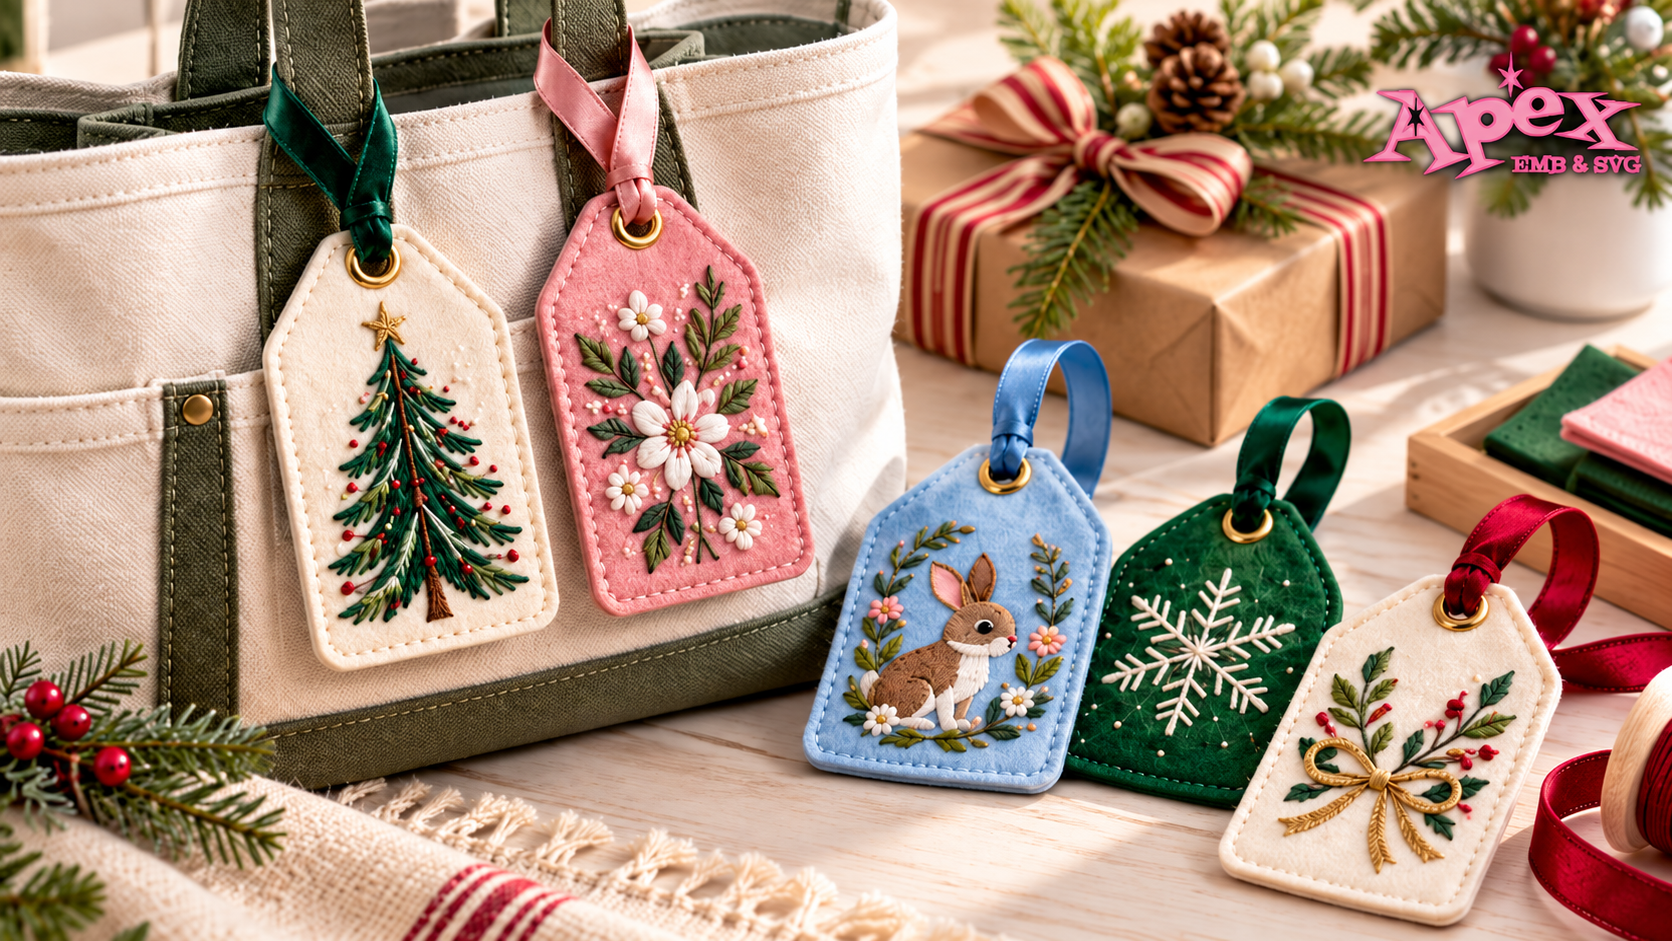
Great for backpacks, travel bags, children's bags and personalized accessories.
State Gift Tags
A fun idea for hometown gifts, travel keepsakes or state-themed projects.
Themed Gift Tags
Try seasonal, sports, animal or hobby-inspired shapes when you want the tag itself to become part of the design.
Browse more In-the-Hoop Embroidery Designs here:
https://apexembdesigns.com/embroidery/technique/in-the-hoop
Why Make Embroidered Gift Tags?
The best thing about embroidered gift tags is that something very small can become surprisingly personal.
Instead of adding another disposable item to your gift, you're creating something the recipient can actually keep.
It might begin as a Christmas gift tag and later become an ornament.
A birthday tag might become a backpack charm.
A baby shower tag might end up hanging from a nursery basket.
And once you've learned the basic in-the-hoop embroidery process, you can use the same technique for many other ITH embroidery projects.
Start Your Next In-the-Hoop Embroidery Project
Ready to make your own?
Explore Apex's collection of In-the-Hoop Embroidery Designs and find a project for your next embroidery session:
https://apexembdesigns.com/embroidery/technique/in-the-hoop
Or start with the:
Oval Frame Gift Tag ITH Embroidery Design
https://apexembdesigns.com/embroidery/product/oval-frame-gift-tag-ith-embroidery-design
Add a favorite embroidery font, choose your thread colors and turn a simple gift tag into something made especially for the person receiving it.
FAQ
What does ITH mean in embroidery?
ITH stands for In the Hoop. It describes embroidery projects that are constructed partly or almost entirely inside an embroidery machine hoop.
What material is best for an embroidered gift tag?
Felt and embroidery vinyl are popular choices because they are sturdy and easy to trim. Fabric can also work when paired with suitable stabilizer.
Can I personalize an ITH gift tag?
Yes. Names, initials, monograms and small embroidery motifs are some of the easiest ways to personalize an embroidered tag.
Can embroidered gift tags be reused?
Yes. One of the advantages of fabric, felt or vinyl gift tags is that they can be reused as gift tags, bag tags, ornaments or keepsakes.
Do I need a sewing machine for an ITH gift tag?
The project is designed primarily for an embroidery machine. The exact construction requirements depend on the embroidery design you use.
Where can I find ITH gift tag embroidery designs?
Apex Embroidery offers a collection of in-the-hoop embroidery designs, including several gift tag shapes and themed tag designs.