Hidden


Learning how to embroider on towel is one of the most valuable skills any embroiderer or custom textile business can master. Embroidered towels look luxurious, sell at premium prices, and remain in high demand across hotels, spas, wedding collections, baby gifts, and personalized gift markets. But towel embroidery is more technically demanding than standard fabric embroidery — and if you do not know how to embroider on towel the right way, your stitches will sink, blur, and disappear into the pile.
This complete guide covers every step of how to embroider on towel professionally, including the best stabilizers, topping techniques, needle selection, digitizing tips, and machine settings that produce clean, sharp, durable results every time.
Before understanding how to embroider on towel, you need to understand why towels behave so differently from flat woven fabric.
Standard embroidery fabric is smooth, flat, and predictable. Towels are thick, looped, and textured. The terry cloth loops on most towels actively work against your stitches — they push up between threads, cover fine detail, and make lettering fuzzy or unreadable if your technique is wrong.
The main challenges when learning how to embroider on towel include:
Every solution in this guide addresses these specific challenges. Once you understand the mechanics of how to embroider on towel, you will produce professional results consistently.
Not all towels are equally easy to embroider. Knowing which towels are most suitable is an important first step in mastering how to embroider on towel.
Cotton Terry Cloth Towels
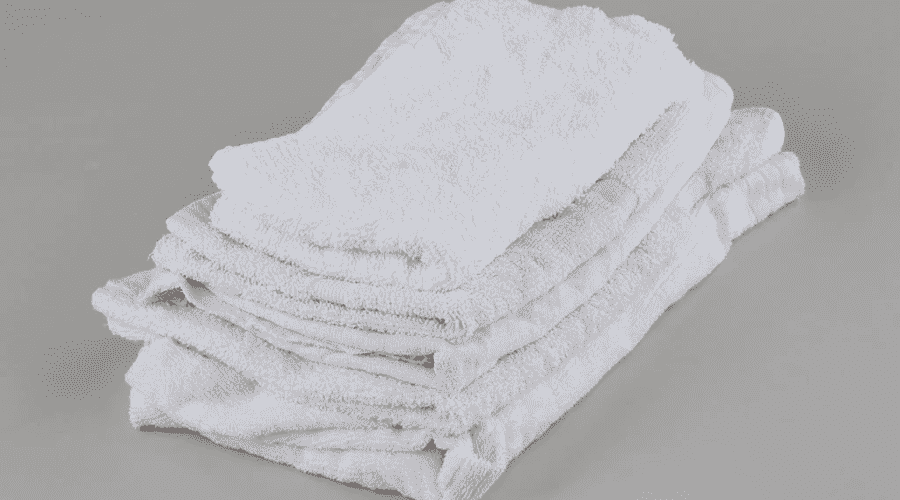
Standard cotton terry cloth is the most common towel type you will embroider. These require water-soluble topping without exception because the loops are tall and will cover stitches. High-quality cotton terry produces excellent embroidery when handled correctly.
Velour Towels
Velour towels have a flattened, velvety surface instead of raised loops. This makes them significantly easier to embroider than standard terry cloth. The result is sharper, cleaner embroidery with less topping required. Velour is ideal for luxury beach towels and high-end branding work.
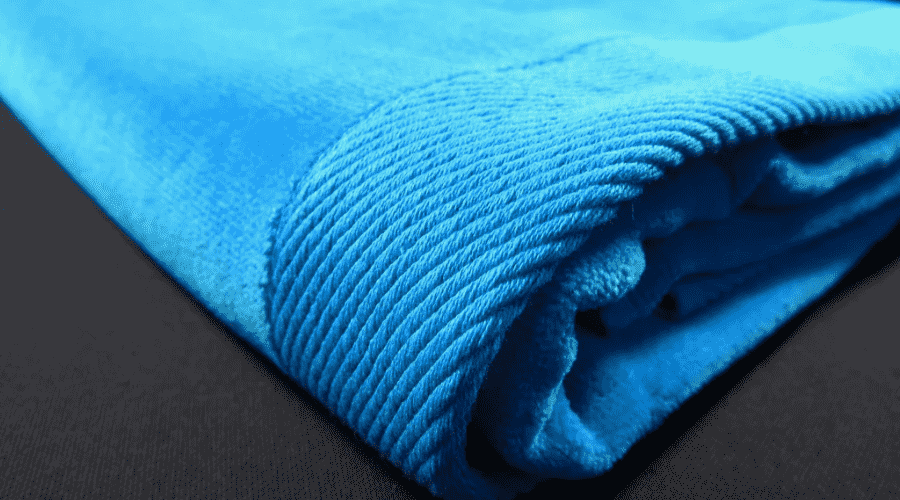
Microfiber Towels

Microfiber has a much shorter, tighter pile. Embroidery sits more cleanly on microfiber, making it a good option for gym towels, sports towels, and promotional products. The main challenge with microfiber is hooping, as the fabric is slippery.
Waffle Weave Towels
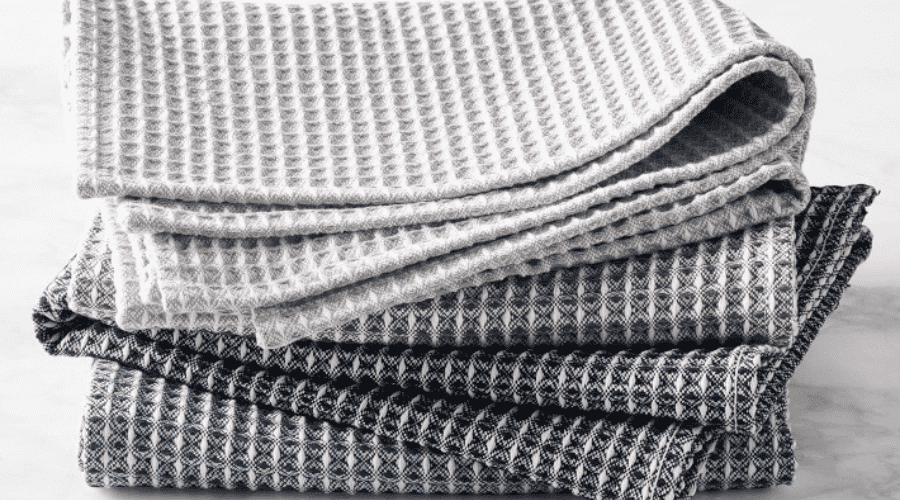
These have a distinctive textured grid pattern. Embroidery works well on them but requires careful stabilization because the waffle texture creates uneven surfaces beneath the hoop.
To learn how to embroider on towel professionally, you need the right tools. Using incorrect materials is the main reason beginners struggle with towel embroidery.
Embroidery Machine
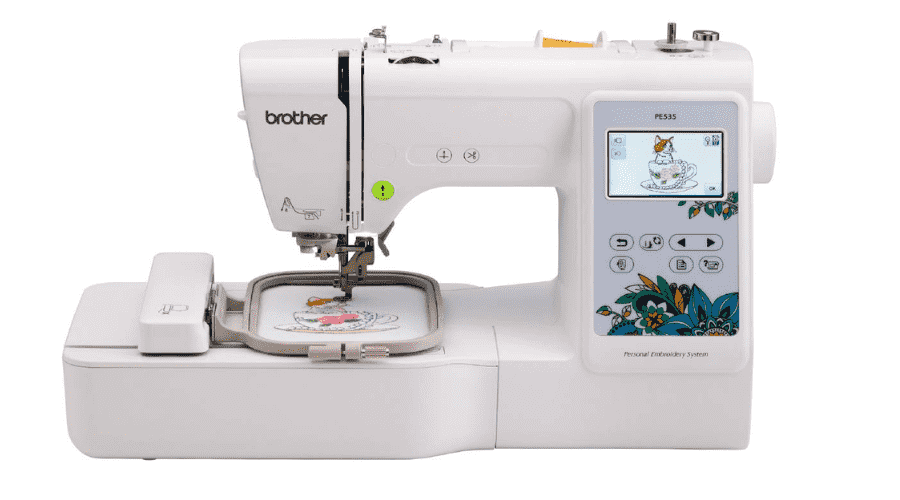
Most mid-range and commercial embroidery machines can handle towels with proper setup. Look for machines with adjustable speed, good tension control, and enough throat space for thick towel material.
Embroidery Needles
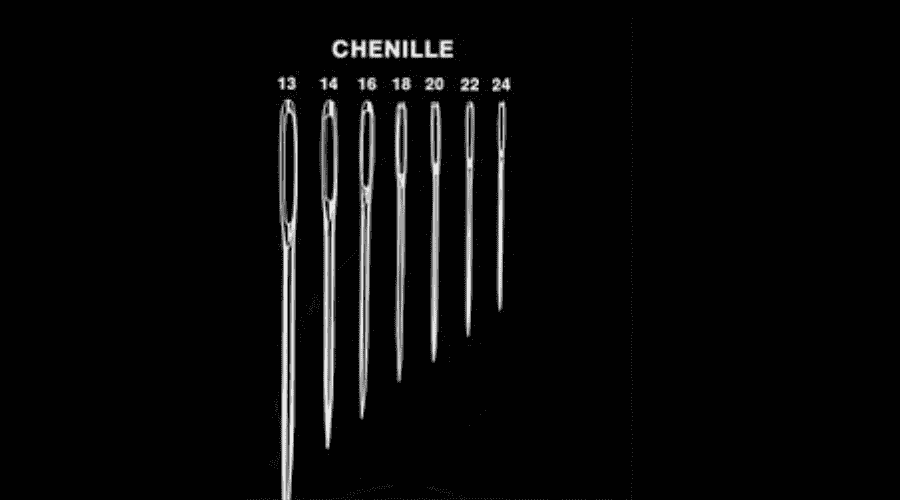
Needle selection matters more in towel embroidery than most embroiderers realize.
Sharp needles cut cleanly through dense towel fibers without pulling or dragging. Replace needles frequently because thick towels dull needles faster than regular fabric.
Embroidery Thread
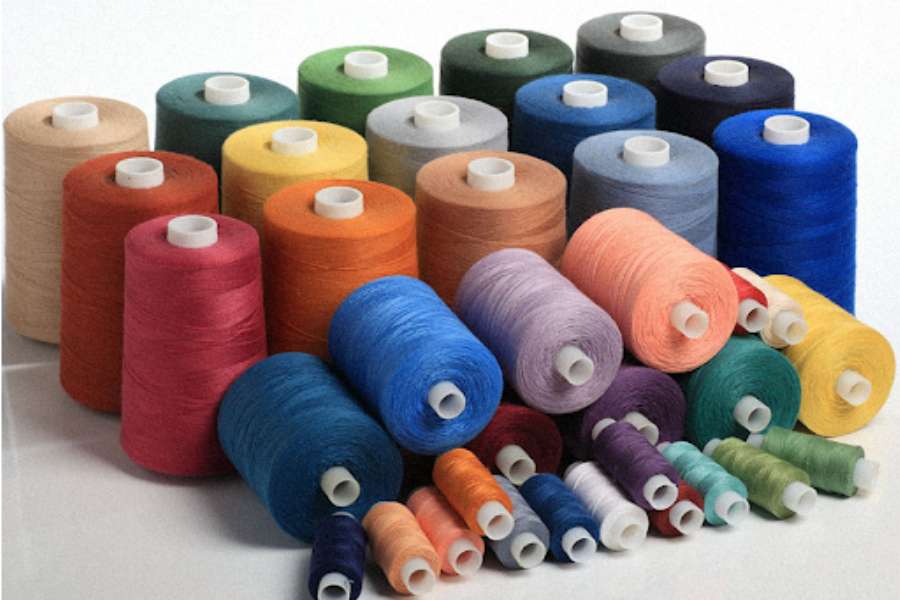
Polyester embroidery thread is the best choice for how to embroider on towel projects that will be washed frequently. Polyester resists fading, holds color under repeated washing, and stands up to friction better than rayon.
Rayon thread can be used for decorative towels that will not be washed as frequently. It has a beautiful sheen that looks especially luxurious on velour and high-end cotton.
Stabilizer
Stabilizer is non-negotiable in towel embroidery. Without proper stabilization, towels shift, pucker, and distort.
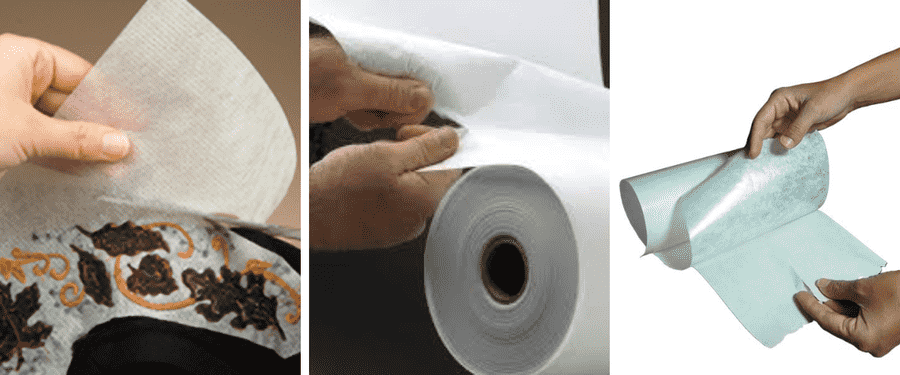
Water-Soluble Topping
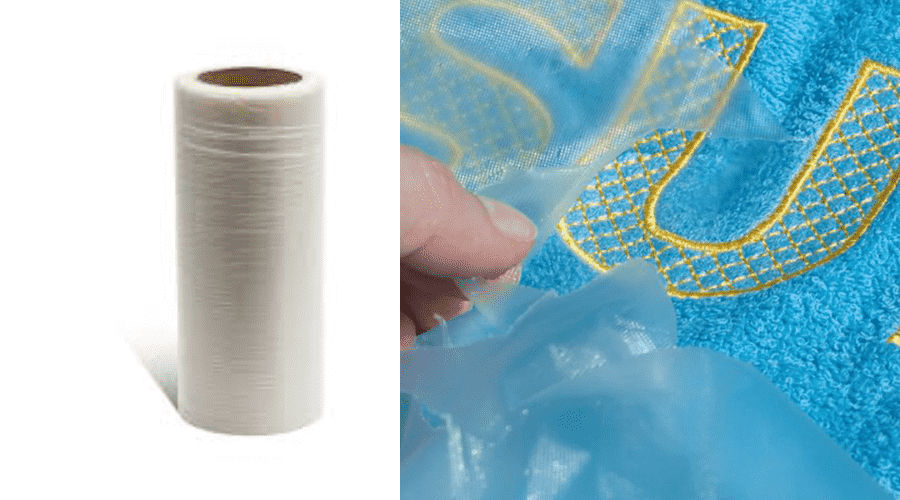
This is the single most important material in how to embroider on towel technique. Water-soluble topping is a thin, transparent film that you lay over the towel surface before stitching. The needles punch through it as they stitch, but it holds the towel loops down so your stitches sit on top of the fabric rather than disappearing inside it.
Without water-soluble topping, even well-digitized embroidery can look blurry and unreadable on thick terry cloth. With it, the same design looks sharp, clean, and professional.
Here is the complete step-by-step method for how to embroider on towel using an embroidery machine.
Step 1: Prewash the Towel

Always wash and dry the towel before embroidery. This removes manufacturing residues, pre-shrinks the fabric, and eliminates loose surface fibers. A towel that has not been prewashed may shrink after embroidery, which will distort your design and pucker the stitching area.
Step 2: Iron the Embroidery Area Flat
Lightly iron the specific area where you plan to embroider. Flattening the pile temporarily makes hooping easier and gives you a cleaner surface for placing topping and stabilizer.
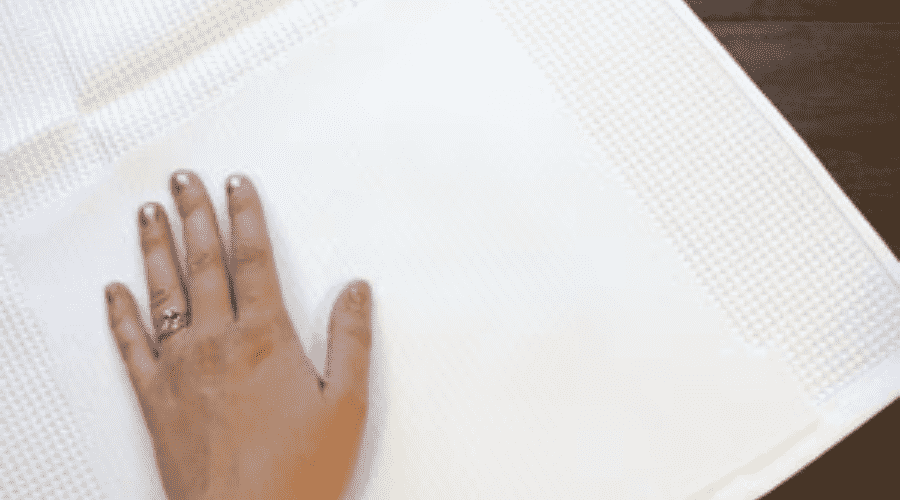
Step 3: Apply Stabilizer
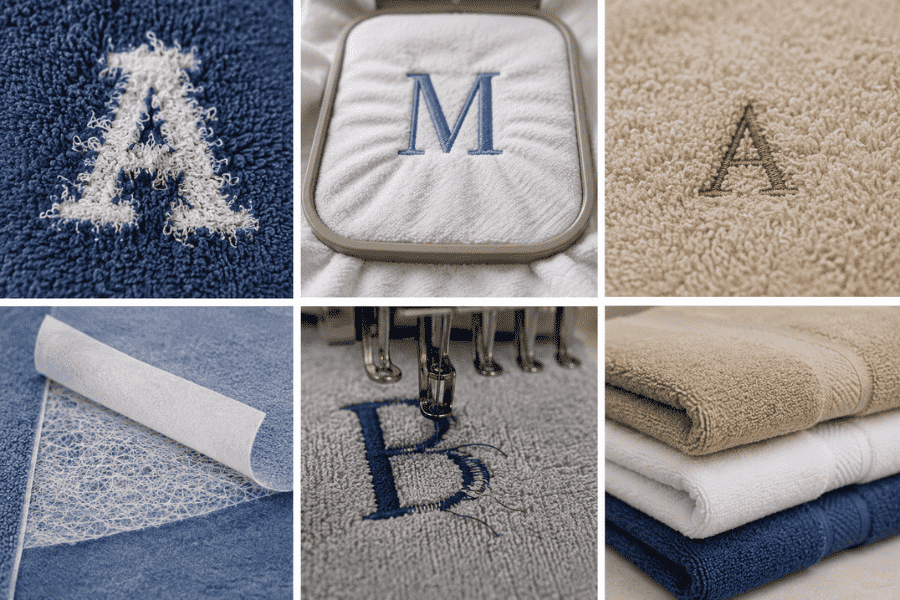
Place your cut-away stabilizer beneath the towel in the hoop area. The stabilizer should be slightly larger than your hoop. This layer supports the towel from below during stitching and prevents it from stretching or pulling.
If you are using adhesive stabilizer, hoop the stabilizer alone, score the paper backing, remove it, and then press the towel gently onto the sticky surface. This method is excellent for towels where direct hooping would leave hoop marks.
Step 4: Hoop the Towel
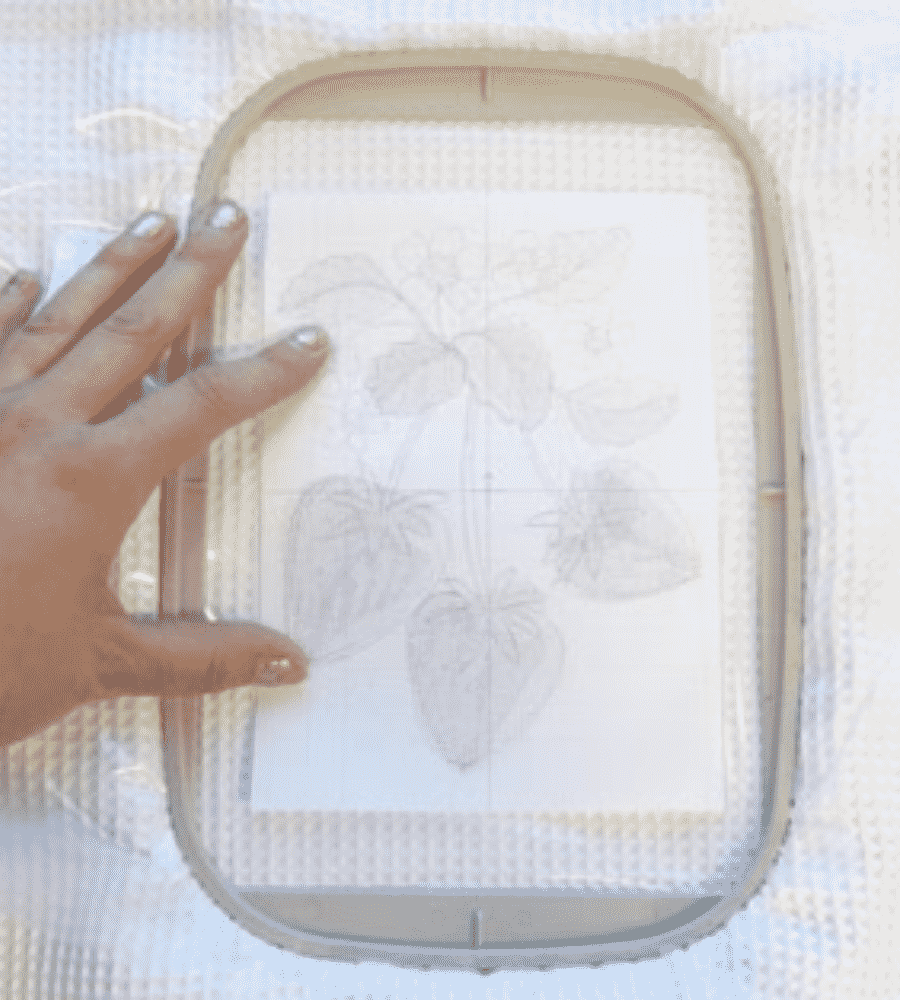
Hoop the towel with steady, even pressure. Avoid pulling the towel tight into the hoop. Overtightening stretches the towel loops out of their natural position — when released after embroidery, they contract back and cause puckering around the design.
The towel should be secure but not stressed. It should lay flat without tension distortion.
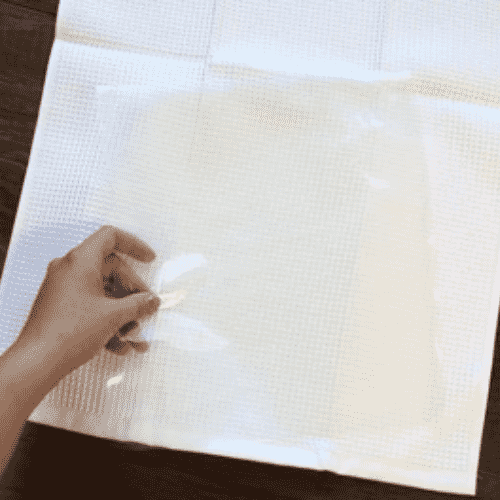
Step 5: Apply Water-Soluble Topping
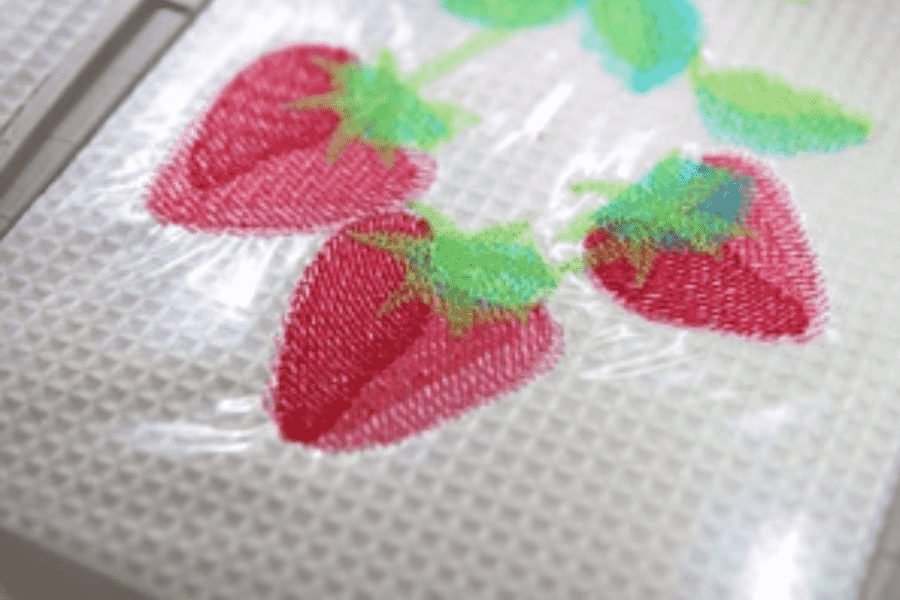
Cut a piece of water-soluble topping slightly larger than your embroidery area and lay it on top of the hooped towel. Some embroiderers use a small piece of tape at the edges to hold it in place before stitching begins.
The topping film should lay smoothly and flat on the towel surface. This step is the key to how to embroider on towel without stitches sinking into the pile.
Step 6: Reduce Machine Speed
Reduce your embroidery machine speed by 20–30% compared to what you would use on standard fabric. Slower speed gives the needle more time to pierce the thick towel layers cleanly, reduces thread breakage, and improves stitch consistency throughout the design.
Step 7: Run a Test Stitch on Scrap Towel
Before embroidering the final towel, always run the design on a scrap piece of the same towel type. Check for thread breaks, stitch density, design clarity, and overall appearance. Adjust tension or speed if needed.
Step 8: Embroider the Design
Run the embroidery at your adjusted speed. Check periodically to ensure the topping is not bunching and that the towel has not shifted in the hoop.
Step 9: Remove the Topping
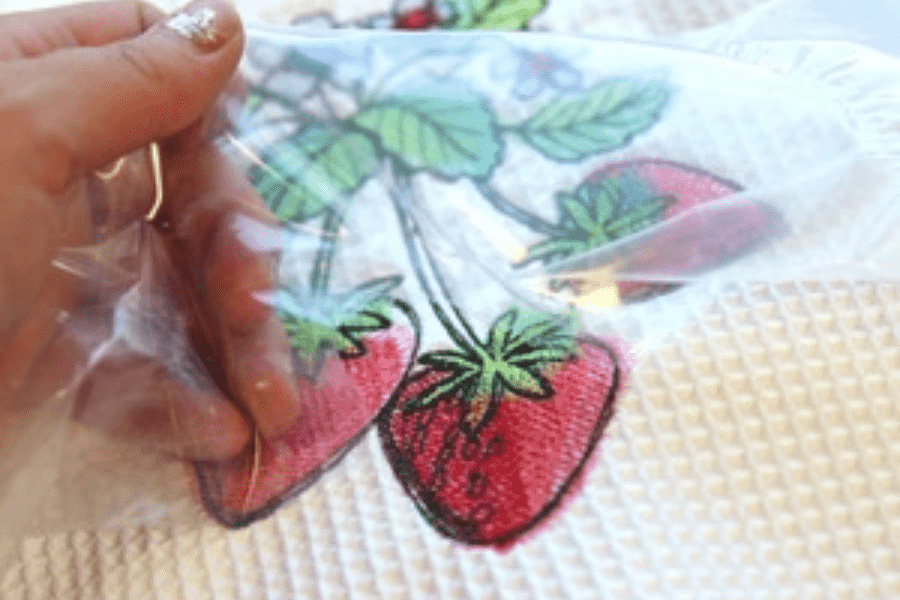
After embroidery is complete, carefully tear away the excess water-soluble topping around the embroidered area. For the topping that remains beneath and between stitches, dampen it with a wet cloth or briefly rinse the area under cool water. The topping dissolves completely without affecting the embroidery.
Step 10: Trim Jump Threads
Use small scissors or thread snips to clip any jump threads on the front or back of the towel. Clean thread trimming is part of professional finishing and makes the embroidery look polished.

Digitizing for towel embroidery is different from digitizing for flat fabric. If you want to understand how to embroider on towel at a professional level, you need to understand towel-specific digitizing.
Increase Stitch Density Slightly Stitches on towels need to be slightly denser than on smooth fabric because the pile has natural give. Slightly higher density ensures stitches sit visibly above the pile after the topping is removed.
Use Strong Underlay Stitches Underlay is especially critical in towel embroidery. Underlay stitches run first, compress the pile, and create a flat foundation for your top stitches. Without proper underlay, even dense top stitching will look uneven.
Use Edge Run or Zigzag Underlay For fill areas, use a combination of edge run and center run underlay. For satin stitch columns and lettering, a zigzag underlay is ideal because it creates a firm raised bed for satin stitches.
Avoid Very Small Text Text under 0.4 inches tall becomes extremely difficult to read on terry cloth, even with perfect topping technique. For towel embroidery, use bold fonts and minimum text height of 0.5 inches for readable results.
Design Density Avoid designs that are too light and airy — delicate details vanish into towel fibers. Also avoid designs with extremely high density, which creates stiff, inflexible embroidery that looks and feels wrong on soft towels. Balanced, medium-density digitizing is the standard for professional how to embroider on towel technique.
Some design styles are simply better suited to the textured surface of towels.
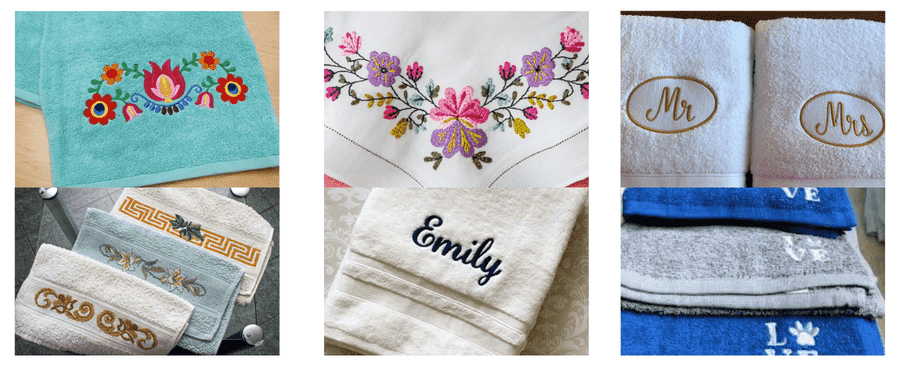
Monograms Classic monograms remain the most popular towel embroidery design for good reason. Large, bold letterforms read perfectly on even thick terry cloth.Monogram towels sell consistently for personalized gifts, wedding sets, and luxury bathroom collections.
Names and Text Embroidered names add strong emotional and personalization value. Keep fonts bold and clean. Script fonts work beautifully on towels when digitized with proper density.
Simple Logos Hotel logos, spa branding, gym logos, and corporate marks all translate well to towel embroidery when designed with medium density and bold outlines. Avoid logos with fine hairline details.
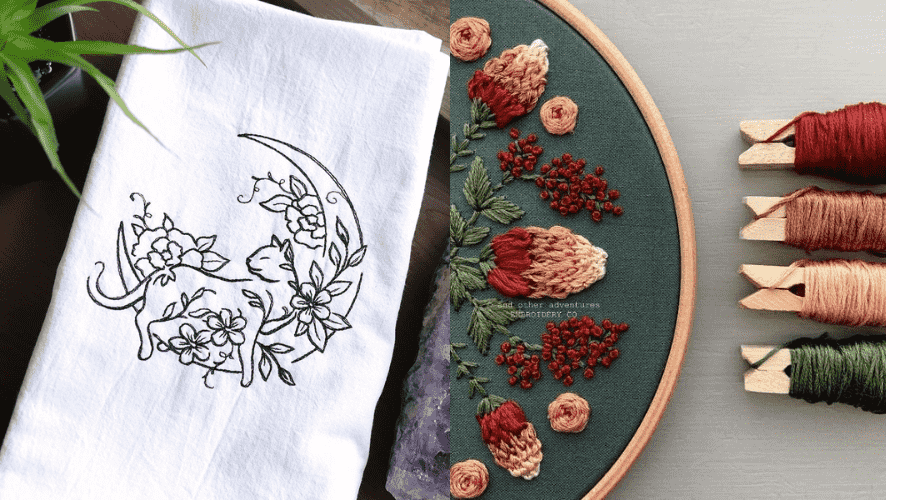
Decorative Motifs Anchors, florals, animals, monogram frames, and decorative borders are popular for beach towels, baby towels, and gift collections.
Understanding what goes wrong is just as important as understanding what to do right.
Skipping Water-Soluble Topping This is the most common and damaging mistake. Without topping, terry cloth loops rise between stitches and cover the design. The result looks fuzzy, unreadable, and unprofessional.
Overstretching the Towel in the Hoop Pulling the towel tight creates temporary flattening that reverses after embroidery, causing puckering and distortion around the design area.
Using Fonts That Are Too Small Thin, delicate, or small fonts disappear into towel pile. Always use bold, clear fonts and test on scrap before embroidering your final product.
Wrong Stabilizer Choice Tear-away alone is insufficient for most towel embroidery. Cut-away provides the dimensional support that thick towels require.
Running Machine Too Fast High-speed stitching through thick towel layers causes skipped stitches, thread breaks, and tension inconsistencies.
Not Prewashing Embroidering on an unwashed towel risks shrinkage distorting your finished design.
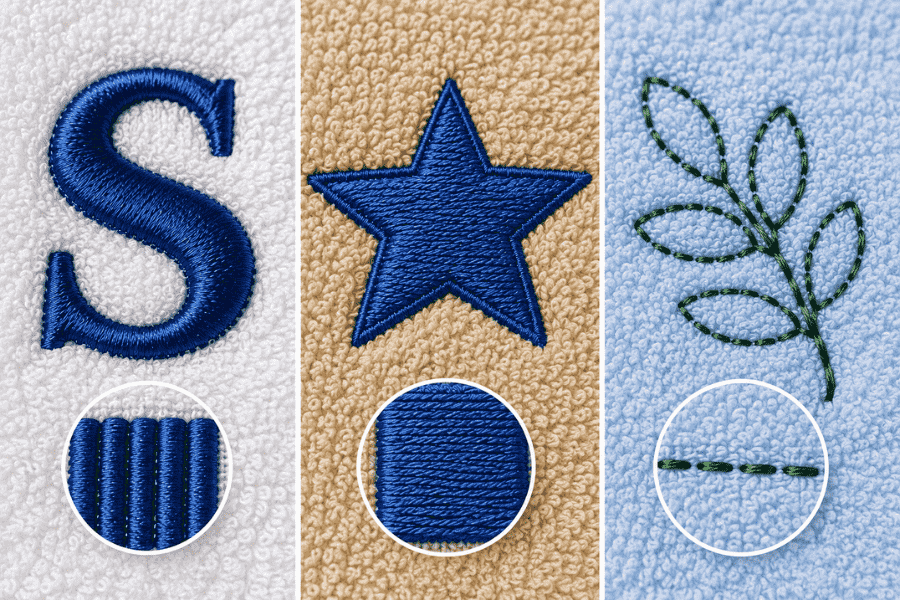
Satin Stitch Satin stitch creates bold, raised, reflective columns that stand out beautifully above towel pile. Ideal for lettering, monograms, and borders. Keep column widths above 2mm for clean results on terry cloth.
Fill Stitch (Tatami/Flat Fill) Good for larger logo areas and filled shapes. Use medium density and a solid underlay to prevent the fill from sinking.
Running Stitch Running stitches are best used as outlines, detail accents, or underlay rather than primary design elements, as they can partially disappear into thick towel pile.

Color contrast is essential for professional towel embroidery visibility.
High-performing color combinations for how to embroider on towel projects include:
High contrast between towel color and thread color makes embroidery visible from a distance and reinforces the premium appearance of the finished product.
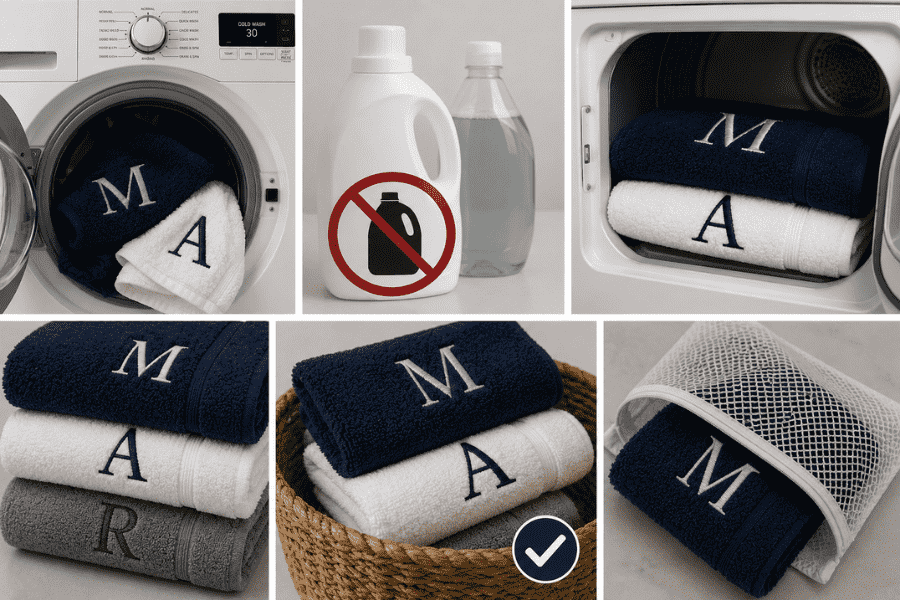
Proper care keeps embroidered towels looking sharp through hundreds of washes.
Polyester thread handles repeated washing extremely well. Even after many wash cycles, well-embroidered towels maintain sharp, vivid designs.
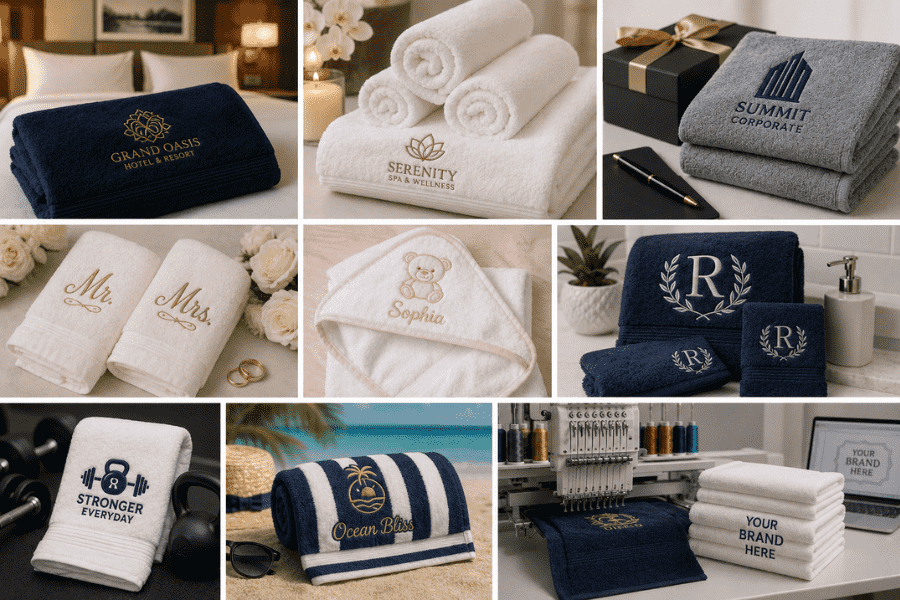
For business owners, understanding how to embroider on towel professionally opens a profitable and growing market segment.
Embroidered towels command significant price premiums over plain equivalents because customers perceive them as luxury products. Hotels, resorts, spas, beauty salons, gyms, and wedding services all order embroidered towels regularly and in volume.
Popular commercial towel embroidery categories include:
Mastering how to embroider on towel gives you a skill that translates directly into recurring business orders. Hotels and spas reorder regularly. Wedding customers refer friends. Corporate clients order in bulk.
Double-Layer Topping for Very Thick Towels On extremely thick or plush towels, use two layers of water-soluble topping. This provides extra surface stability and prevents even the tallest loops from interfering with stitches.
Hoop Marks To prevent hoop marks on plush or velour towels, use a hoop with a felt or foam liner, or use the float-on-adhesive-stabilizer method instead of direct hooping.
Consistent Testing Build a sample library of different towel types with test embroidery results. This reference collection makes it faster to dial in settings for new towel orders.
Premium Thread Investment Using premium-quality polyester thread dramatically affects the appearance of finished embroidery. Cheap thread lacks the luster, consistency, and strength that makes towel embroidery look genuinely luxurious.
Apex Embroidery has been embroidering and digitizing for 20 years. All our designs and fonts are digitized by hand, each letter.
Copyright © 2026 - Apexembdesigns.com


