Hidden


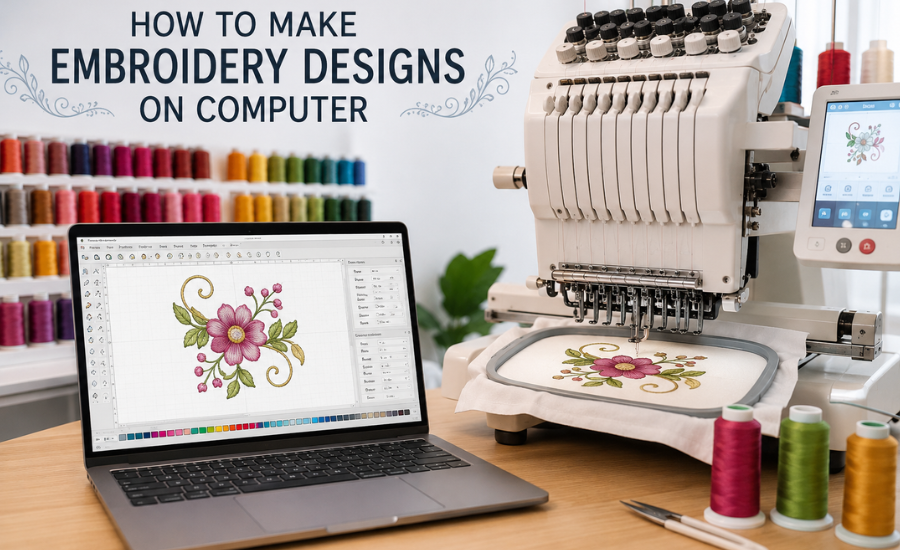
Creating professional embroidery patterns is easier today than ever before. If you have ever wondered how to make embroidery designs on computer systems for your embroidery machine, this complete guide will walk you through everything you need to know.
Whether you are a beginner learning how to make an embroidery file or an experienced designer wanting to create professional machine-ready artwork, modern embroidery software gives you complete creative control over your projects.
From logos and monograms to custom apparel and commercial embroidery, learning how to make embroidery designs for machine use can open the door to creativity, side income, or even a full embroidery business. In this guide, you will learn:
Embroidery designs are digital stitch files used by embroidery machines to sew patterns onto fabric. Unlike normal images, embroidery files contain stitch instructions that tell the machine:
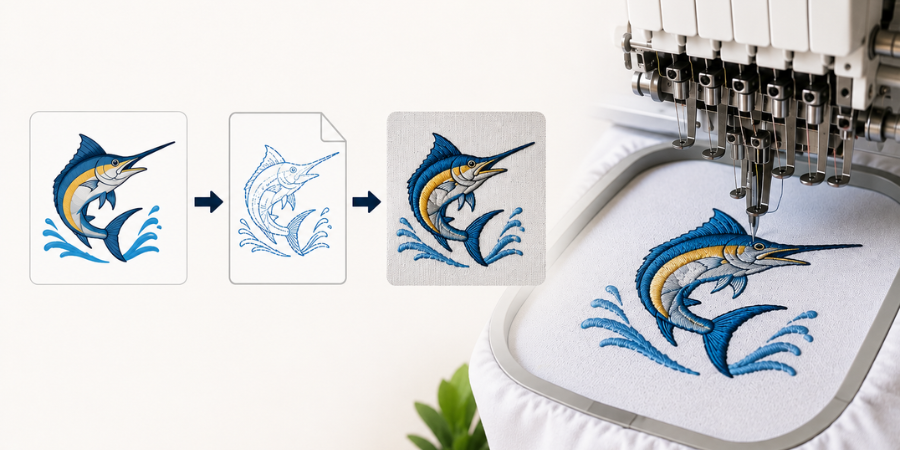
Learning how to make embroidery designs means learning how to convert artwork into machine-readable stitch data.
This process is called embroidery digitizing.
Before learning how to make embroidery files, you need the right software.
Some popular embroidery digitizing programs include:
Beginners often start with Hatch or Ink/Stitch because they are easier to learn.
Professional embroidery businesses usually prefer Wilcom because of its advanced digitizing features.
Creating professional embroidery designs on a computer is easier today than ever before. Whether you want to make custom logos, personalized gifts, or commercial embroidery files, modern embroidery software gives you complete creative control over your designs.
If you want to learn how to create embroidery designs, the process usually follows these essential steps:
With today’s embroidery digitizing software, even beginners can start creating high-quality machine embroidery files much faster than before.

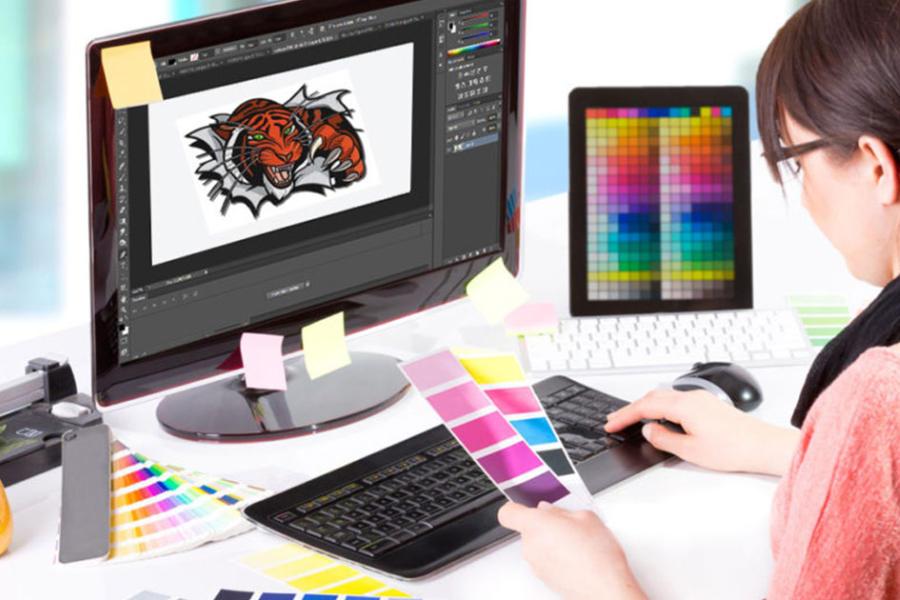
The first step in learning how to create embroidery files is preparing the artwork properly.
Good embroidery artwork should:
Vector graphics are usually the best option because they can scale cleanly without losing quality.
Popular design programs include:
Simple logos, text designs, and monograms are excellent starting points for beginners because they are easier to digitize and stitch successfully.
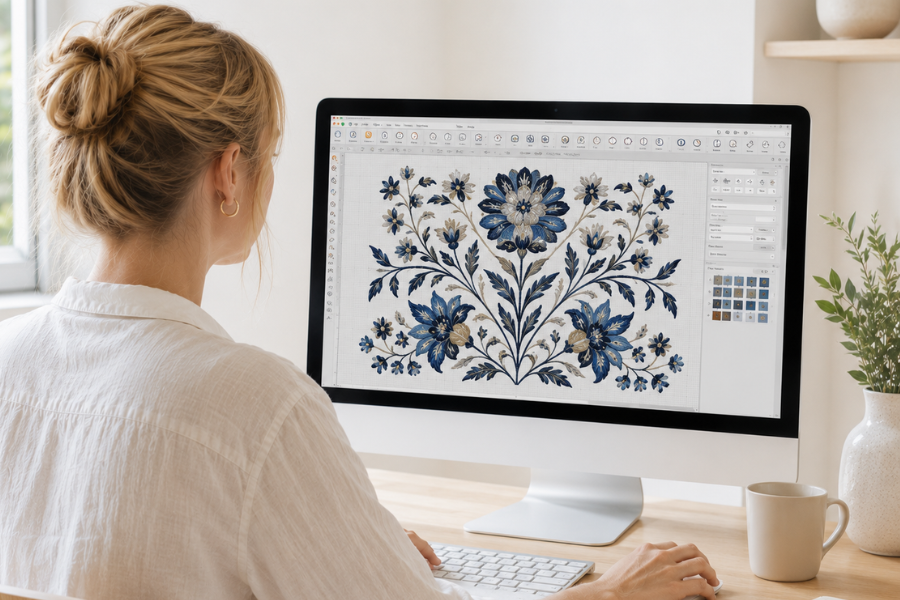
Once the artwork is ready, import it into embroidery digitizing software.
The software allows you to:
This is the stage where standard graphic artwork becomes an embroidery-ready design file.
Popular embroidery software programs include Wilcom, Hatch, Brother PE-Design, Embrilliance, and Ink/Stitch.
Digitizing is the most important part of learning how to make embroidery designs for machine embroidery.
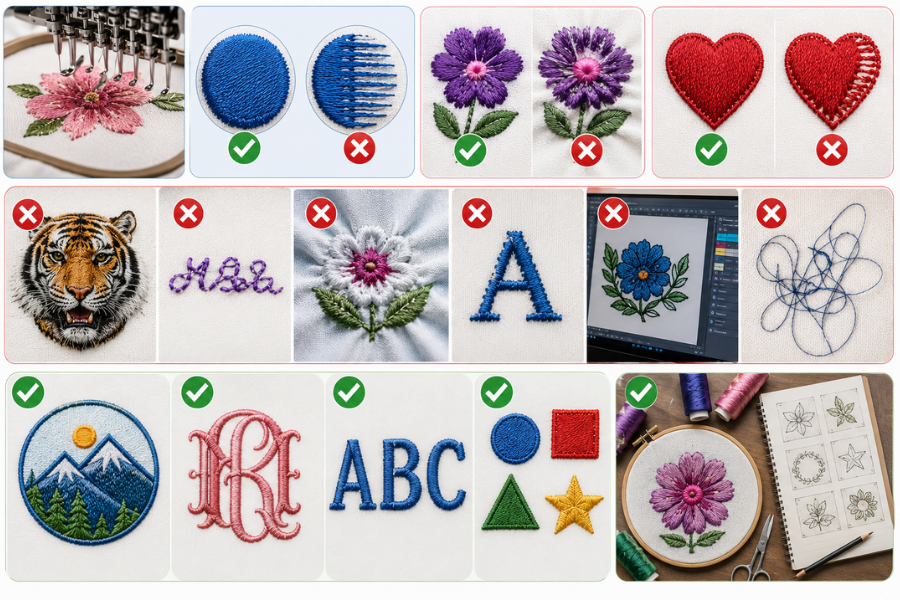
During digitizing, shapes are converted into stitches either manually or semi-automatically. Proper digitizing directly affects stitch quality, fabric stability, thread efficiency, and the final embroidered appearance.
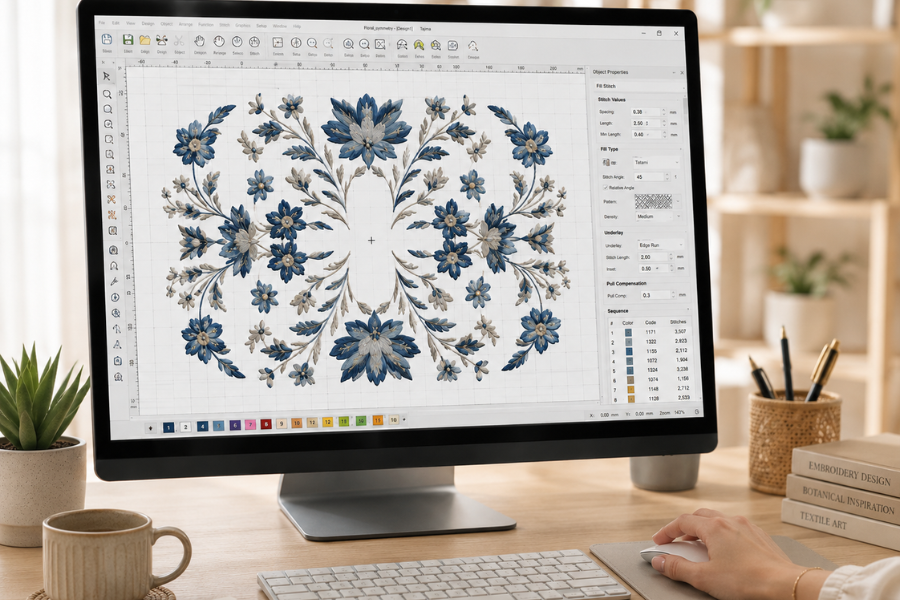
After digitizing, adjust the stitch settings to match the fabric type and design requirements.
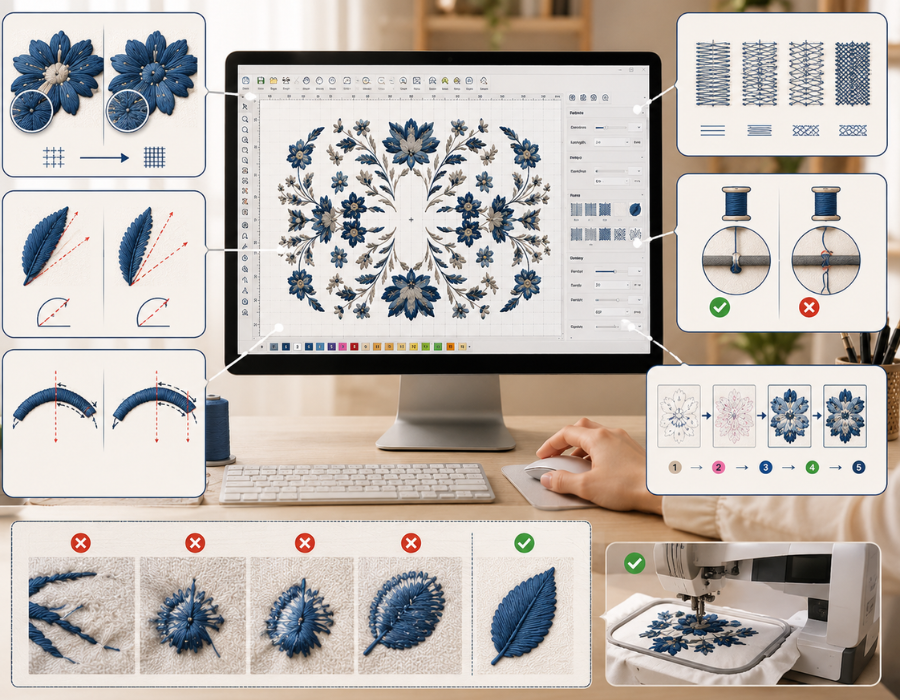
Important embroidery settings include:
Correct settings help reduce thread breaks, puckering, gaps, and uneven stitching.
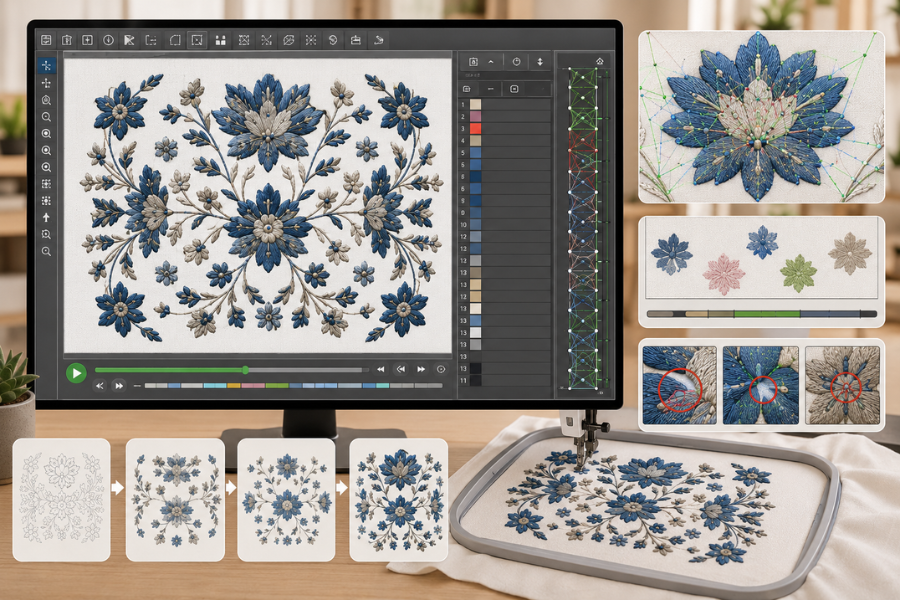
Most embroidery software includes a simulation feature that shows how the design will stitch out on the embroidery machine.
This preview helps you:
Carefully reviewing the simulation can save time, thread, and fabric before production begins.
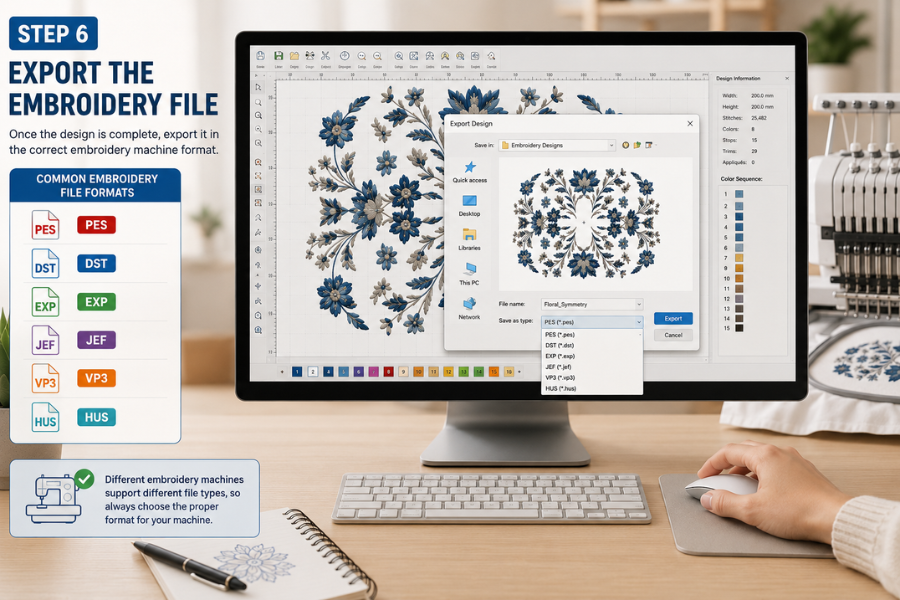
Once the design is complete, export it in the correct embroidery machine format.
Different embroidery machines use different formats, including:
Before exporting your design, always check which format your machine supports. Using the wrong file type can cause errors or poor stitching results.
Before final production, always run a test stitch on fabric similar to the final material.
Testing allows you to:
Even professional digitizers always test embroidery files before full production.
Professional embroidery designs usually include:
Good digitizing helps reduce:
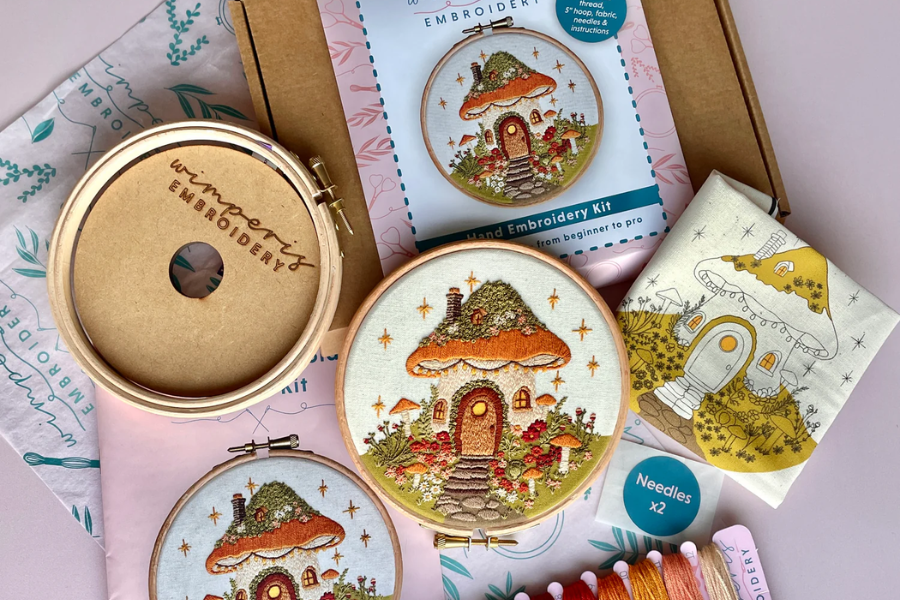
Common embroidery projects include:
Each project requires different digitizing techniques depending on the fabric, placement, and design complexity.
Start by learning embroidery software basics, then practice digitizing simple artwork like names and logos.
Hatch Embroidery and Ink/Stitch are beginner-friendly options with good learning resources.
Basic digitizing can be learned within weeks, while advanced professional digitizing may take months or years of practice.
Yes. Ink/Stitch is a free embroidery extension for Inkscape that allows beginners to learn how to create embroidery files without expensive software.
An image only contains visual data, while an embroidery file contains stitch instructions for embroidery machines.
Skip the hassle of learning embroidery software and digitizing designs yourself. Simply send your logo, image, or artwork, and receive a professional machine-ready embroidery file within 1–2 days.
With 25+ years of embroidery digitizing experience, we create clean, high-quality embroidery files for:
Compatible embroidery formats include: PES, DST, JEF, VP3, EXP, HUS, XXX, ART, VIP, SEW, and more.
Our digitized designs are commonly used for:
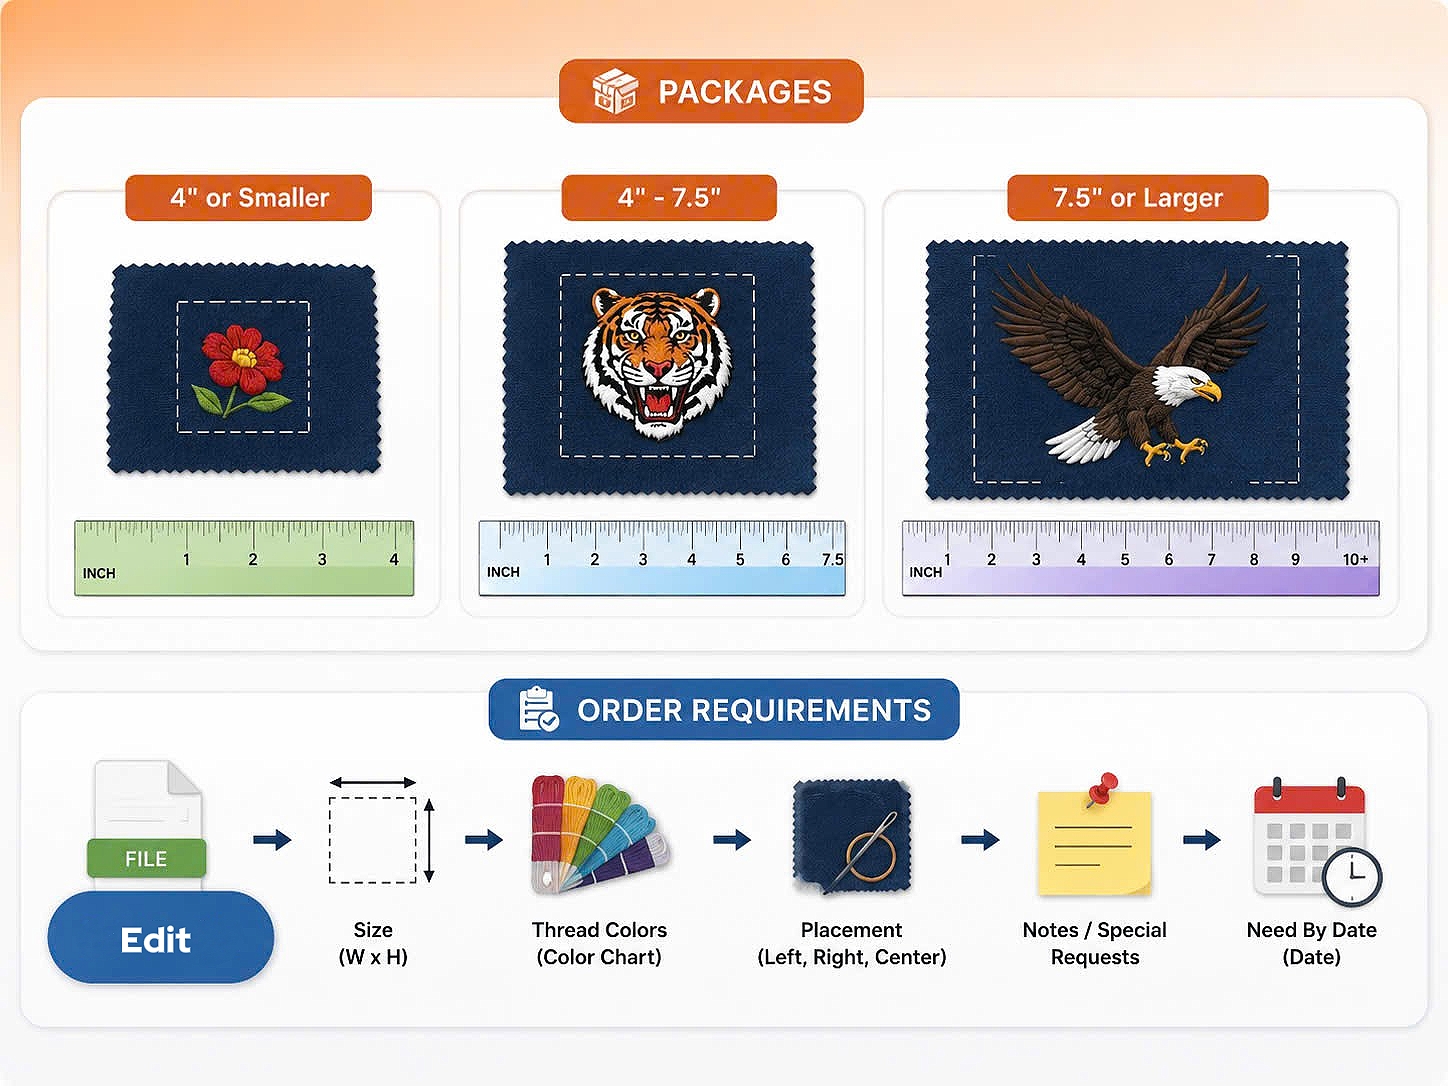
Please provide:
Rush delivery is also available for urgent orders.
Learning how to make embroidery designs on computer systems is one of the most valuable skills for embroidery enthusiasts, hobbyists, and business owners.
Whether your goal is learning how to make an embroidery file, mastering how to make embroidery designs for machine use, or creating professional custom embroidery designs, modern software makes embroidery digitizing more accessible than ever. The more experience you gain, the better your embroidery files and finished projects will become. With the right tools and practice, anyone can learn how to create embroidery designs, produce professional embroidery patterns, and even build a successful embroidery business.
EXCLUSIVE EMBROIDERY OFFERS!
Join our community of 50,000+ creators. Get weekly free designs, flash sale alerts, and professional digitizing tips delivered straight to your inbox.
Apex Embroidery has been embroidering and digitizing for 20 years. All our designs and fonts are digitized by hand, each letter.
Copyright © 2026 - Apexembdesigns.com


