Hidden


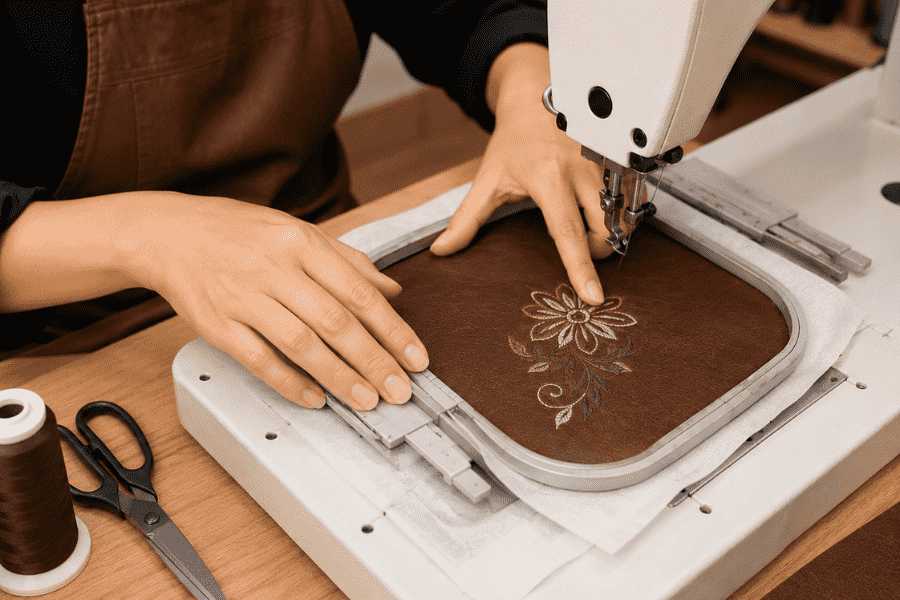
Leather embroidery is one of the most powerful customization techniques in modern fashion, luxury branding, and handmade crafts. If you want to learn exactly how to embroider on leather and get professional results every time, this guide covers everything — from choosing the right leather type, selecting the correct needles, applying stabilizer, digitizing your design, and avoiding the most common mistakes that ruin expensive leather products.
Whether you are a beginner picking up a machine for the first time or an embroidery business owner looking to expand into premium services, understanding how to embroider on leather properly will elevate your work and protect your materials.
Before diving into the how-to, it helps to understand why so many embroiderers, designers, and business owners are investing time into leather embroidery.
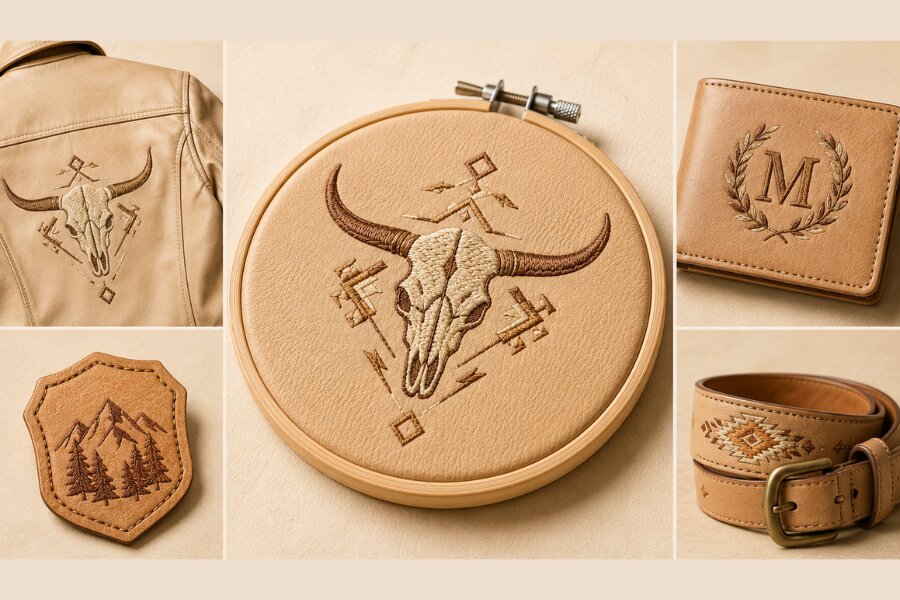
Embroidery on leather creates a luxury visual effect that printing simply cannot replicate. The raised texture, the contrast of thread against smooth or suede leather, and the handcrafted feel all signal premium quality to customers. Properly embroidered leather designs also last for years without fading, cracking, or peeling — something screen printing and heat transfer cannot promise.
For businesses, adding leather embroidery services opens the door to higher-paying customers. People who want embroidered leather jackets, custom wallets, branded patches, or personalized bags expect to pay more — and they do. The profit margin on leather embroidery is significantly higher than standard fabric work.
Popular applications include:
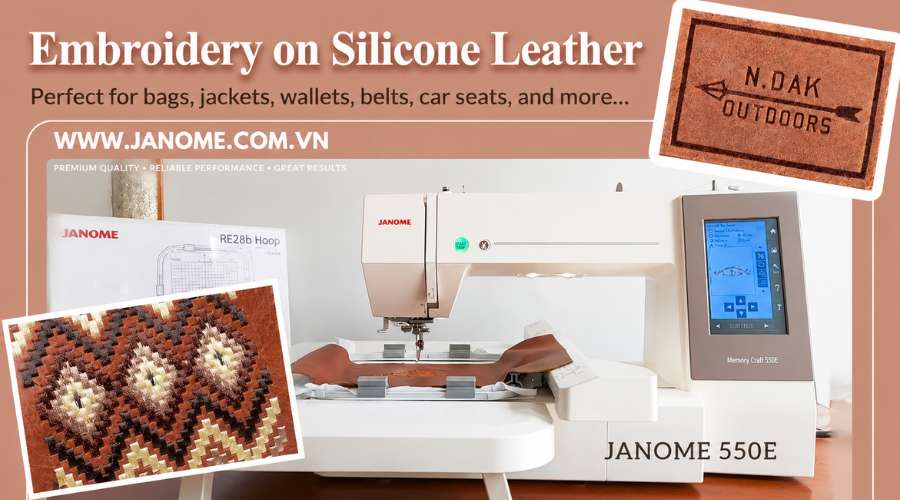
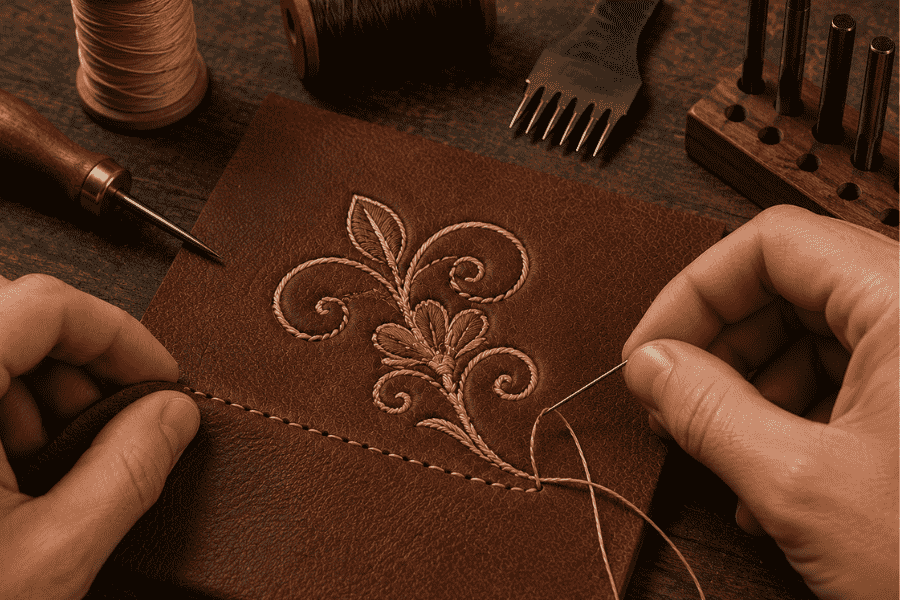
See some more embroidery designs on leather.
Yes — you absolutely can embroider on leather. However, the process is very different from embroidering on fabric. Leather is thicker, less forgiving, and permanently marked by every needle penetration. A wrong tension setting or a dense stitch design can split or perforate the leather, destroying an expensive piece in seconds.
This is why learning how to embroider on leather correctly — with the right settings, tools, and preparation — is so critical before you attempt it on real products.
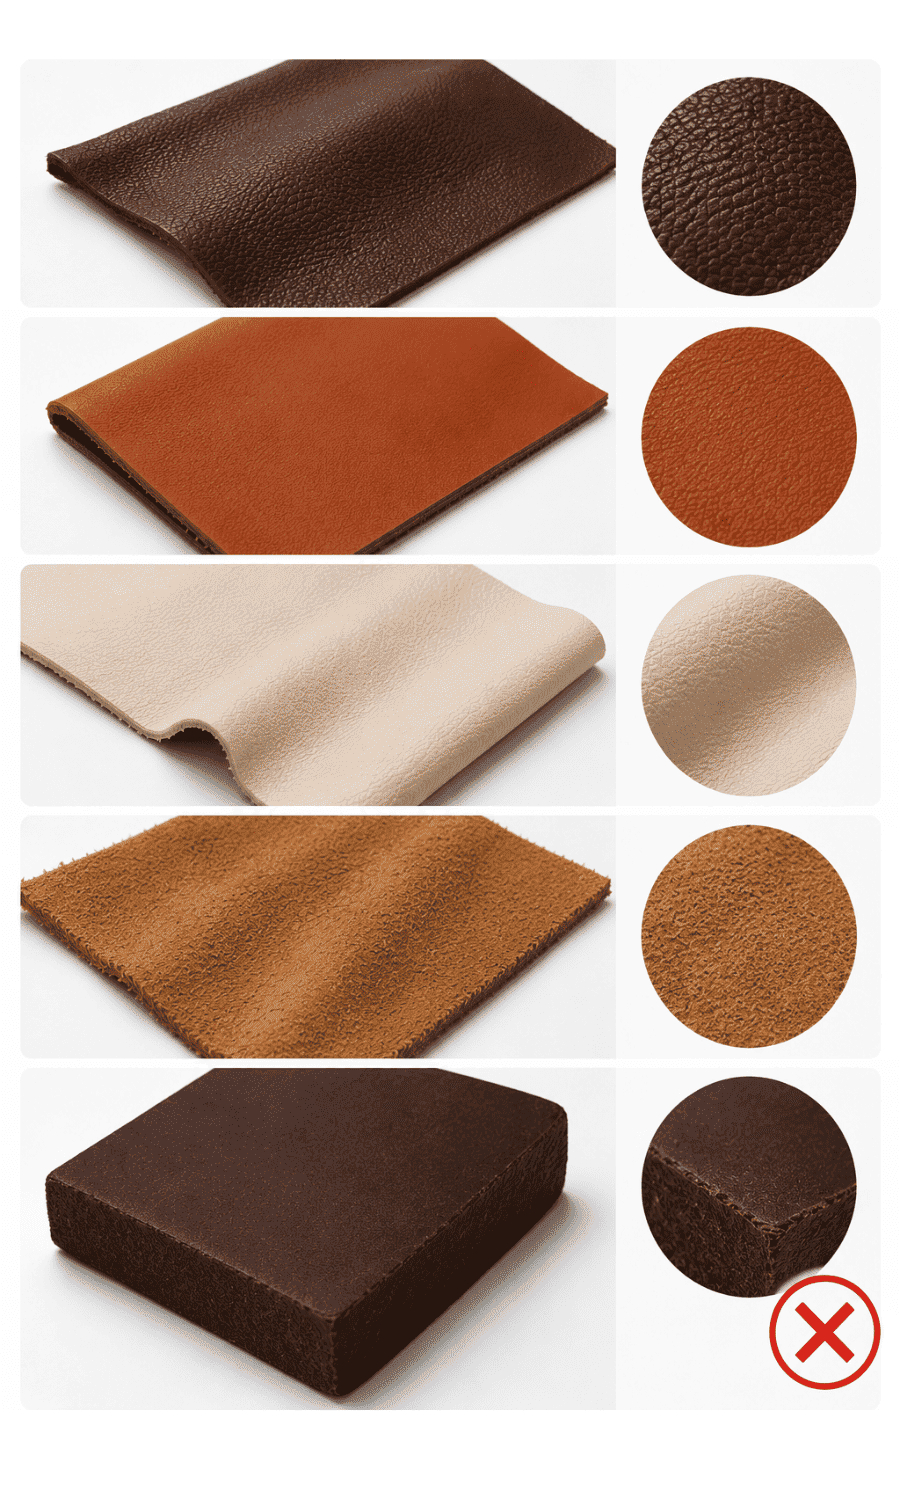
Not all leather is created equal when it comes to embroidery. Choosing the wrong type is one of the fastest ways to run into problems.
Genuine leather works well for embroidery as long as it is soft enough to allow clean needle penetration. Jackets, bags, and wallets made from genuine leather are among the most popular products for embroidery.
Faux leather is the best starting point for beginners learning how to embroider on leather. It is affordable, consistent in texture, easy to stitch through, and far less expensive to replace if something goes wrong during practice runs.
Soft garment leather is excellent for embroidery because it flexes more naturally under stitching pressure. It is ideal for fashion garments, decorative designs, and large embroidery pieces.
Suede leather can produce beautiful embroidered textures with a unique handcrafted appearance, but it requires careful stabilization to prevent shifting and distortion.
Avoid thick, rigid leather such as heavy saddle leather or industrial-grade hides. These materials are too stiff for most embroidery machines and can damage needles, motors, and stitch quality.
Having the right equipment is non-negotiable when learning how to embroider on leather professionally.
Embroidery Machine
Not every embroidery machine handles leather equally. You need a machine with a strong motor, adjustable speed control, manual tension settings, and precise stitch control. Multi-needle commercial machines are ideal for production work, but a high-quality single-needle machine can also produce excellent leather embroidery with the right settings.
Leather Embroidery Needles
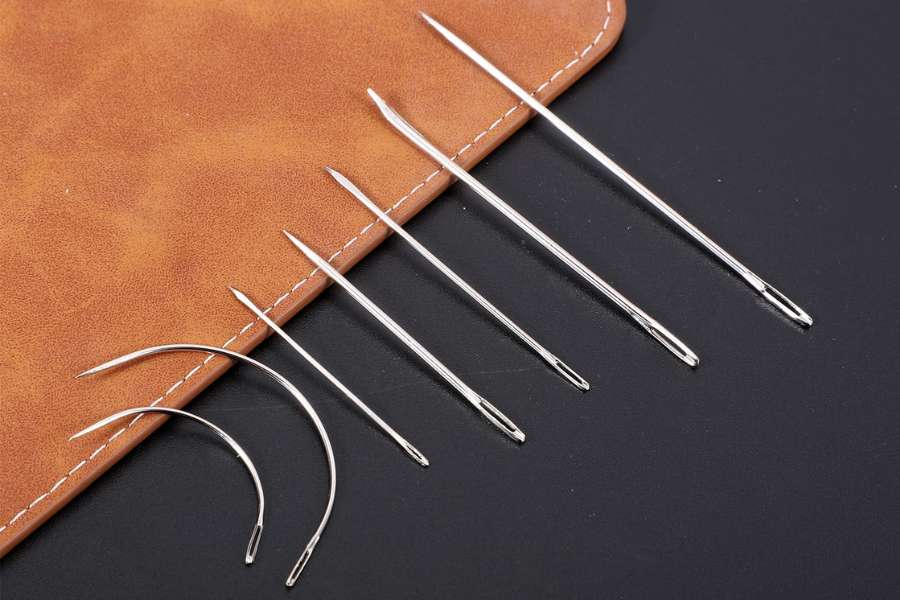
This is one of the most important tool decisions in leather embroidery. Regular embroidery needles are not designed for leather — they can skip stitches, tear the material, or break under pressure.
Leather embroidery needles feature a sharp cutting point (rather than a rounded point) that slices cleanly through leather without dragging or tearing. For embroidery on leather, use:
Always replace your needle frequently during leather embroidery work, as leather dulls needles faster than fabric.
Embroidery Thread
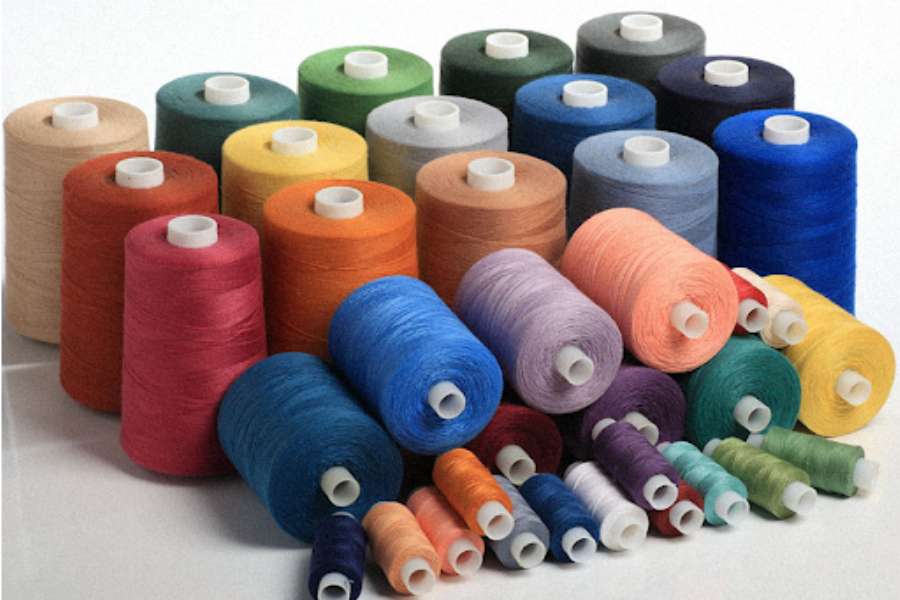
Polyester thread is the best choice for leather embroidery because it is strong, durable, and resistant to the friction that leather creates during stitching. Rayon thread can work for decorative designs where durability is less critical, but polyester is the professional standard for most leather work.
Stabilizer
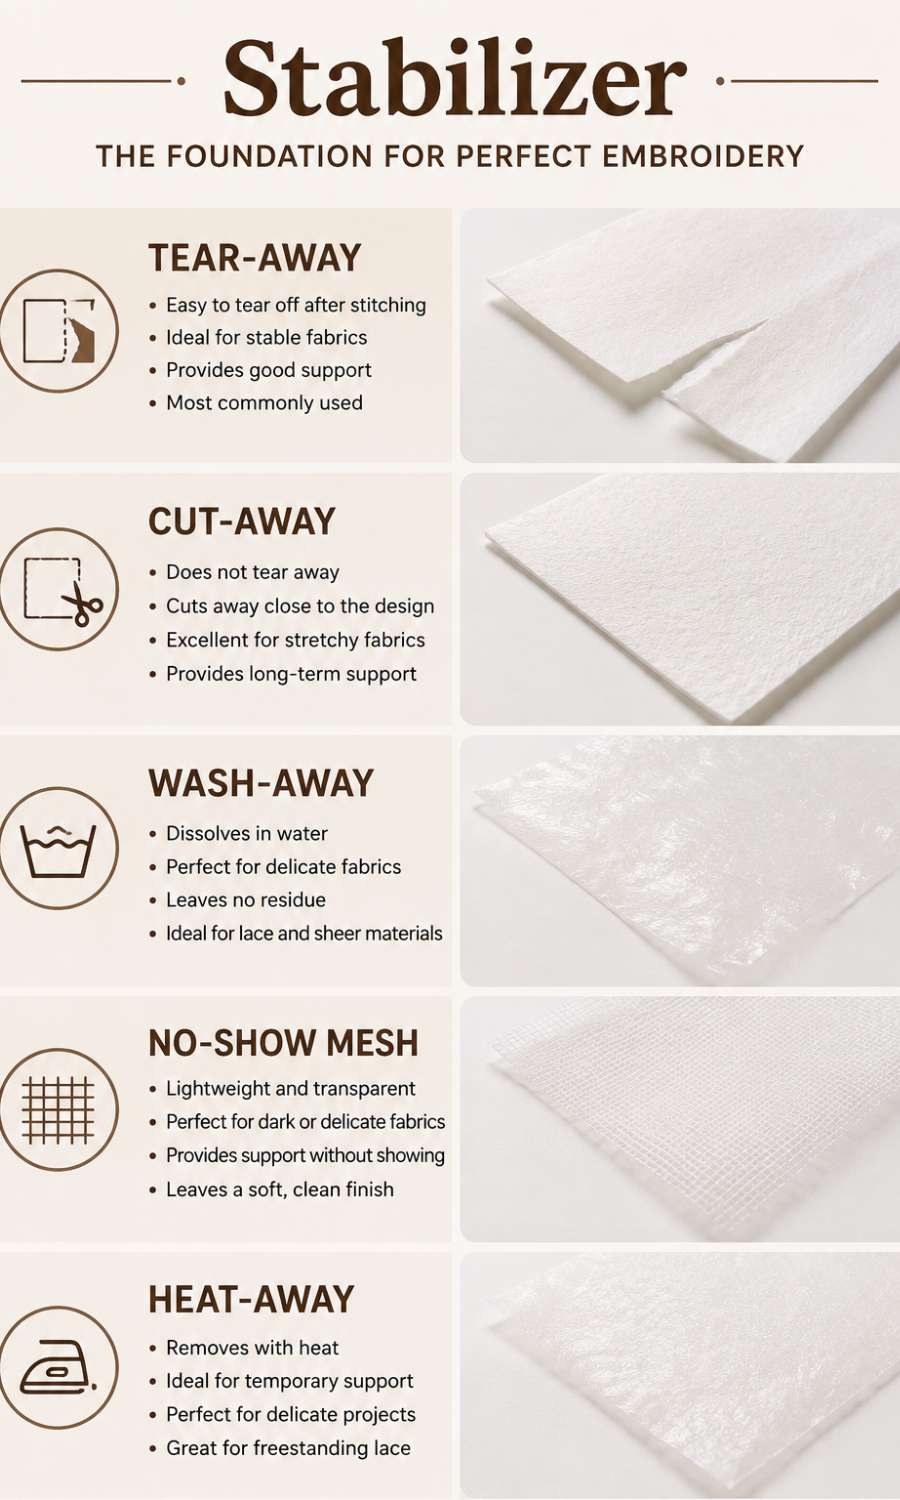
Stabilizer is critical when embroidering on leather. It prevents the leather from shifting during stitching, reduces puckering, and improves overall stitch consistency. The three main options are:
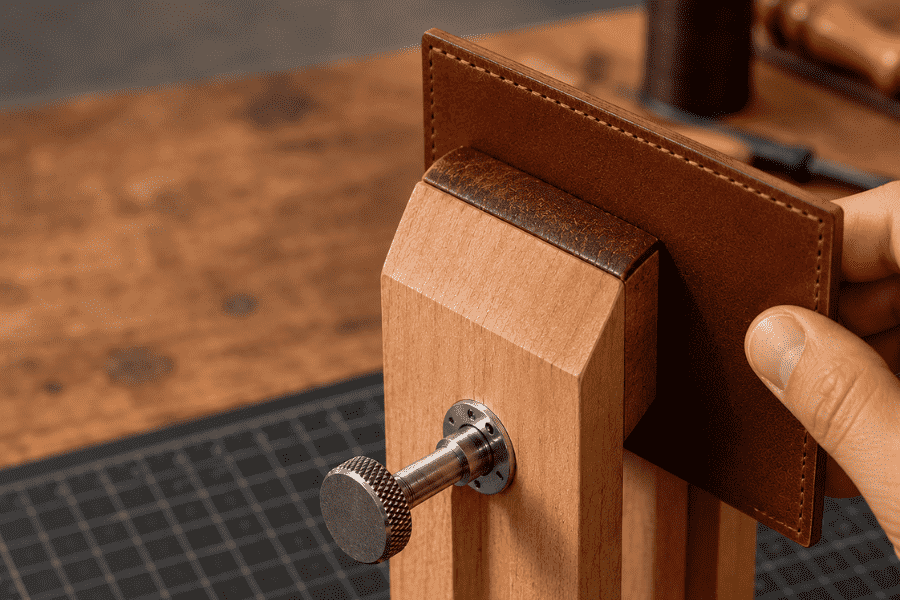
Hooping Systems
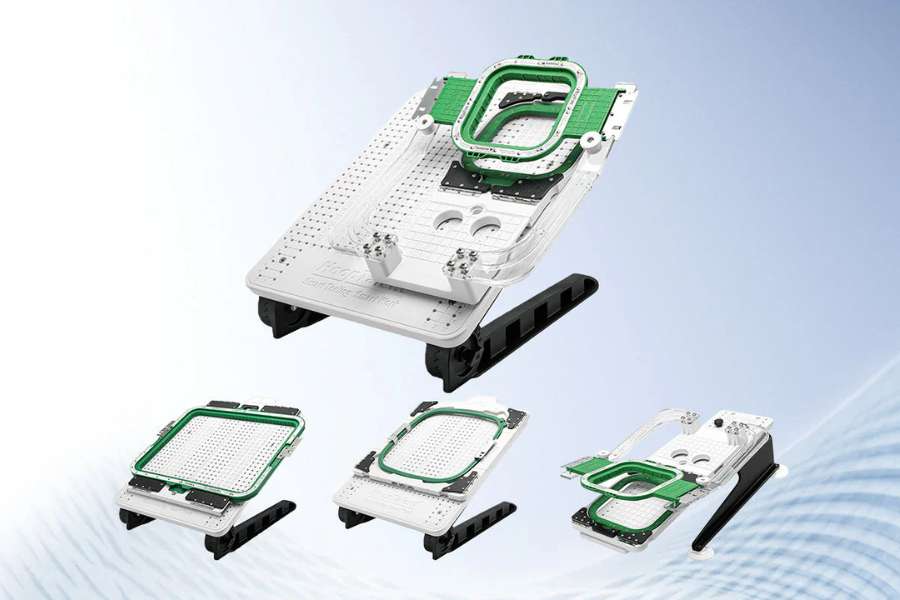
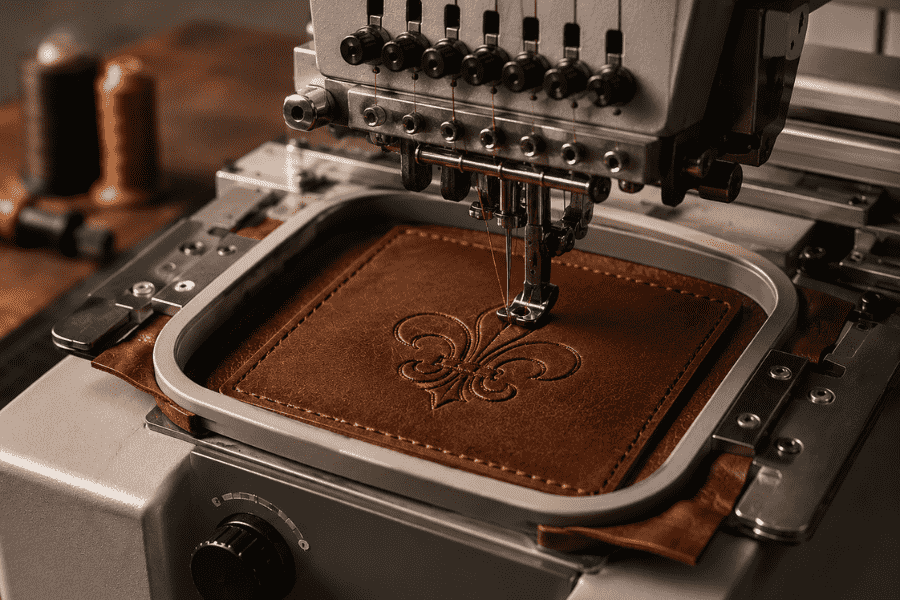
Traditional embroidery hoops are a problem for leather because the pressure of the hoop creates permanent indentation marks. Professional embroiderers who know how to embroider on leather use magnetic hoops, floating methods, or adhesive placement systems to position the leather without damaging it.
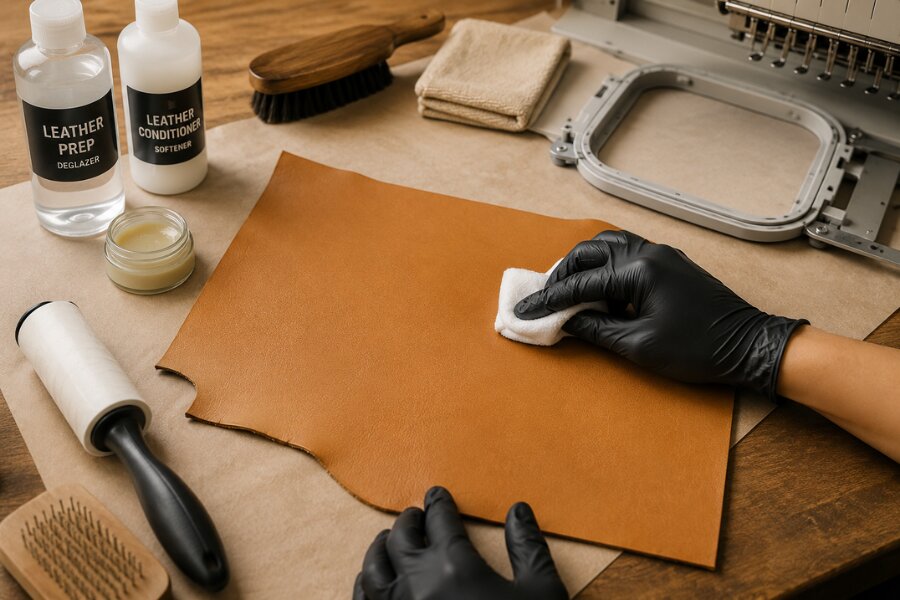
Preparation is one of the most overlooked steps in how to embroider on leather successfully.
Step 1 — Clean the leather.
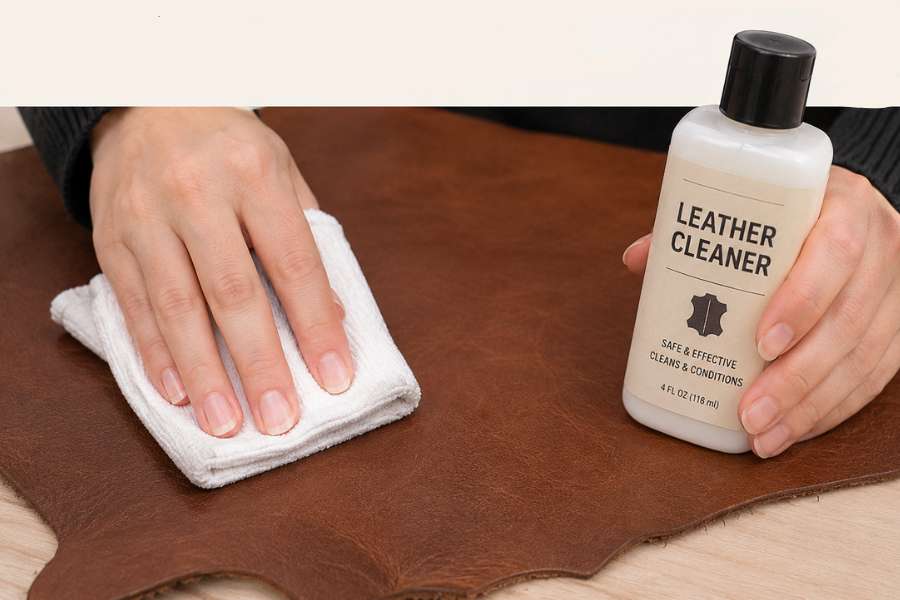
Remove any dust, oils, or surface residue using a soft cloth and a leather-safe cleaner. Oils and dirt can interfere with stabilizer adhesion and cause thread tension issues.
Step 2 — Test on scrap leather first.
Always run your design on a piece of scrap leather that matches the type and thickness of your actual product. This is the only way to verify needle size, tension settings, speed, and design quality before committing to the real piece.
Step 3 — Apply stabilizer.
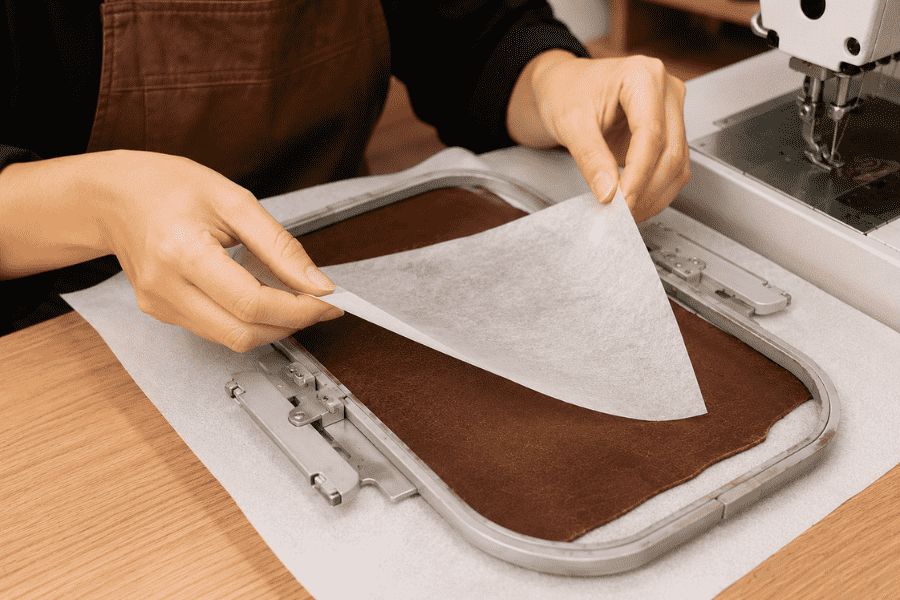
Attach your stabilizer securely beneath the leather before positioning it in the hoop or frame. Adhesive stabilizers work especially well here because they grip the leather without hoop pressure.
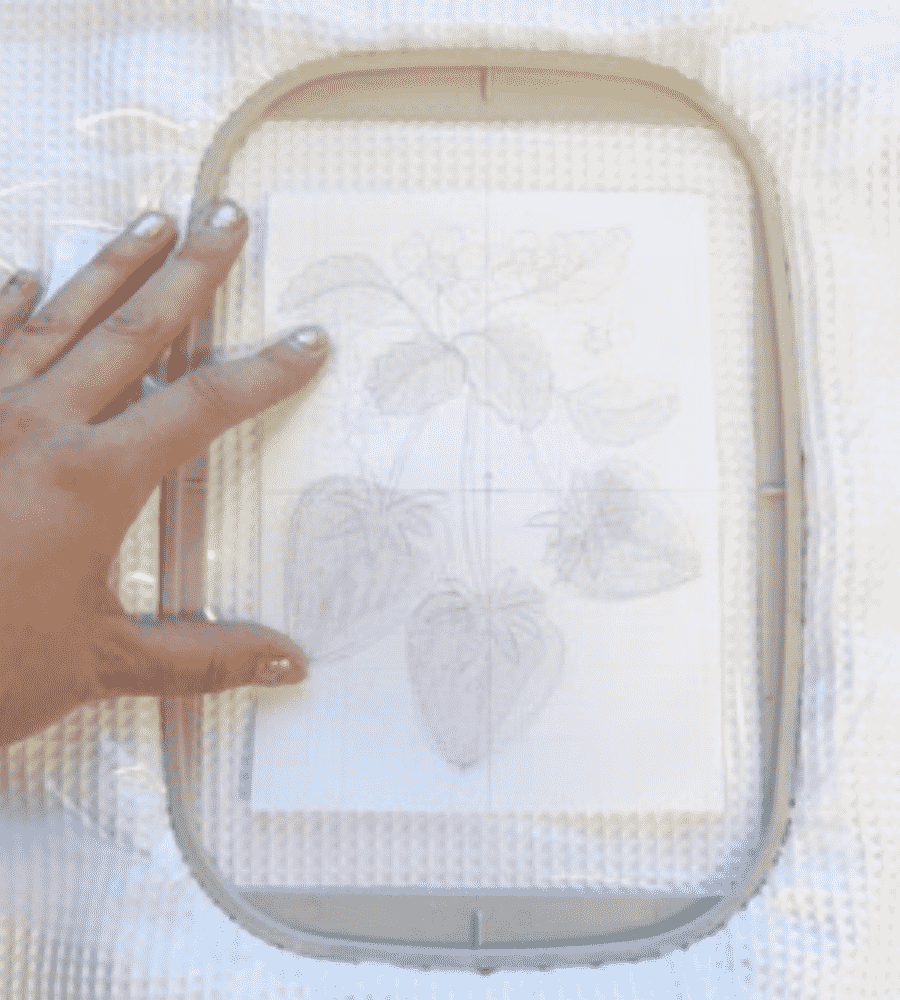
Step 4 — Position the design carefully.
In fabric embroidery, repositioning a design is easy. In leather embroidery, every needle penetration is permanent. A stitch in the wrong location cannot be undone. Double-check your design placement before you start the machine.
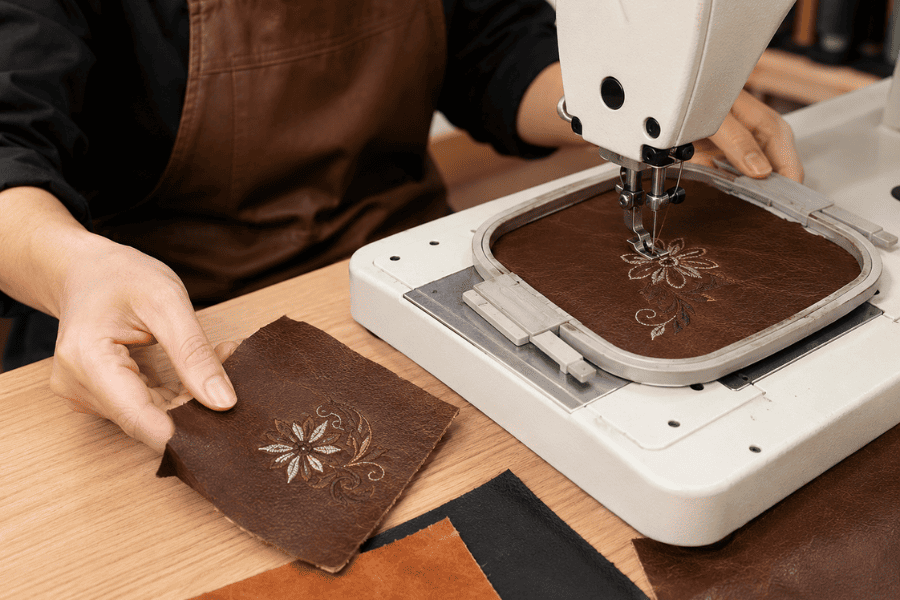
Once your leather is prepared and your machine is set up correctly, follow this process for clean, professional results.
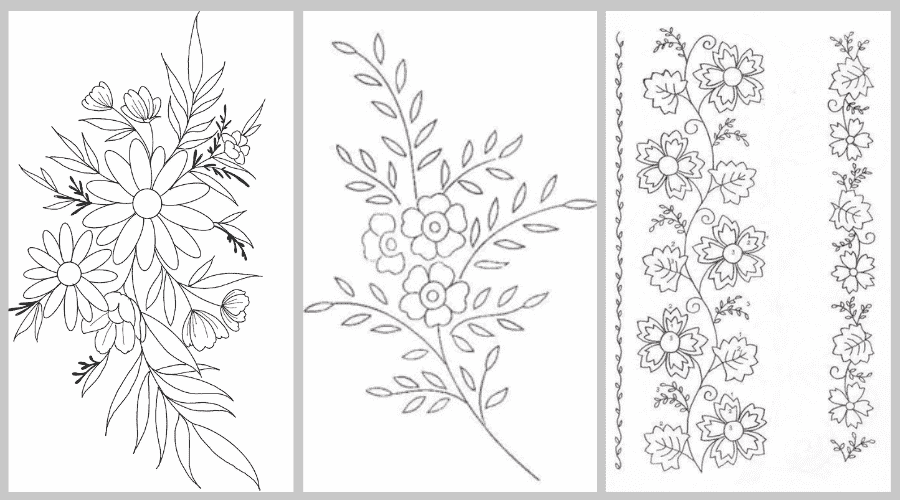
Not every embroidery design translates well to leather. The best designs for leather embroidery are bold, clean, and relatively simple. Choose designs with:
Avoid designs with extremely dense fill areas, tiny lettering below 4mm in height, or excessive stitch overlap. These types of designs concentrate too many needle penetrations in one area and can perforate or weaken the leather.
Digitizing is where many embroiderers go wrong when learning how to embroider on leather. Standard digitizing settings designed for fabric will often damage leather.
When digitizing for leather embroidery, apply these rules:
Poor digitizing is the single biggest cause of damaged leather during machine embroidery. If you are serious about learning how to embroider on leather, investing in quality digitizing software or working with a professional digitizer is worth every dollar.
Use an adhesive stabilizer, magnetic hoop, or floating technique to hold the leather in position. Never stretch or overstretch the leather while securing it — this distorts the material and the finished embroidery.
Speed is the enemy of leather embroidery. Running your machine at high speed generates heat and friction that can damage both the leather and the needle. Most experienced leather embroiderers reduce machine speed by 30 to 50 percent compared to their standard fabric settings.
Slower stitching gives you more control, better stitch quality, and far fewer thread breaks or needle issues.
Thread tension on leather must be balanced carefully. Too tight and the thread pulls through the leather, creating visible holes and surface damage. Too loose and the stitches sit uneven on the surface. Check tension on your test scrap and make small adjustments before moving to the real piece. Monitor the stitching throughout the embroidery run — do not simply start the machine and walk away.
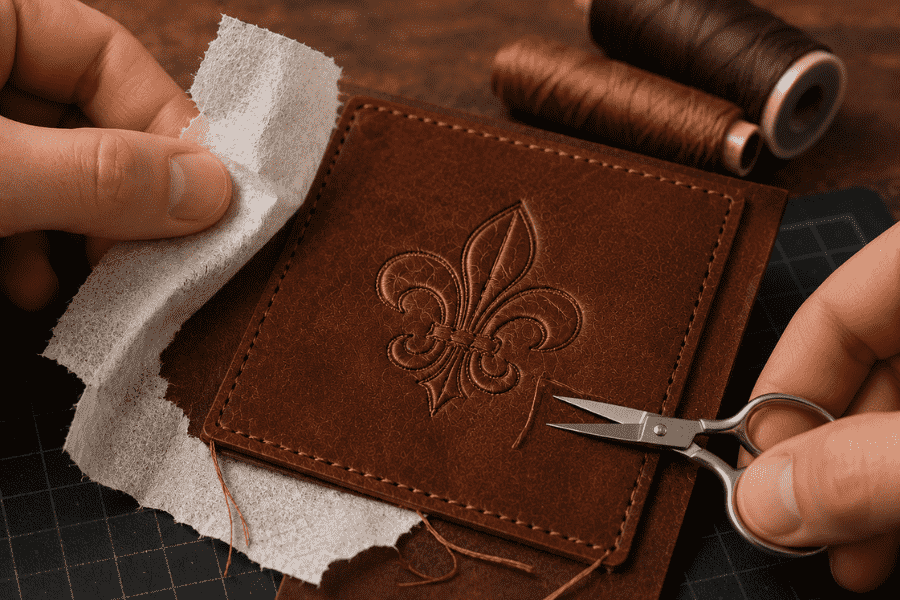
Once embroidery is complete, remove the stabilizer gently. If using tear-away stabilizer, tear slowly and support the leather around the embroidery to avoid pulling the stitches. Trim all thread tails carefully with small scissors. Never pull threads aggressively on leather — the needle holes are permanent and pulling can enlarge them.
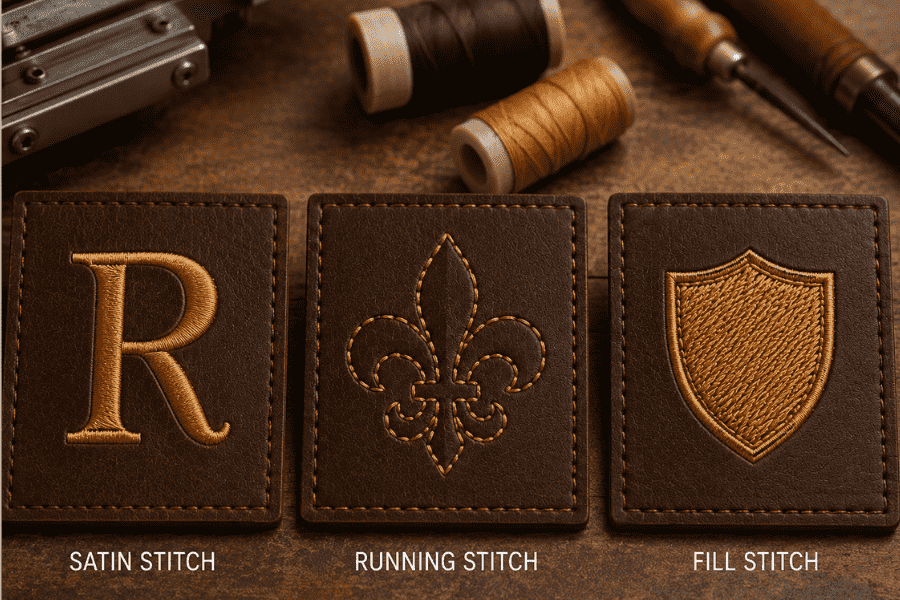
Different stitch types behave very differently on leather, and choosing the right one matters.
Satin stitch is excellent for leather embroidery because it produces a smooth, polished surface finish with a luxury appearance. Use satin stitch for text, logos, and bordered elements.
Running stitch is the gentlest option for leather because it creates the fewest needle penetrations per inch. It is ideal for fine detail work, decorative outlines, and designs where leather integrity is a priority.
Fill stitch must be used carefully on leather. Dense fill areas concentrate hundreds of needle penetrations and can weaken or perforate the leather structure. If you must use fill stitch, reduce density significantly from your standard settings.
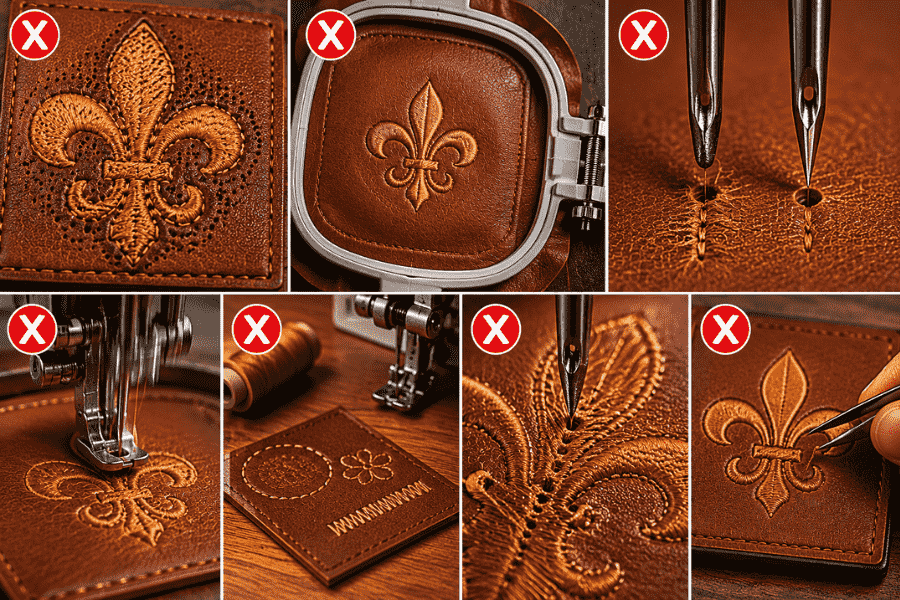
Understanding what goes wrong is just as important as understanding what to do right when learning how to embroider on leather.
Using dense designs without reducing settings. Dense fill stitches create perforation lines across the leather, weakening its structure and ruining the appearance. Always reduce density for leather.
Hooping leather directly in a traditional hoop. Hoop marks on leather are permanent. Always use magnetic hoops, adhesive methods, or floating techniques.
Using standard embroidery needles. Regular needles are not designed for leather. They drag, skip stitches, and can tear the material. Always use dedicated leather needles with cutting points.
Stitching at high speed. Speed generates friction and heat, which damages leather and breaks threads. Slow down significantly.
Skipping the test run. Never embroider directly onto an expensive leather product without testing first on a matching scrap. This single habit prevents the vast majority of costly mistakes.
Re-stitching over the same area. Every needle penetration in leather is permanent. Going over the same area multiple times concentrates damage and weakens the material. Get the design right the first time.
Machine embroidery dominates production work, but hand embroidery on leather has a dedicated and growing market in premium and artisan segments.
Hand-embroidered leather products carry a perception of exceptional craftsmanship and authenticity that machine work cannot fully replicate. For high-end custom leather goods, hand embroidery commands premium prices.
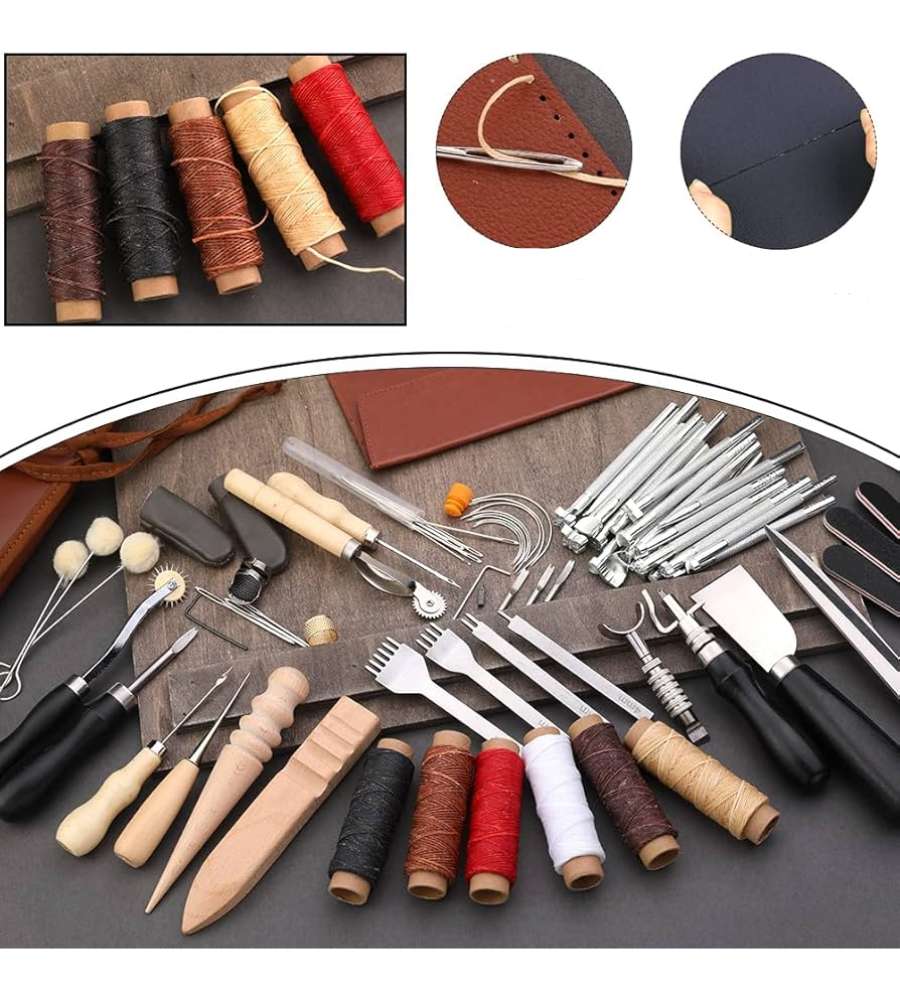
Tools needed for hand embroidery on leather include a leather awl for pre-punching holes, hand embroidery needles, waxed thread for strength and smoothness, and leather punch tools for consistent hole sizing.
Key tips for hand embroidery on leather: always pre-punch holes rather than pushing the needle through unprepared leather, use strong waxed thread to prevent fraying, maintain consistent spacing between stitches for a professional appearance, and avoid over-tightening stitches which can pucker or deform the leather surface.
Properly embroidered leather lasts for years with the right care.
Avoid excessive moisture — water can penetrate leather and weaken the structure around embroidered areas. Store embroidered leather products away from direct sunlight and high humidity, both of which cause leather to dry, crack, and fade over time. Use leather conditioner periodically, applying it carefully around embroidered sections. When cleaning, never scrub embroidery aggressively — this loosens thread and damages the stitching.
Many customers compare embroidery and printing when making customization decisions. For most premium leather applications, embroidery wins.
Embroidery on leather creates a textured, three-dimensional appearance that feels luxurious to the touch. It lasts longer than printing, holds its color far better over time, and carries a much higher perceived value in the marketplace. For luxury branding, corporate gifts, and fashion applications, embroidery consistently outperforms printing in customer satisfaction and repeat business.
Printing has advantages in cost and speed for photo-realistic designs, but for logos, text, monograms, and brand marks on leather, embroidery is the professional standard.
Apex Embroidery has been embroidering and digitizing for 20 years. All our designs and fonts are digitized by hand, each letter.
Copyright © 2026 - Apexembdesigns.com


