Hidden


| The fonts at Apex Cuttable Designs work differently to traditional system fonts. When using System fonts (e.g. TTF’s) with Design Space you select Add Text and type your word. |  |
| The fonts at Apex are delivered to you in several formats, one of those being SVG. To use those fonts, you upload the letters using the Upload Image option. So let’s take a look at that process. | |
STEP 1Once you have purchased and installed your font (see separate tutorial on that process) open Cricut Design Space and sign in by clicking on the Account menu. | 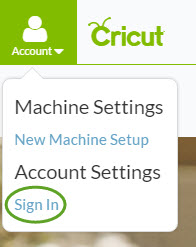 |
STEP 2Click Sign in, type in your Cricut email address and password and click the Sign In button. | 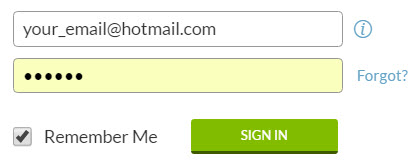 |
STEP 3Click the Create New Project button. | 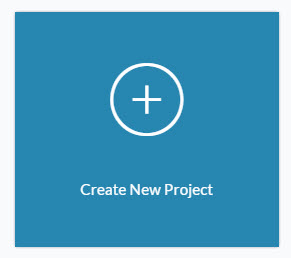 |
STEP 4Click the Upload Image button | 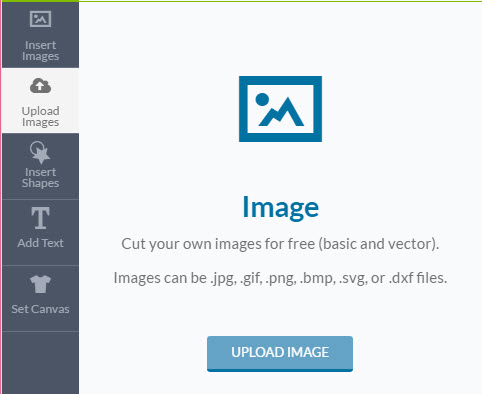 |
STEP 5Click the Browse button | 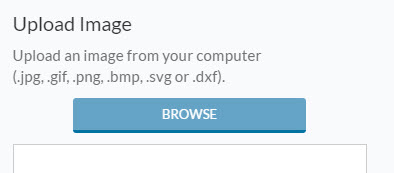 |
STEP 6Navigate to the SVG directory that was created when you unzipped the files. Click on the letter that you want to import into Design Space and if necessary click the Open button. | 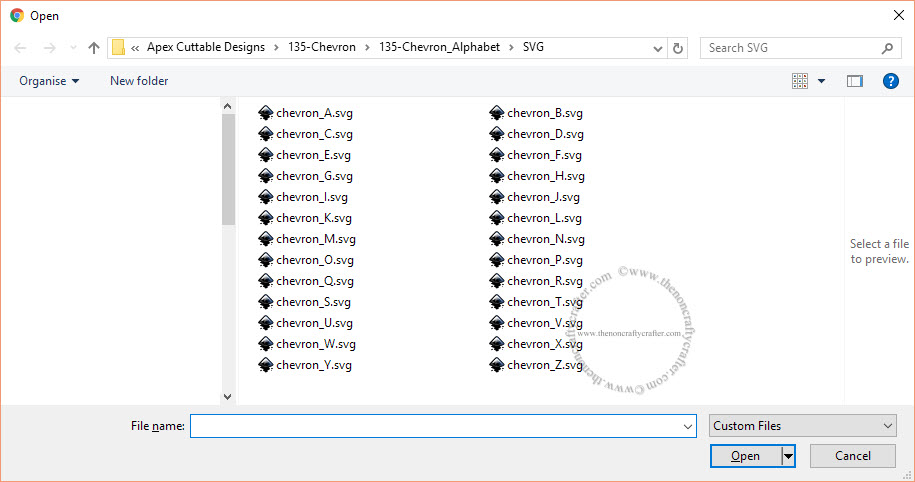 |
STEP 7The letter will appear in the preview box. If you wish you can add Tags to your upload to make it easier to search for it again later. Click the Save button to continue |  |
STEP 8The letter will appear in the Uploaded Images Library. Click on it to select it then click the Insert Images button. | 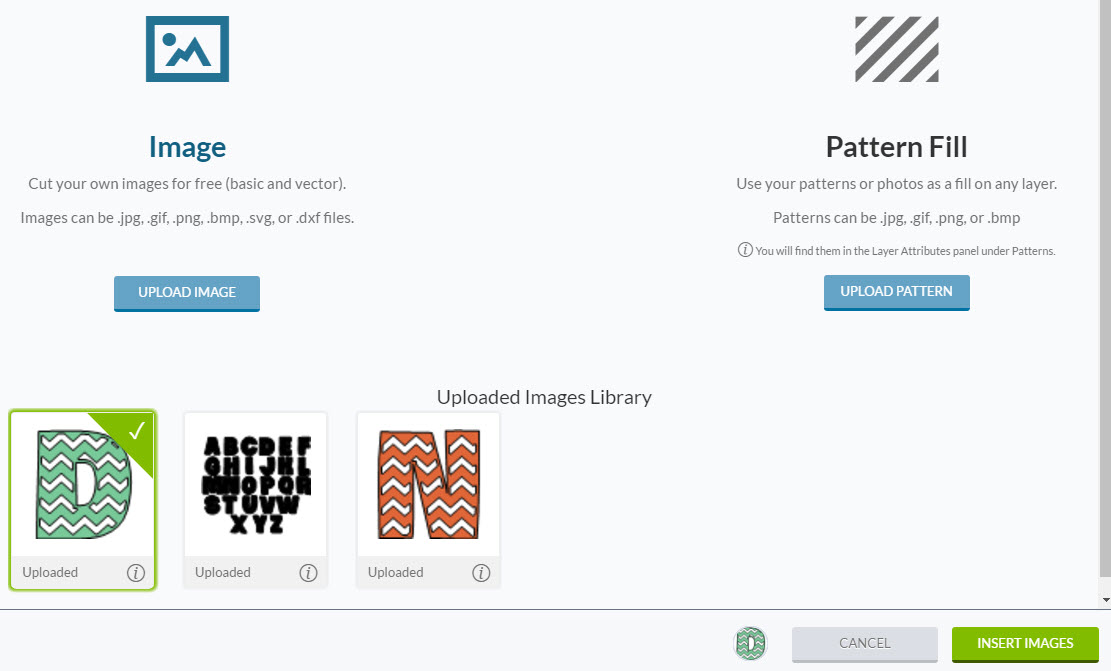 |
STEP 9The image will be placed on your Design Space canvas. Click on it to select it then you can change the size by either dragging the bottom right selection arrow or by changing the details in the Edit panel. Remember to keep the proportions lock closed unless you only want to change the width OR height. |  |
STEP 10Your image is now ready to cut. If you wish you can change the colour of your image by clicking on the letter in the Layers panel, then selecting from one of the Basic Colors or by clicking inside the Custom Color box. Changing the colour here is just a cosmetic change of course as the final colour is dictated by the cardstock/vinyl etc that you place on your cutting mat. | 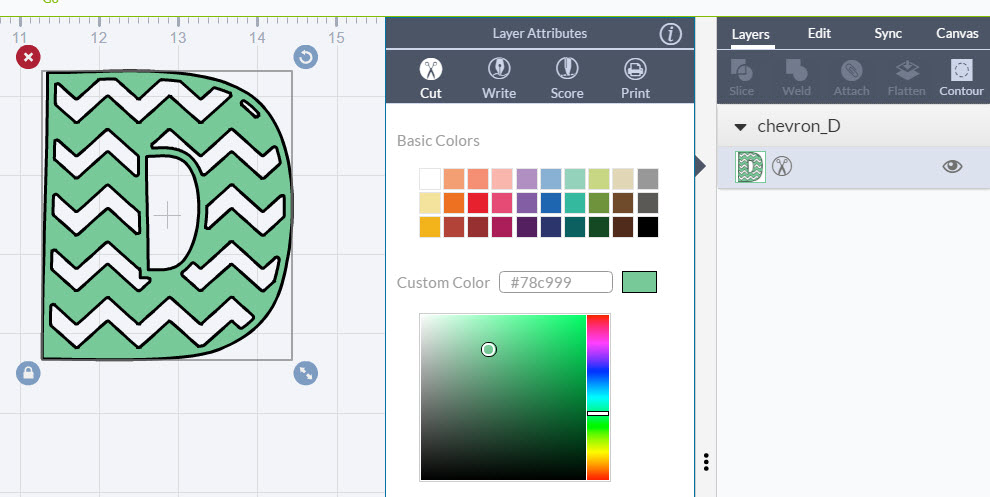 |
Apex Embroidery has been embroidering and digitizing for 20 years. All our designs and fonts are digitized by hand, each letter.
Copyright © 2026 - Apexembdesigns.com


