Hidden


Fabric shifts. Stitches pucker. The design looks centered on screen, but the machine starts running and suddenly everything feels slightly off. In machine embroidery, the problem often starts with hooping. Learning how to use an embroidery hoop correctly keeps your fabric, stabilizer, and design aligned, so your final stitch-out looks cleaner, flatter, and far more professional. This Apex guide walks you through the right way to hoop fabric, keep it stable, and finish your embroidery neatly.
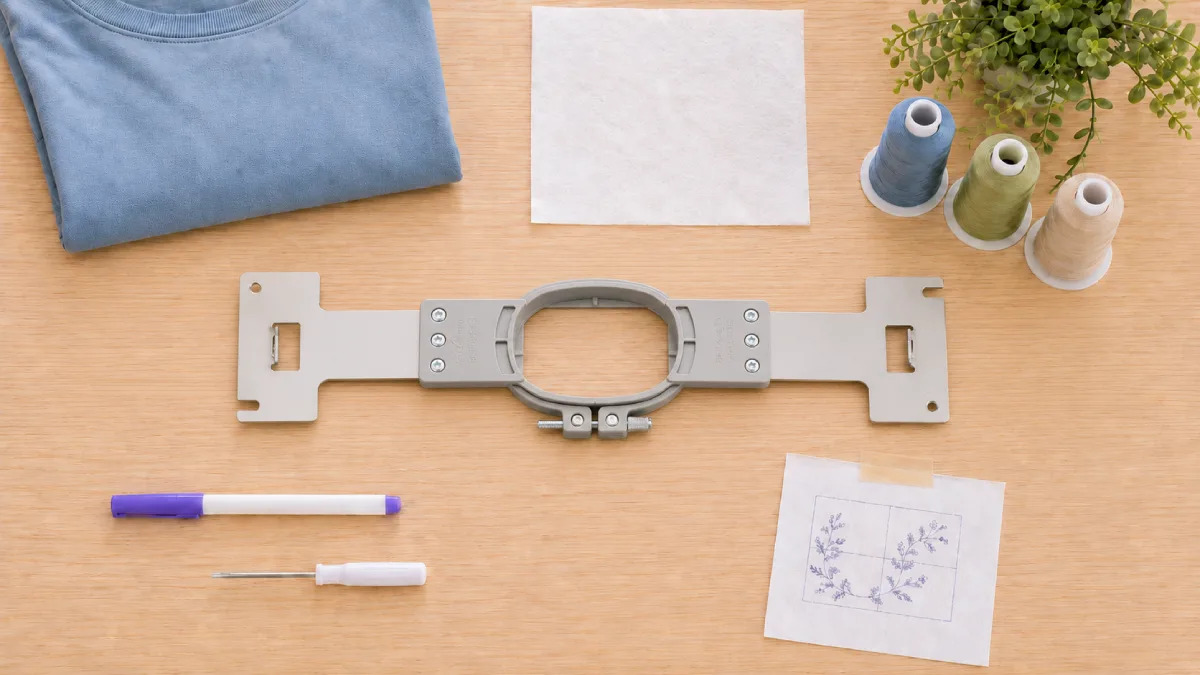
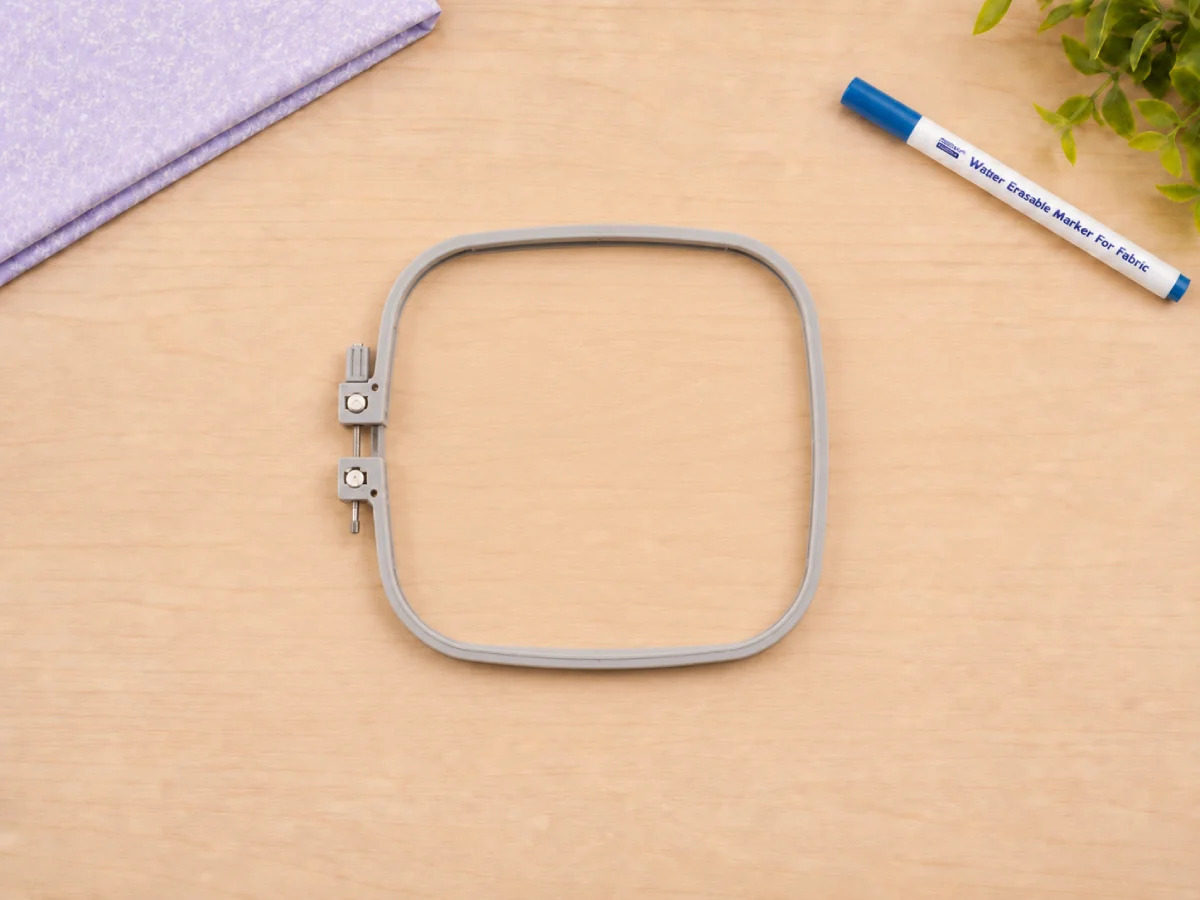
A machine embroidery hoop normally has two parts: the bottom hoop and the top hoop. Some hoops use screws. Some use locking clips. Most have center marks to help align the design area.
The hoop holds two main layers:
The stabilizer controls fabric movement. When the machine stitches, thread adds pressure to the material. If the fabric is unsupported, it may stretch, sink, wrinkle, or shift.
A good hooping setup should meet four conditions:
Hooping becomes harder when you are trying to hold the garment with one hand and search for stabilizer with the other.
You will need:
The design file must fit inside the hoop’s safe stitch area, not just the physical hoop size. Every hoop has limits. If a design is too close to the edge, the machine may not stitch safely or cleanly.
Stabilizer choice depends on fabric and design density.
For towels, fleece, or fabrics with a raised surface, a water-soluble topping may also be used on top to stop stitches from sinking into the texture.
This is the section to slow down. Most hooping mistakes are small, but they show up clearly once stitching begins.
Loosen the screw or locking system before placing the fabric. If the hoop is too tight at the start, the top hoop may push the fabric unevenly and create wrinkles.
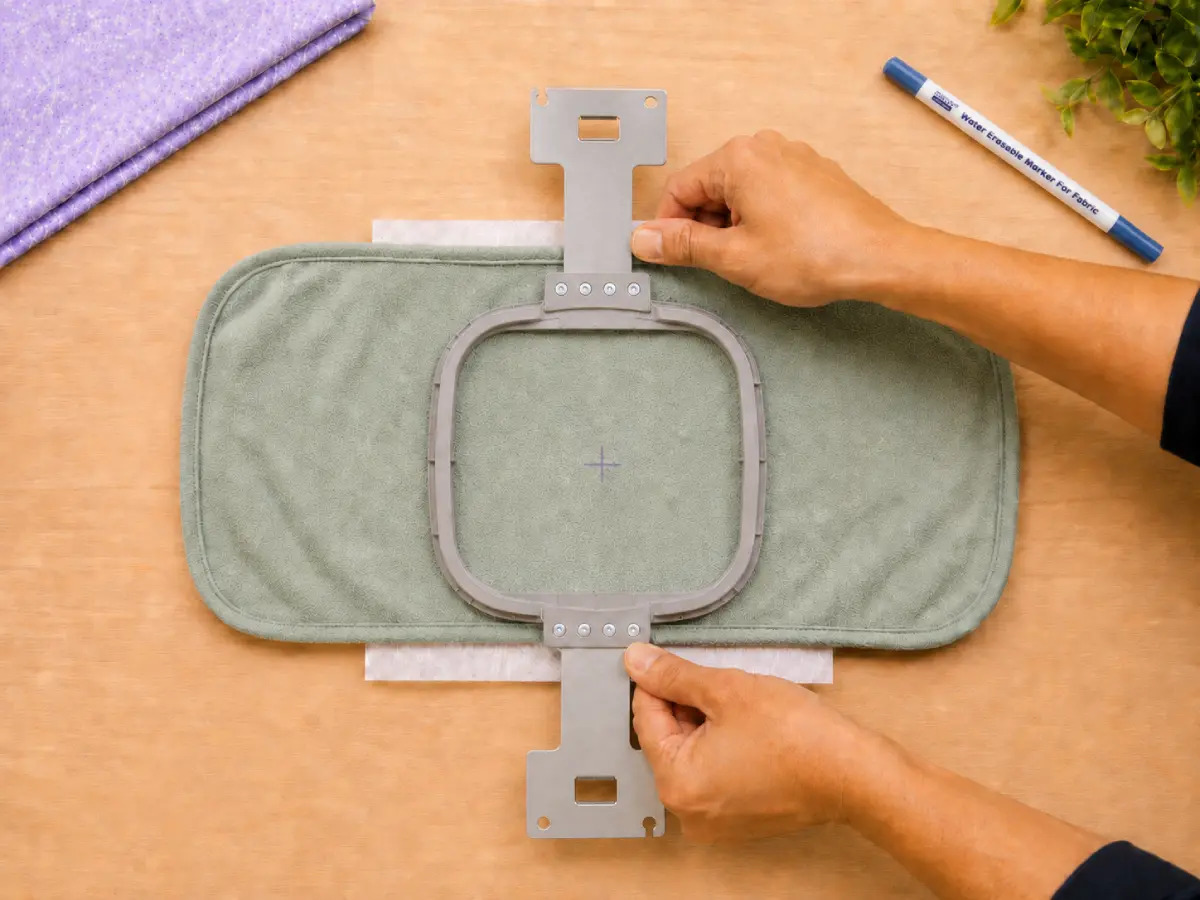
Place the bottom hoop on a flat surface. Hooping on a table gives better control than holding the hoop in your hands, especially for beginners.
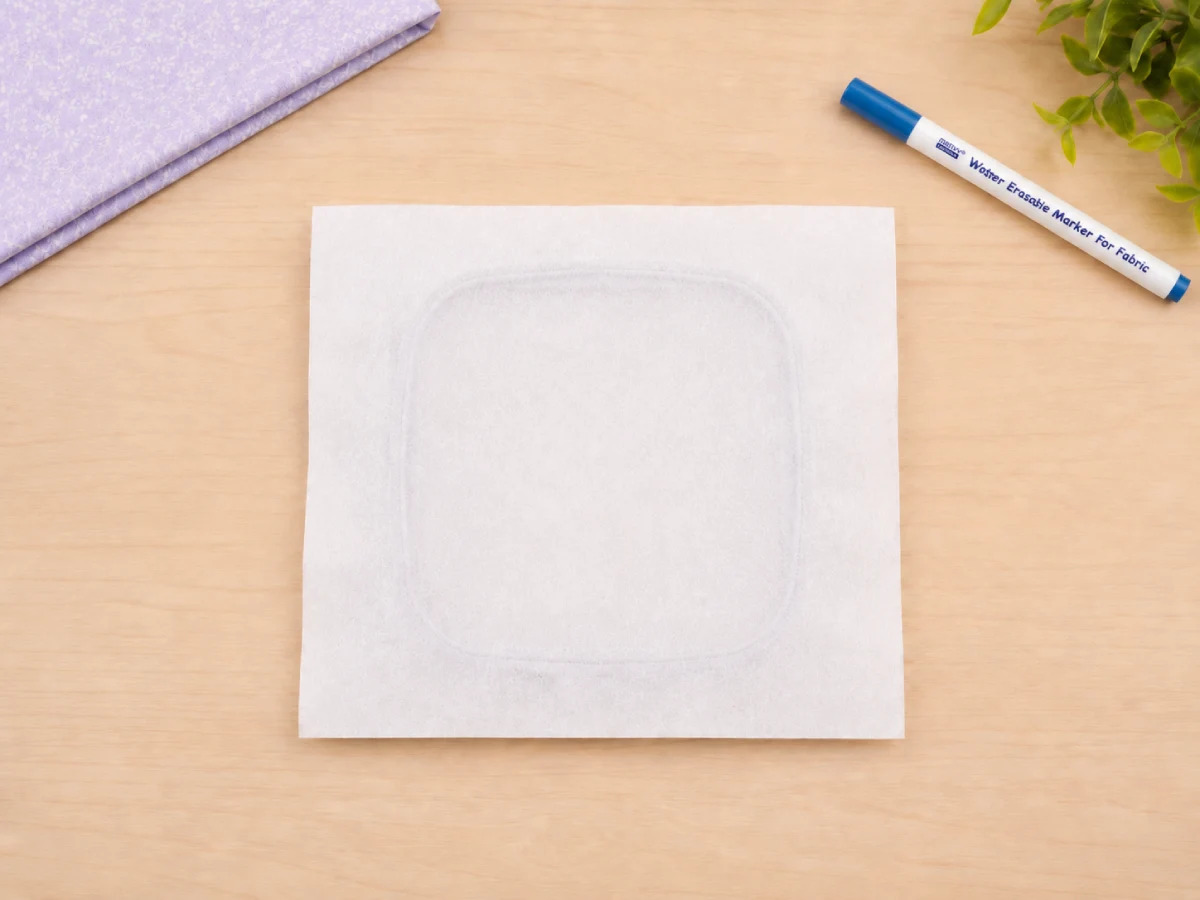
Cut the stabilizer larger than the hoop. It should extend past all hoop edges so the hoop can grip it securely.
Place the stabilizer over the bottom hoop. Smooth it with your hand. There should be no folds, curled corners, or hidden wrinkles.
If the stabilizer is too small, the hoop may not hold it properly. Once the machine starts stitching, the backing can shift, and the design may move with it.
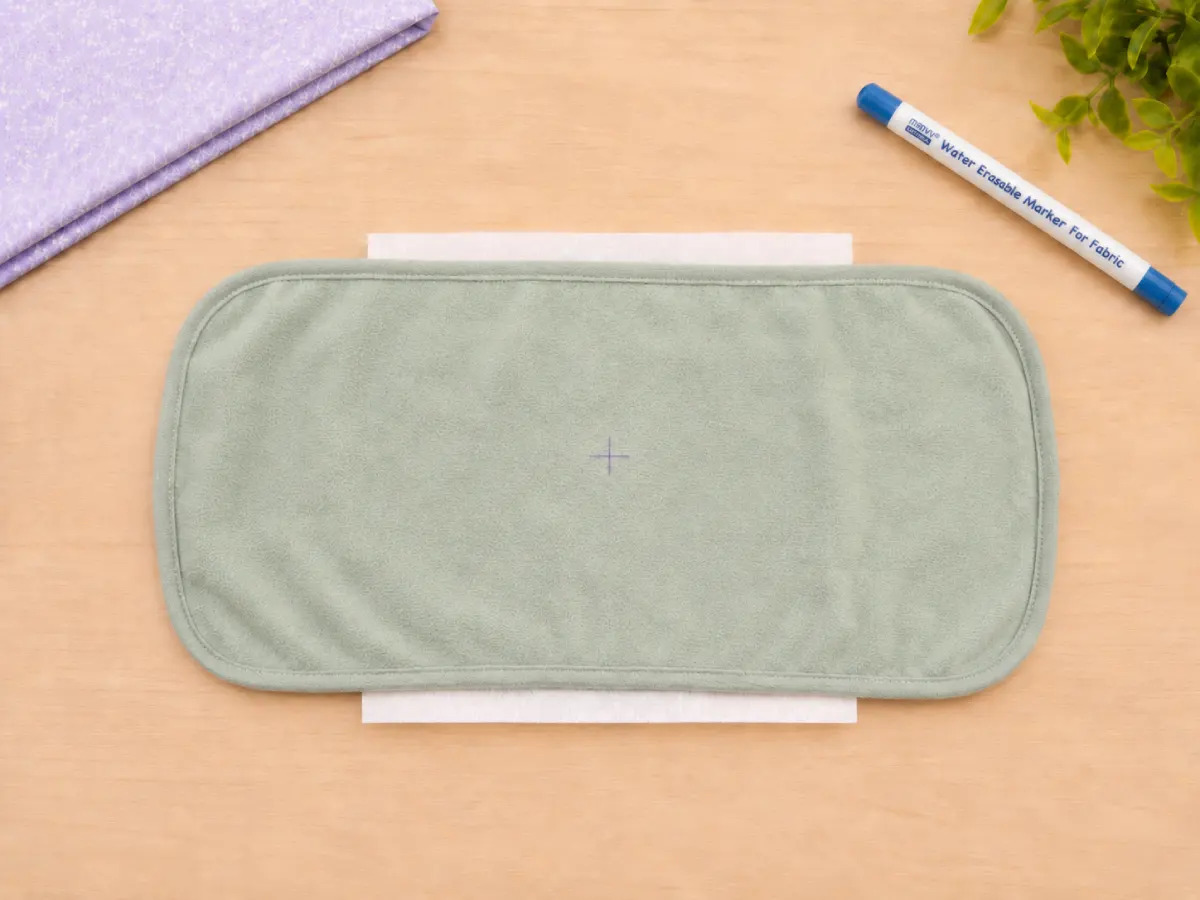
Mark the center of the embroidery area on the fabric or garment. Use a water-soluble marker, chalk, or placement sticker.
Match that mark with the hoop’s center marks.
This step is important for:
Check nearby seams, collars, pockets, zippers, buttons, and thick edges. Keep them away from the stitch area unless the design is meant to go there.
Place the top hoop over the fabric and stabilizer. Press it down evenly.
Do not force one side in first. That can drag the fabric and create uneven tension. If the hoop is hard to press down, loosen it more.
If the fabric wrinkles, remove the hoop and reset. Do not try to fix wrinkles by pulling the fabric hard after it is already hooped. That often distorts the fabric grain.
Once the fabric is flat, tighten the screw or locking system.
The fabric should feel firm, but not stretched. If you touch the center lightly, it should not slide. If the fabric grain looks pulled or warped, it is too tight.
For stretchy fabrics, be extra careful. Stretching a knit fabric inside the hoop can make it pucker after stitching, because the fabric relaxes when removed from the hoop but the stitches stay fixed.
For a quick visual reference, Apex has a short hoop-stretching video that shows the basic setup: stabilizer placement, fabric alignment, top hoop pressure, and final tightening.
Machine Applique Embroidery with Baby lock Ellageo
This is one of the biggest causes of puckering. The stabilizer must match the fabric and design.
A dense logo on a thin shirt needs stronger support than a light outline on canvas. Stretchy fabric usually needs cut-away stabilizer. Stable woven fabric may work with tear-away.
If the stabilizer is too weak, the fabric absorbs too much stitch pressure.
Do not pull fabric hard just to make it look smooth. This is especially risky with knits, T-shirts, baby clothes, swimwear, and performance fabric.
The fabric should stay in its natural shape. The hoop should hold it, not stretch it.
Wrinkles inside the hoop will not disappear during stitching. They usually become worse.
If you see wrinkles, remove the fabric and hoop again.
Bad placement can ruin a clean design. Always mark the center and match it with the hoop center.
For left-chest logos, also check distance from collar, placket, sleeve seam, and garment edge.
Use the smallest hoop that safely fits the design. A larger hoop may leave more fabric unsupported, which can increase movement.
An embroidery hoop holds the fabric and stabilizer steady while the machine stitches. It helps control movement, placement, and stitch quality.
Place stabilizer over the bottom hoop first, align the marked fabric on top, press the top hoop down evenly, then tighten until the fabric is firm but not stretched.
Yes, in most standard machine embroidery projects. But for thick, delicate, or hard-to-hoop items, you can hoop the stabilizer first and float the fabric on top.
The fabric should be flat and secure, with no sagging or wrinkles. It should not be pulled so tight that the fabric grain stretches or distorts.
Not usually. Machine embroidery hoops are made to fit embroidery machines, while hand embroidery hoops are designed for manual stitching and display.
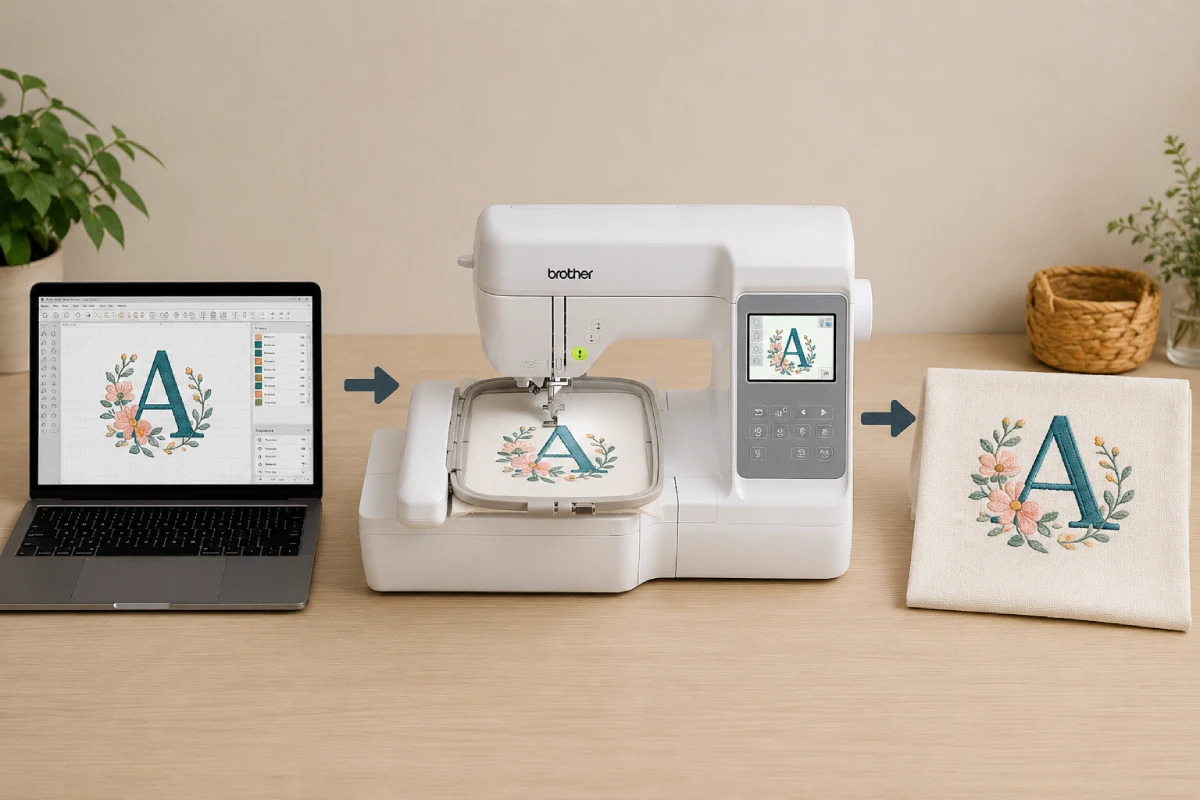
If you want a cleaner stitch-out but do not want to spend hours adjusting embroidery files yourself, Apex can help prepare the right design for your machine, fabric, and project type.
Apex offers thousands of ready-made embroidery designs for customers who need fast, reliable options. If you already have a logo, image, name, or artwork, we can also create a custom embroidery file based on your exact needs.
Our team can guide you on the right file format for your embroidery machine, including common formats such as PES, DST, JEF, VP3, EXP, HUS, XXX, ART, VIP, SEW, and more.
To get the best result, send us:
Apex will help turn your idea into a clean, production-ready embroidery file.
Learning how to use an embroidery hoop for machine embroidery is about control. The stabilizer must support the fabric. The fabric must stay flat. The hoop must hold everything firmly without stretching the material. The design must also be digitized for the fabric, size, and final product.
If your hooping is correct but the embroidery still looks heavy, uneven, or puckered, the file may need better digitizing. Apex can help turn your artwork into a production-ready embroidery file through our custom embroidery digitizing service.
Apex Embroidery has been embroidering and digitizing for 20 years. All our designs and fonts are digitized by hand, each letter.
Copyright © 2026 - Apexembdesigns.com


