
Knowing how to embroider monograms is one of the most sought-after skills in the embroidery world. A precisely stitched monogram transforms an ordinary fabric item into something personal, refined, and lasting. Whether you are personalizing bath towels, dress shirts, handkerchiefs, wedding gifts, tote bags, or baby linens, embroidered monograms deliver a level of elegance that printing or iron-on transfers simply cannot replicate.
This guide covers everything you need to know to embroider monograms with confidence, from materials and fabric preparation to stitch selection, machine embroidery workflows, placement guidelines, and professional finishing techniques. Whether you are a complete beginner or an experienced needleworker looking to refine your process, this resource will help you achieve clean, polished results from the very first project.
What Is Monogram Embroidery?
A monogram is a decorative design composed of one or more initials, typically representing an individual, couple, family, or brand. In embroidery, those initials are stitched onto fabric using decorative letterforms and specific needlework techniques, creating a personalized mark that carries both identity and artistry.
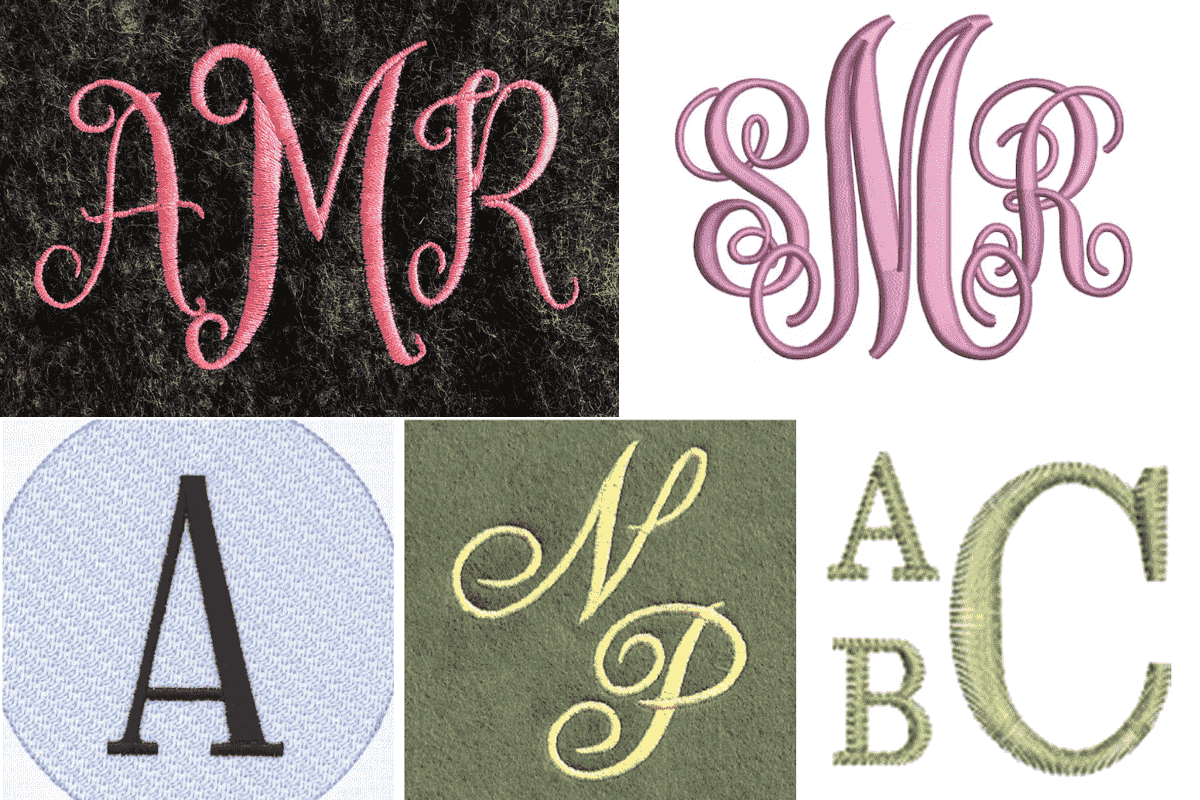
Monograms range from a single embroidered initial in a clean block font to elaborate three-letter arrangements in flowing script, surrounded by decorative borders or floral flourishes. The format you choose depends on your purpose, the fabric item, and the style you want to achieve.
The three most common monogram formats are:
Single-letter monograms: A single initial, often used on accessories, cuffs, pocket squares, or minimalist home textiles. Clean and understated.
Two-letter monograms: Commonly represent a couple, partnership, or business. The two initials can be set side by side or designed to overlap.
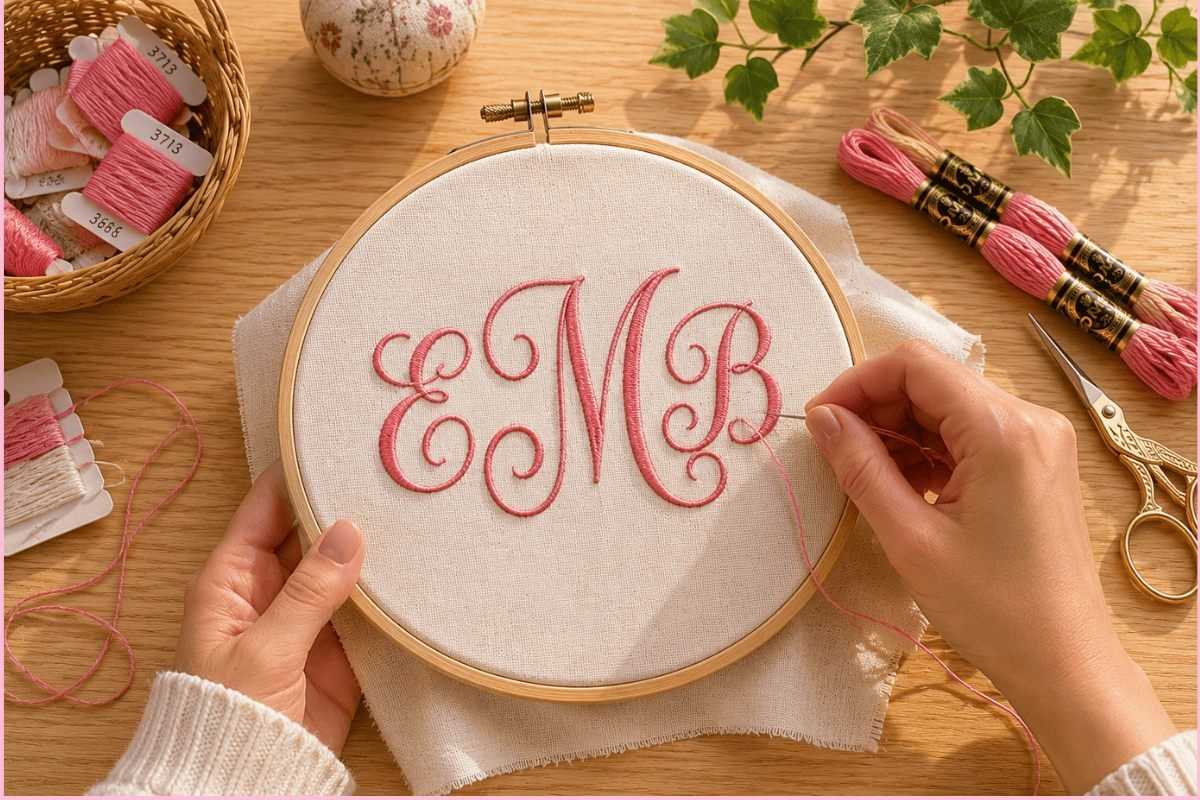
Three-letter monograms: The most traditional format. The last-name initial appears at center and is sized larger, flanked by the first and middle initials on each side. This arrangement is widely used for wedding gifts, personalized linens, and formal garments.
Understanding the format conventions before you begin helps you design a monogram that reads correctly and looks intentional rather than improvised.
Why Monogram Embroidery Remains a Timeless Skill
Few embroidery techniques have demonstrated the longevity of monogram work. Personalized items create stronger emotional connections than mass-produced alternatives, and embroidered initials communicate a level of craftsmanship that consumers and gift recipients recognize immediately.
On the commercial side, monogram embroidery is among the most consistently profitable services offered by embroidery businesses. Hotels, luxury spas, bridal boutiques, uniform suppliers, and premium retailers regularly commission embroidered monograms for linens, robes, uniforms, and branded merchandise.
For hobbyists and home embroiderers, the appeal is equally strong. A handmade monogram on a gift carries a personal investment that no store-bought item can match. Learning how to embroider monograms well means you can create meaningful, professional-quality gifts and keepsakes for weddings, newborns, housewarmings, and milestones.
Essential Materials for Embroidering Monograms
Before you touch a needle or thread, gathering the right materials is the single most important step toward quality results. Inadequate supplies cause most of the problems beginners encounter.
Fabric
The fabric you embroider determines how much preparation your project requires. Cotton is the most forgiving fabric for beginners. It holds stabilizers well, accepts stitching cleanly, and produces sharp letter edges. Linen is slightly more textured but remains stable under the hoop and offers an elegant, heirloom appearance.
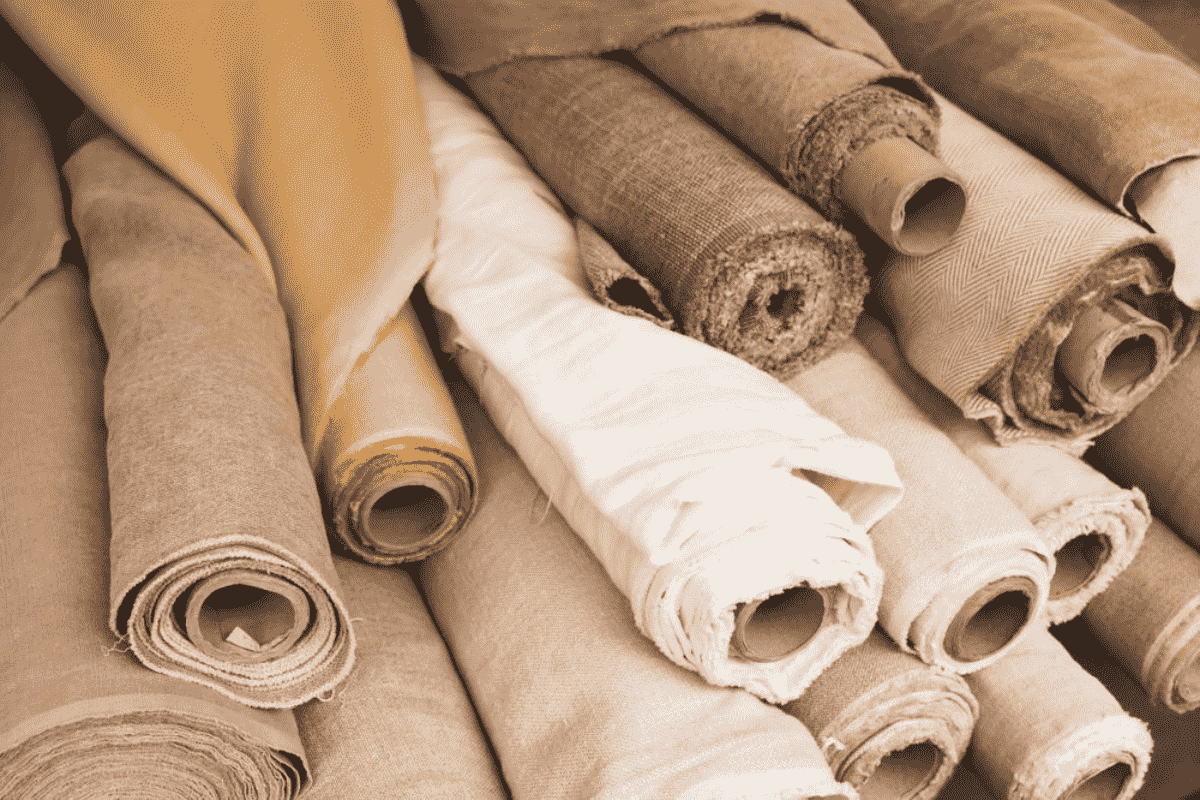
Terry cloth towels, performance knits, denim, and fine dress-shirt fabrics all require specific stabilization strategies, which are covered later in this guide. When learning how to embroider monograms, starting with a tightly woven cotton or cotton-blend fabric will significantly reduce frustration.
Embroidery Thread
Thread quality has a direct impact on finished appearance. The three most commonly used thread types for monogram embroidery are:

Rayon thread: Produces a high-sheen, luminous finish. Popular for decorative lettering on linens, gifts, and fashion items where visual impact matters.
Polyester thread: More durable than rayon and resistant to fading through repeated washing. Ideal for monograms on towels, uniforms, sportswear, and any item that sees frequent laundering.
Cotton thread: Creates a matte, softer finish with a traditional handcrafted appearance. Excellent for heirloom pieces, vintage-inspired projects, and hand embroidery work.
For most beginner projects, a quality 40-weight polyester or rayon thread is a reliable starting point. Avoid bargain thread, which tends to break more frequently and produces inconsistent results.
Needles
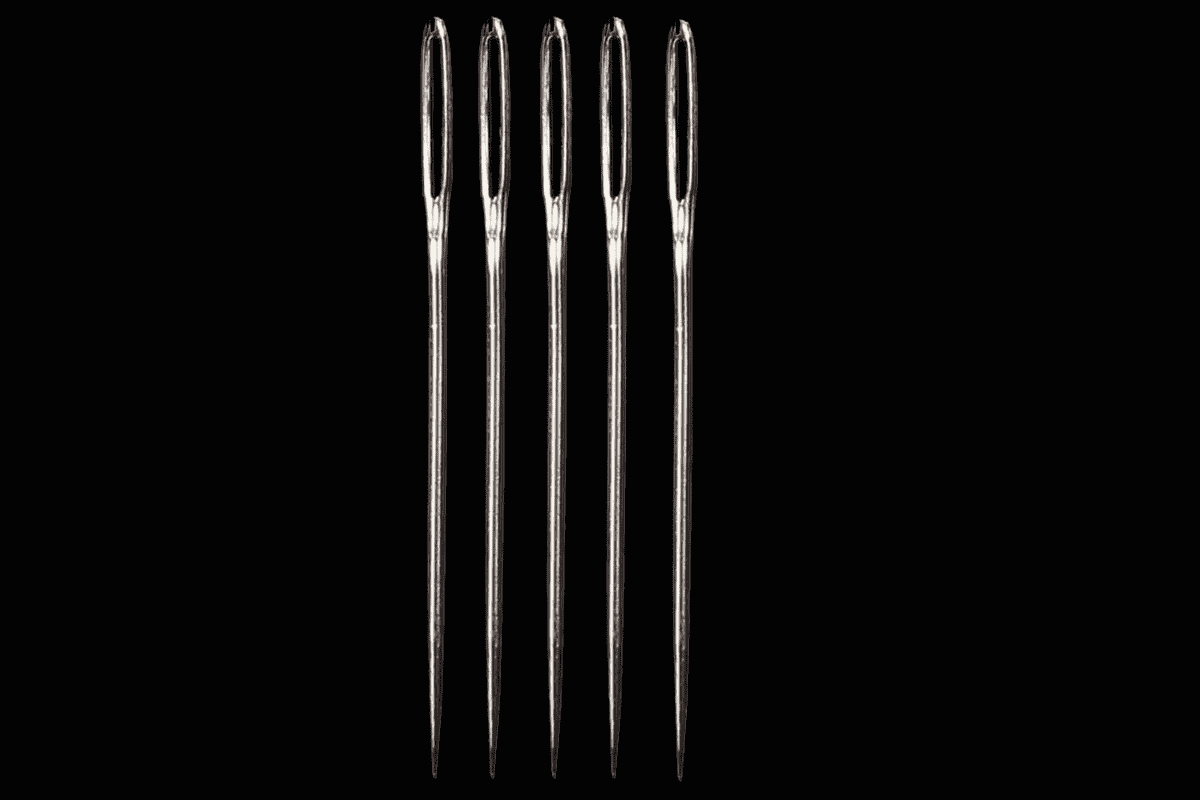
Needle selection depends on your fabric type. As a general rule:
- Sharp or embroidery needles work best for woven fabrics including cotton, linen, canvas, and denim.
- Ballpoint needles are the correct choice for knit fabrics, as they slide between yarn loops rather than piercing them.
- Titanium-coated needles last longer and glide through dense materials more smoothly.
Change your needle regularly. A dull needle causes skipped stitches, thread breaks, and visible fabric damage, all of which are especially noticeable in precision lettering work.
Stabilizers
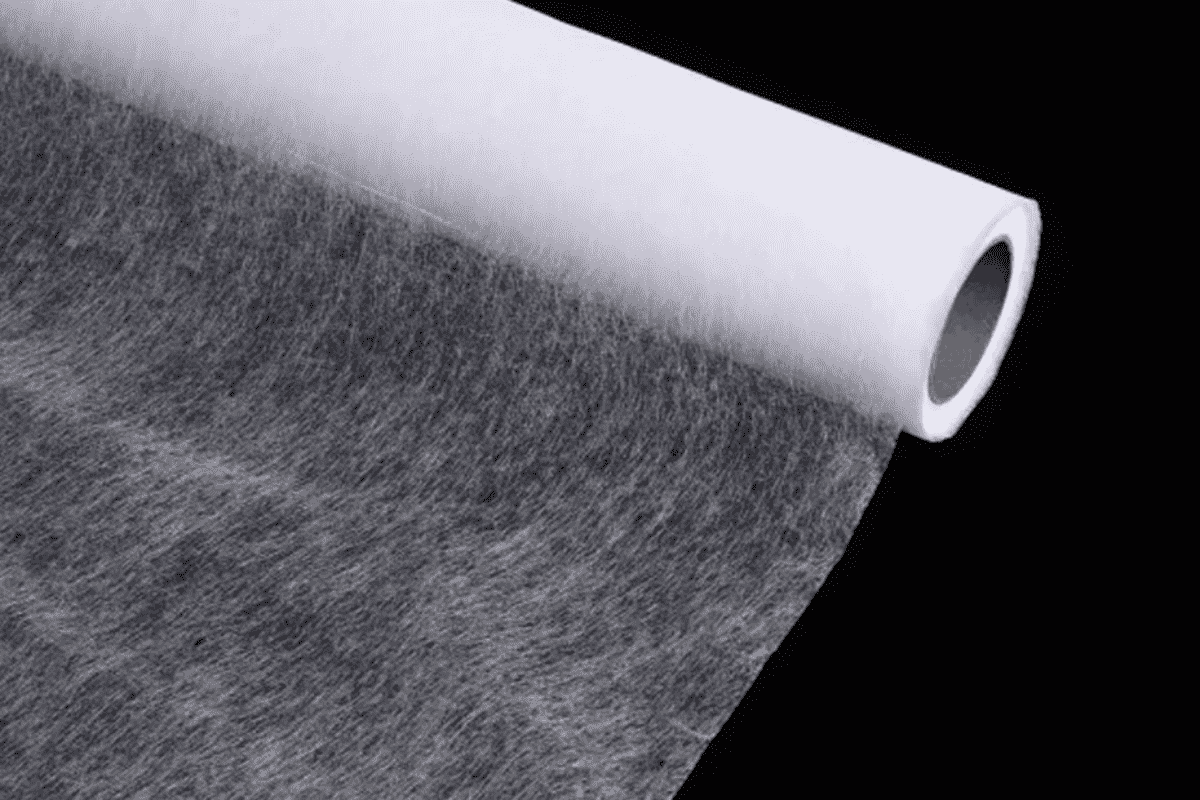
Stabilizers are not optional. They are the foundation that allows clean monogram embroidery, and skipping them is one of the most common mistakes beginners make.
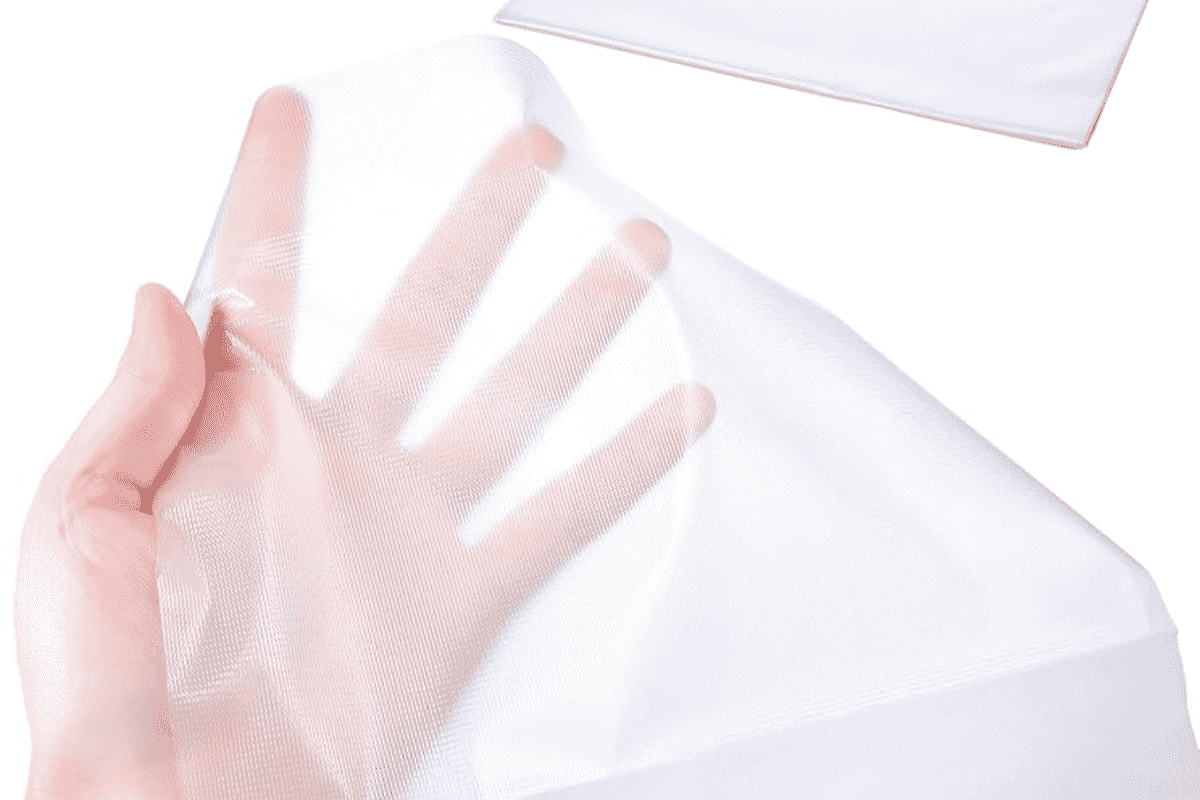
Tear-away stabilizer: Suitable for stable woven fabrics. After embroidery is complete, it tears away cleanly from the edges of the design. Best for cotton shirts, canvas bags, and flat linens.
Cut-away stabilizer: Provides permanent support and is preferred for stretchy or loosely woven fabrics. Remains behind the embroidery after excess is trimmed away, preventing long-term design distortion.
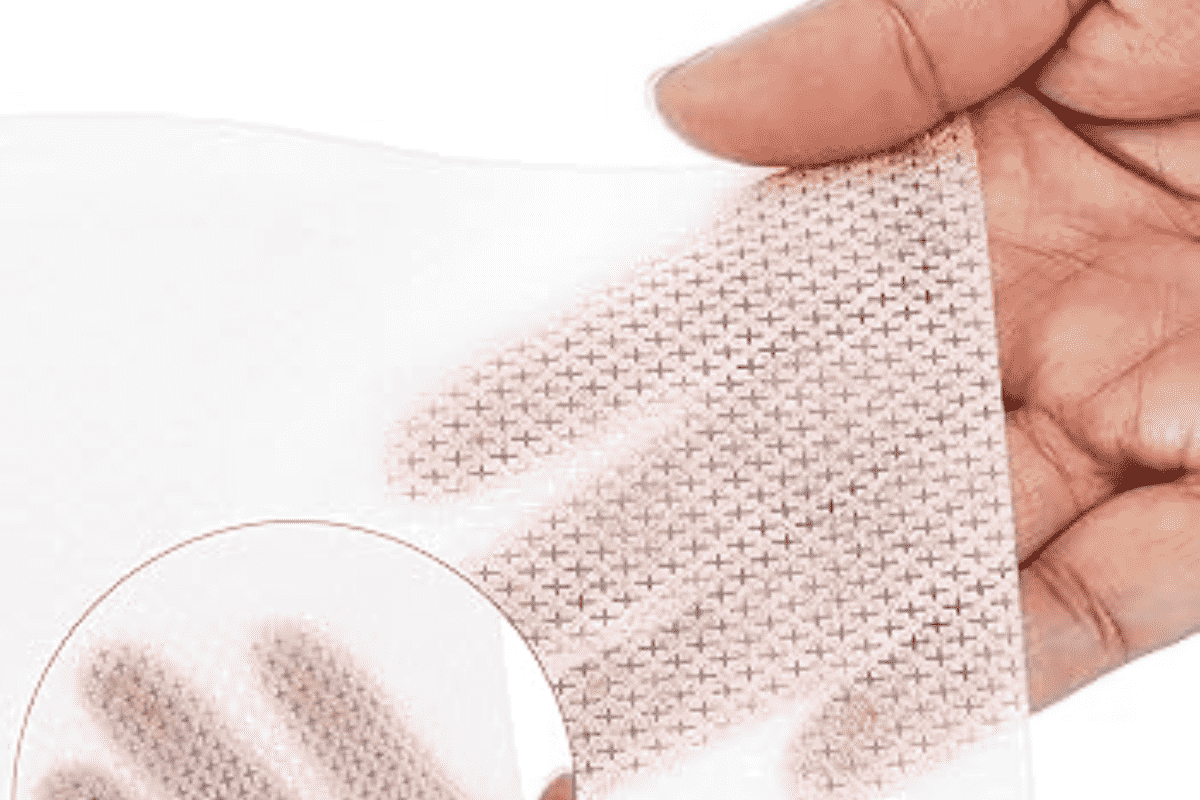
Water-soluble topping (or wash-away stabilizer): Placed on top of the fabric before stitching. Essential for towels and fleece, where the surface texture would otherwise swallow the stitches. Dissolves with water after embroidery is complete, revealing crisp lettering.
Matching the stabilizer to the fabric is not a trivial detail. It determines whether your lettering holds its shape and stays legible after washing.
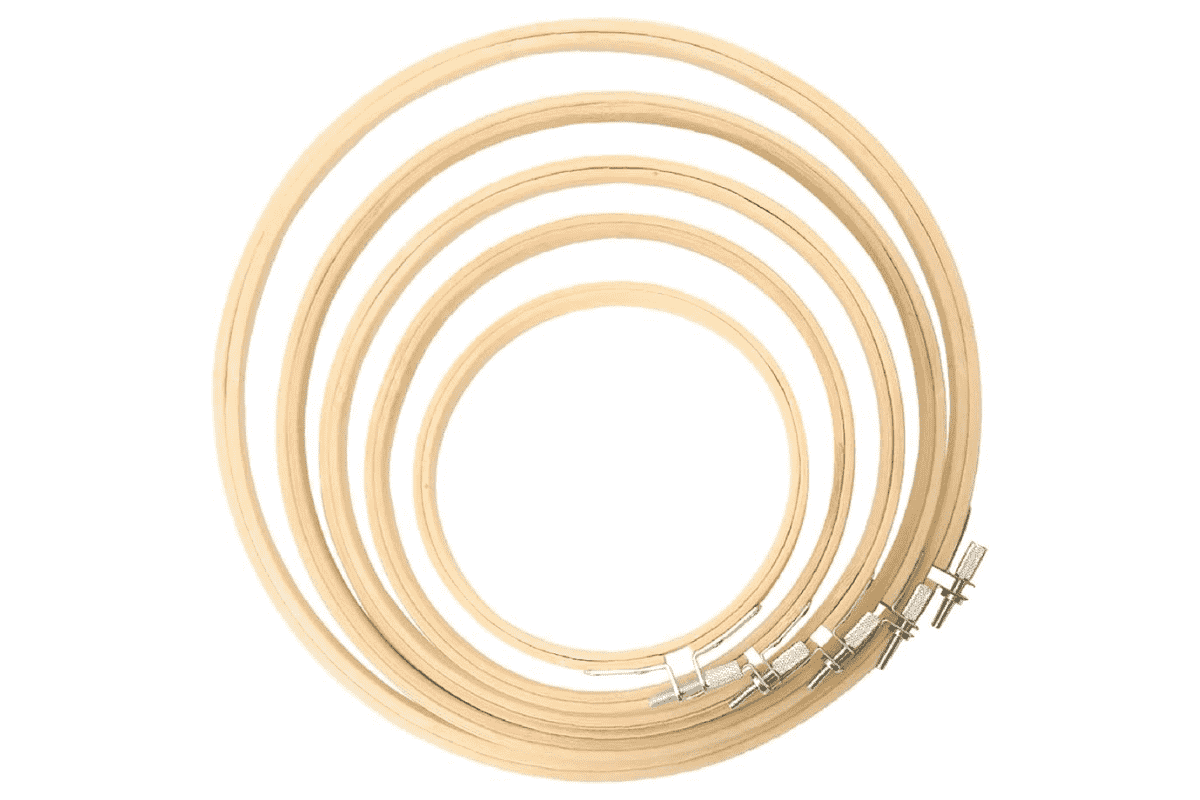
Embroidery Hoops
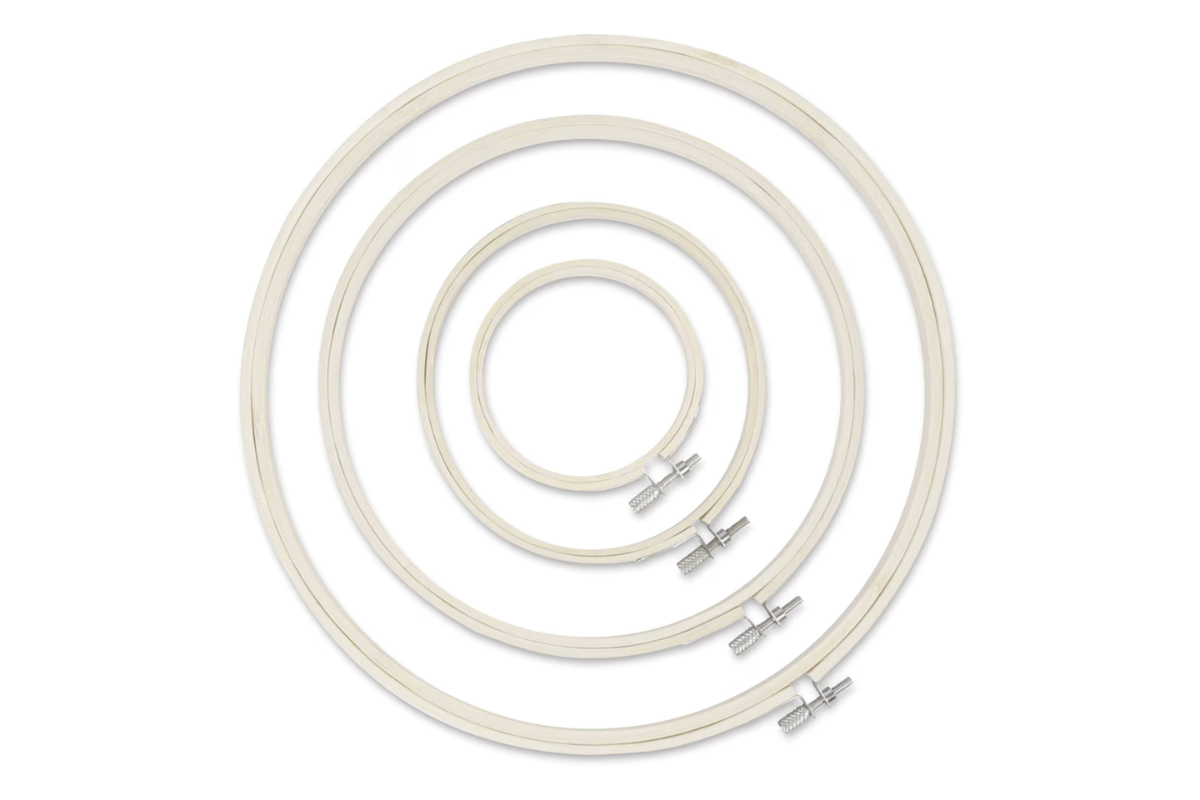
An embroidery hoop maintains consistent fabric tension throughout stitching. For hand embroidery, a wooden or plastic hoop works well. For machine embroidery, you will use the specific hooping frame designed for your machine model.
Proper hooping is essential when you embroider monograms because even minor fabric movement during stitching causes letters to misalign, appear puckered, or lose their defined edges.
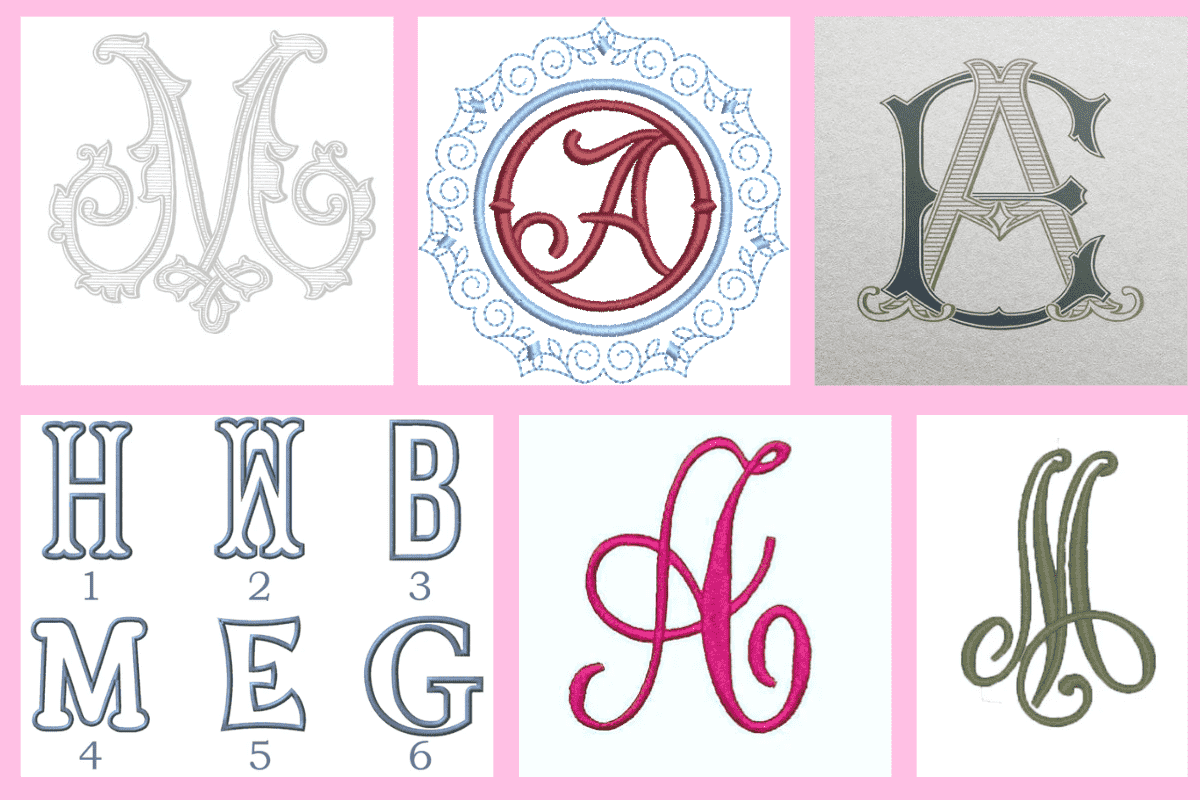
How to Choose the Best Monogram Font for Embroidery

Font selection shapes the entire personality of your monogram. Choosing a font that is beautiful on screen but poorly suited to embroidery is one of the most common errors made by people new to monogram work.
Script Fonts
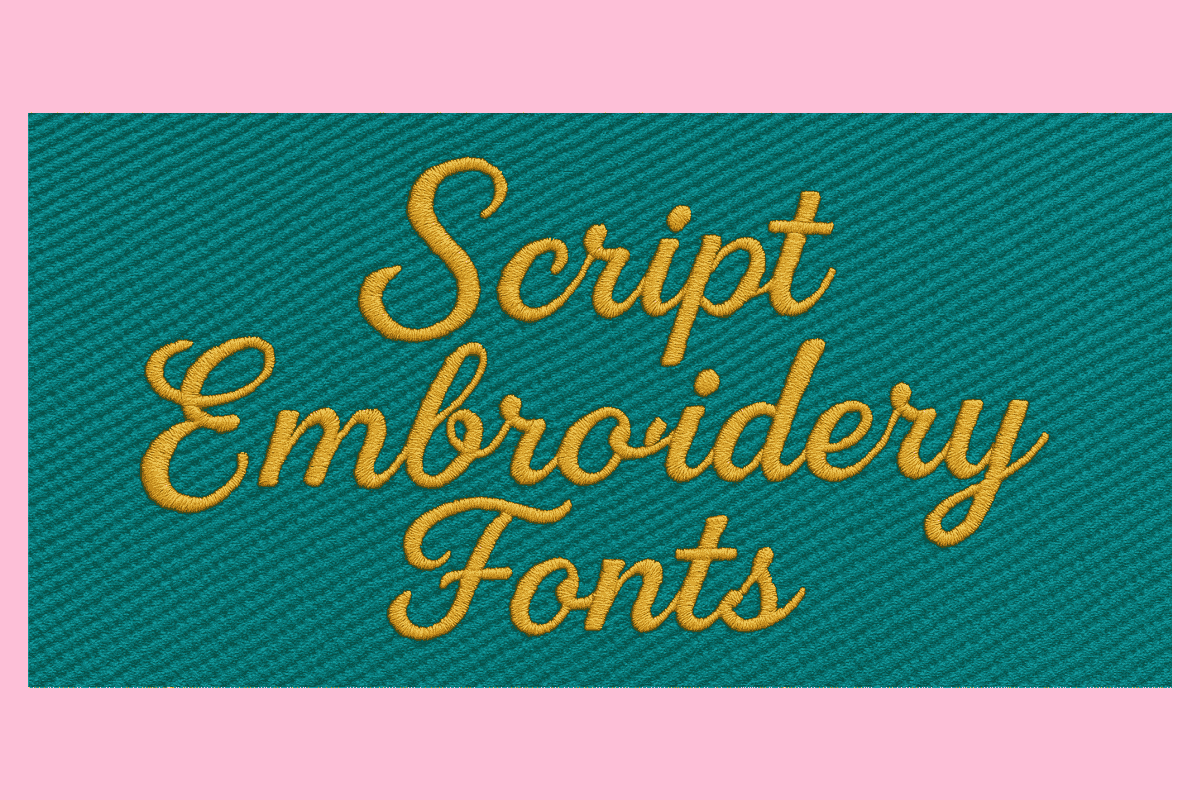
Classic script fonts are the most popular choice for monogram embroidery. Their flowing letterforms communicate elegance and are closely associated with weddings, luxury linens, and personalized gifts. Script fonts reward attention to scale: they read best at medium to large sizes and lose detail when stitched very small.
Block Fonts
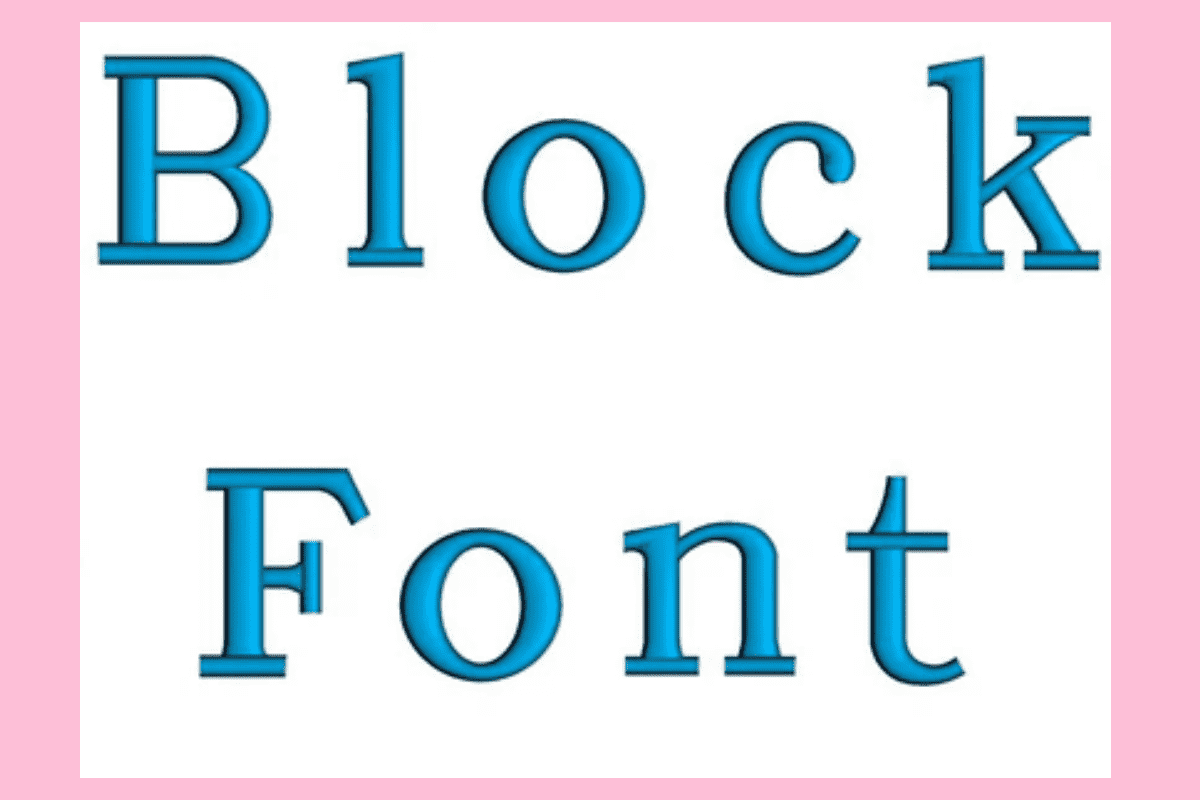
Block or sans-serif letterforms produce a clean, contemporary look. They are a strong choice for business branding, athletic apparel, uniforms, and minimalist personal items. Their geometric structure tends to stitch very consistently across different fabric types.
Serif Fonts
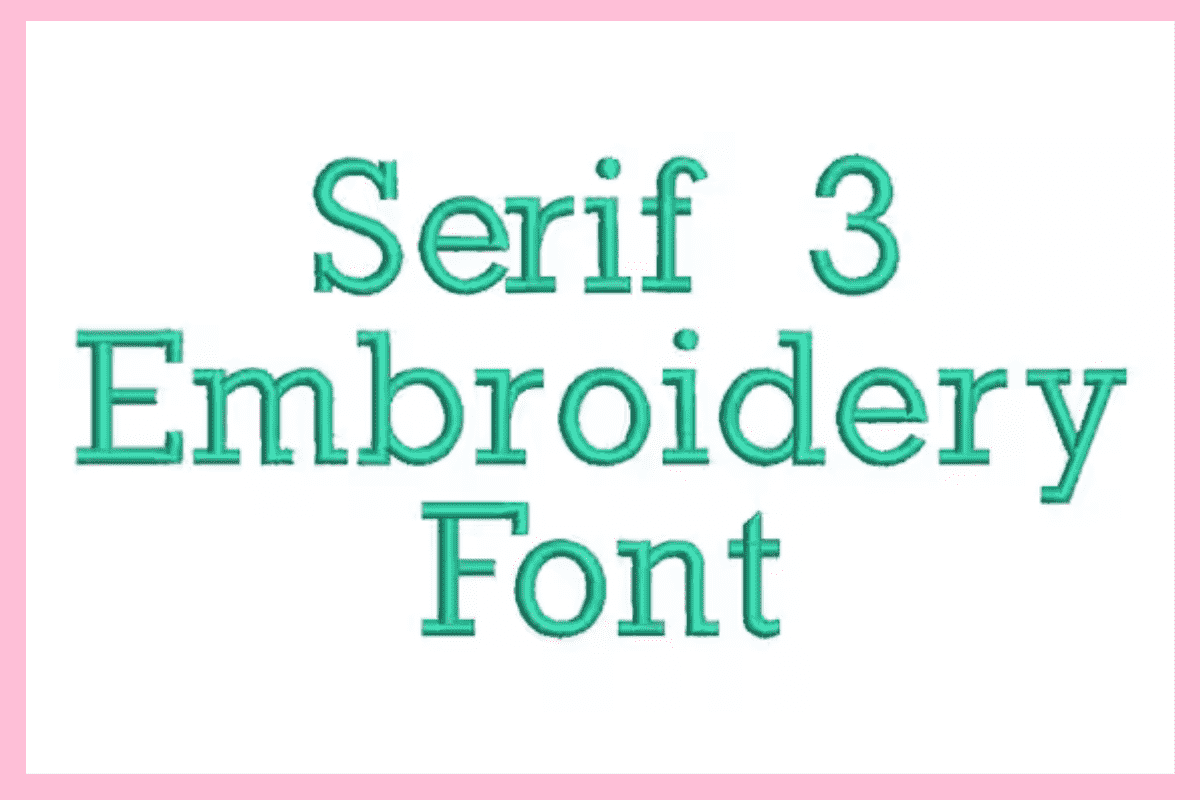
Traditional serif fonts offer balance between elegance and clarity. Their structured letterforms reproduce well at a range of sizes and suit a wide variety of project types, from corporate monogramming to classic home textiles.
Decorative and Ornamental Fonts
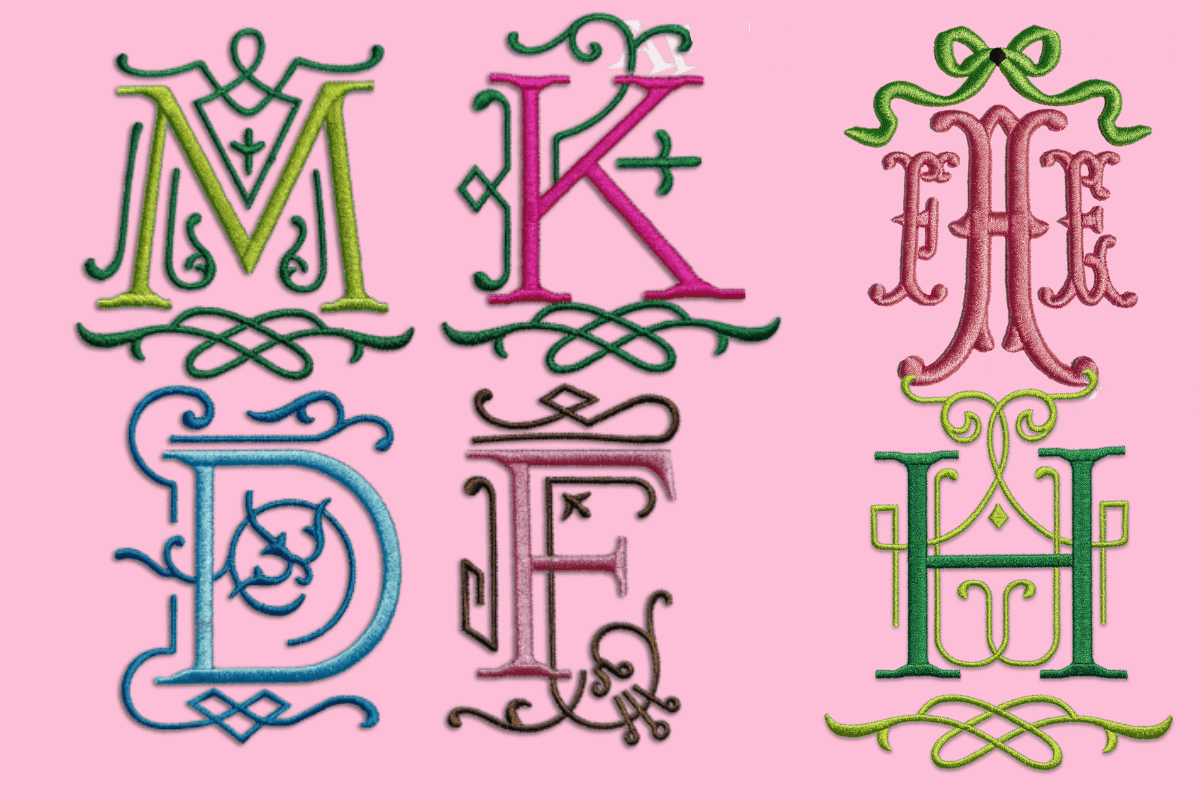
Highly ornate decorative fonts can produce stunning results when conditions are favorable, but they require careful digitizing and appropriate scale. Complex serifs, thin strokes, and intricate flourishes often break down at smaller sizes or on textured fabrics, resulting in muddy or indistinct lettering.
A practical guideline when selecting fonts for monogram embroidery: the more intricate the letterform, the larger it needs to be stitched to maintain legibility. For anything below one inch in height, simple and bold letterforms consistently outperform decorative ones.
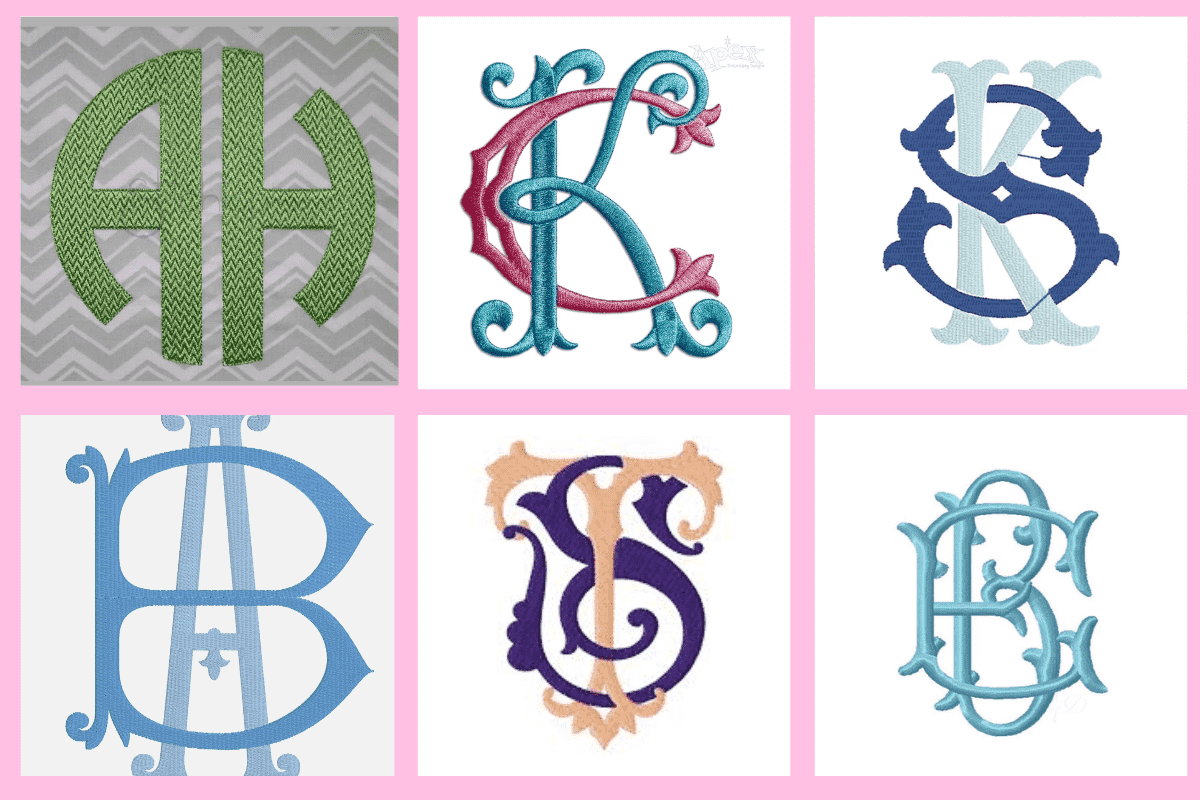
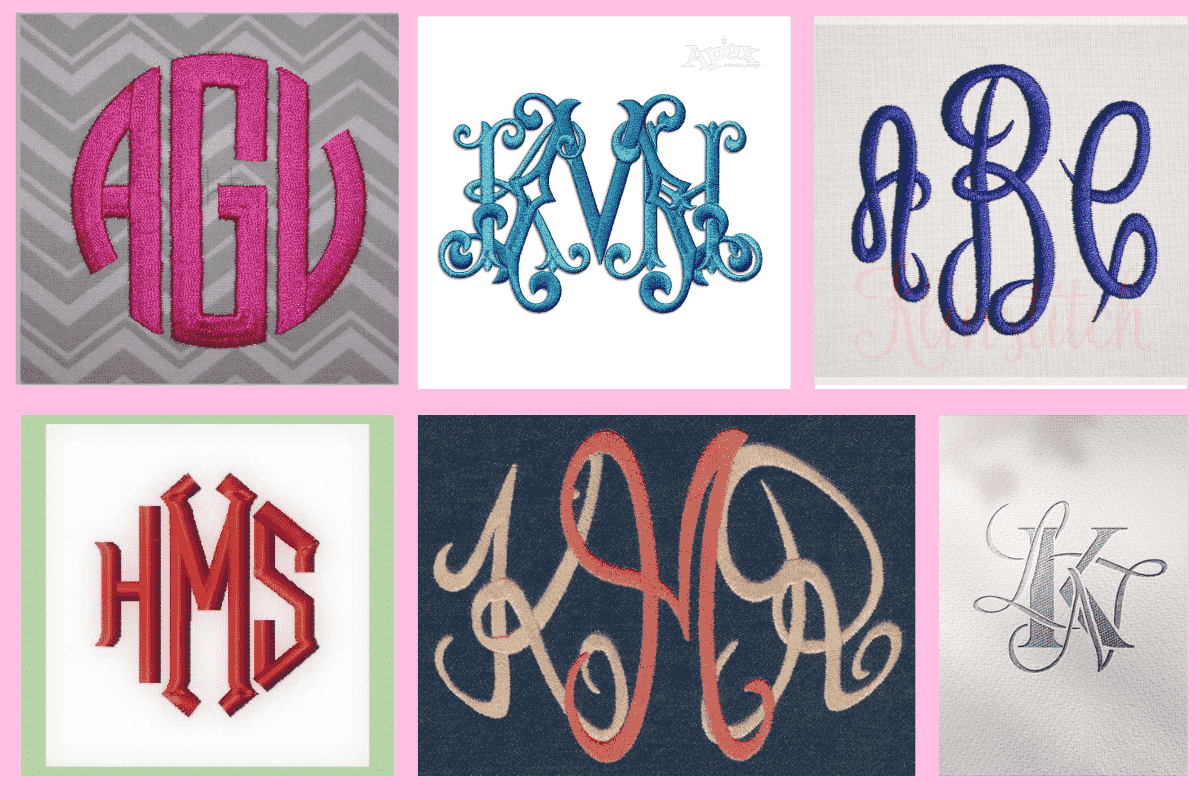
How to Design a Monogram for Embroidery
Designing a monogram properly requires more than placing letters side by side. Visual balance, proportion, and traditional formatting conventions all play a role.
For a three-letter traditional monogram, the last-name initial is placed at the center and rendered noticeably larger than the flanking initials. The first name initial appears to the left of center and the middle initial to the right. This is the arrangement that most people expect when they request a classic embroidered monogram.
Spacing between letters significantly affects readability. Letters that are too close together crowd the design and create stitching problems where thread from adjacent letters overlaps. Excessive spacing weakens the visual cohesion of the monogram. Aim for enough room between initials that each letter is clearly defined while still reading as a unified design.
Embroidery software with built-in monogram tools simplifies this process considerably. Programs such as Wilcom, Hatch, and Embrilliance offer dedicated monogram features with pre-built templates, spacing adjustment tools, and previews on fabric swatches. Even if you use software tools, understanding the design principles behind proper monogram formatting helps you make better decisions and troubleshoot results.
Preparing Your Fabric Before You Embroider Monograms
Fabric preparation is where many embroidery problems are either prevented or created. Taking the time to prepare correctly reduces errors, saves materials, and significantly improves the quality of the finished piece.
Pre-wash the fabric. Any fabric that might shrink should be washed and dried before embroidery. A monogram stitched on unwashed fabric may pucker, distort, or appear misaligned after the first launder.
Mark the placement accurately. Use a water-soluble fabric marker, chalk pencil, or removable embroidery pen to mark the center point of your design. Measure carefully from the edges and any seams to ensure the monogram sits exactly where intended. Recheck your measurements before committing.
Attach the stabilizer. Apply the appropriate stabilizer for your fabric type. For machine embroidery, this usually means adhering a tear-away or cut-away backing behind the fabric. For hand embroidery, you may work with an iron-on stabilizer or simply ensure your hoop tension is sufficient.
Hoop the fabric. Place the fabric and stabilizer in the hoop together. The material should sit flat, taut, and wrinkle-free. The grain of the fabric should run straight and square with the hoop edges. Avoid over-tightening to the point of distortion, but ensure there is no slack.
Checking these four preparation steps before every project builds reliable habits that produce consistently better results.
How to Embroider Monograms by Hand: Step-by-Step
Hand embroidery gives monograms an artisanal character that machine work cannot fully replicate. The process requires patience and attention to detail, but the results are deeply personal and often extraordinary.
Step 1: Transfer the Design
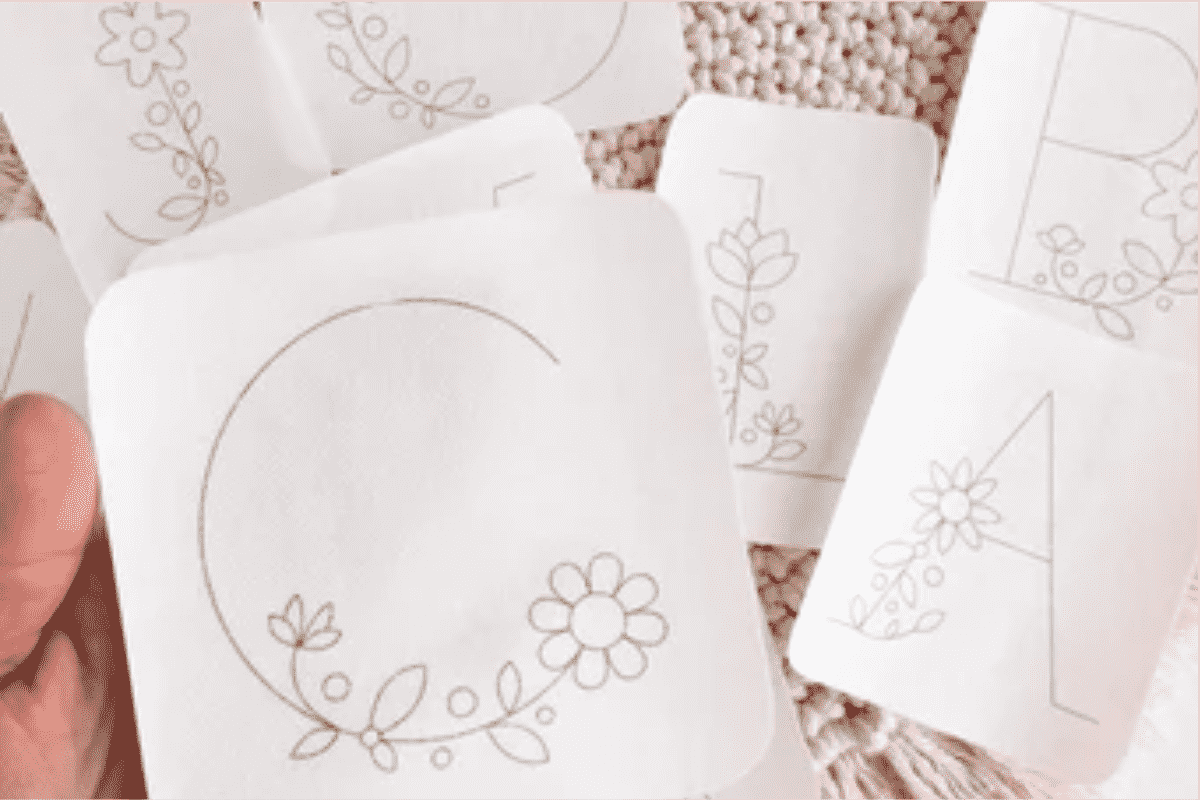
Begin by transferring your monogram design onto the fabric. Several effective methods are available:
- Place water-soluble transfer paper between a printed template and the fabric, then trace with a stylus or ballpoint pen.
- Use a light box or bright window to trace a design directly onto the fabric with a water-soluble marker.
- Apply a heat-transfer pen to the reverse of a printed template and iron it face-down onto the fabric.
Whatever method you choose, ensure the transferred lines are accurate and clearly visible without being so bold that they show through the stitching.
Step 2: Hoop the Fabric
Mount the fabric in your embroidery hoop with the transferred design centered and the fabric drum-tight. The inner hoop sits under the fabric, the outer hoop clamps over the top. Tighten the screw until the fabric cannot shift without deliberate force.
Step 3: Thread the Needle
For hand embroidery monograms, six-strand embroidery floss is the most common choice. Separate your floss into the number of strands appropriate for your design and fabric:
- Two to three strands produce fine, detailed lettering on lightweight fabrics.
- Four to six strands create bolder, more visible lettering on thicker materials.
Thread your needle and knot the end, or use a waste knot technique if you prefer a cleaner reverse side.
Step 4: Choose Your Stitch
The stitch you select shapes the entire look of the finished monogram.
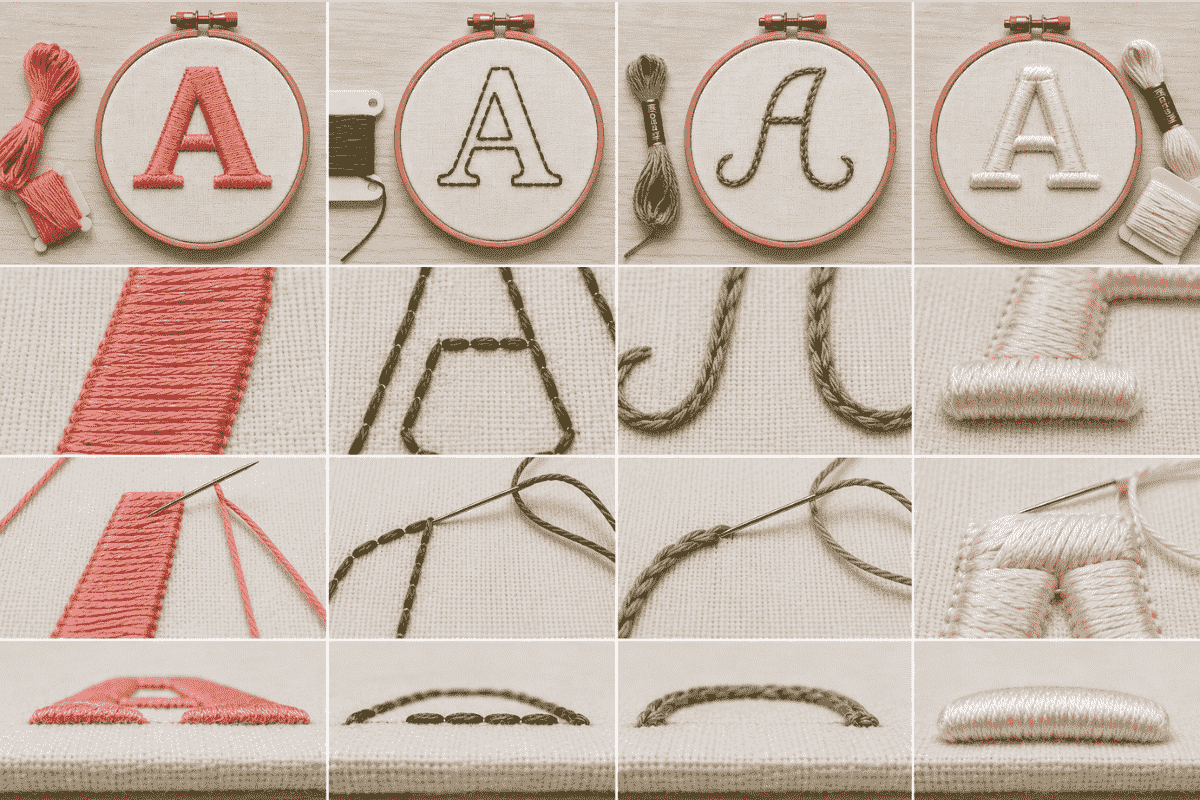
Satin stitch is the most popular choice for embroidered monograms. It fills each letter element with parallel threads laid side by side, producing smooth and solid coverage with a polished, almost woven appearance. Work your stitches at a consistent angle across each letter element, keeping the edges crisp and even.
Backstitch creates sharp, clearly defined outlines and is excellent for script fonts and any design where linear precision matters more than filled coverage. It also works well for smaller monograms where satin stitch coverage would crowd the design.
Stem stitch follows curves naturally and produces a slightly twisted rope-like line that suits flowing script perfectly. It is a particularly elegant choice for script-style initials.
Padded satin stitch adds dimension by laying a base layer of straight stitches beneath the satin stitch coverage. The result is a slightly raised, three-dimensional letter that catches light and appears more luxurious. This technique is used frequently in traditional heirloom embroidery.
Step 5: Stitch with Consistency
Work steadily, maintaining even tension on each stitch. Uneven tension creates lumpy or misshapen letters that reduce the professional appearance of the finished monogram. Work each letter element as a continuous unit before moving to the next, and keep your stitch angle consistent throughout.
At intersections and curves, slow down and take smaller stitches to maintain clean edges. This is where careful hand embroidery earns its reputation for precision.
Step 6: Finish and Clean
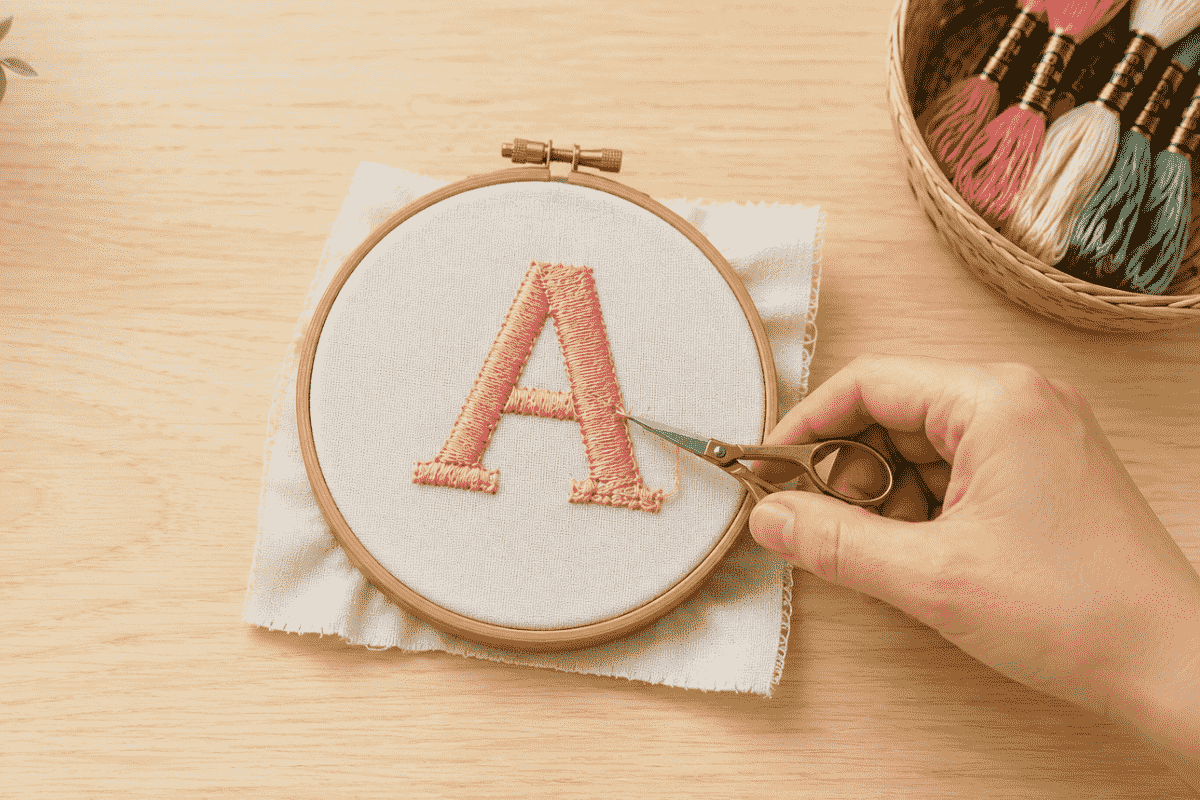
Once all letters are stitched, secure your thread on the reverse side with small whip stitches or weave the tail under existing stitches. Trim all thread tails neatly. Remove any visible transfer marks according to the manufacturer's method (usually water or heat), then press the finished embroidery gently from the reverse side with a pressing cloth to set the stitches.
How to Embroider Monograms with an Embroidery Machine
Machine embroidery makes it possible to produce professional-quality monograms efficiently and consistently, which is why it has become the standard for commercial embroidery work and increasingly popular among serious hobbyists.
Design Selection and Digitizing
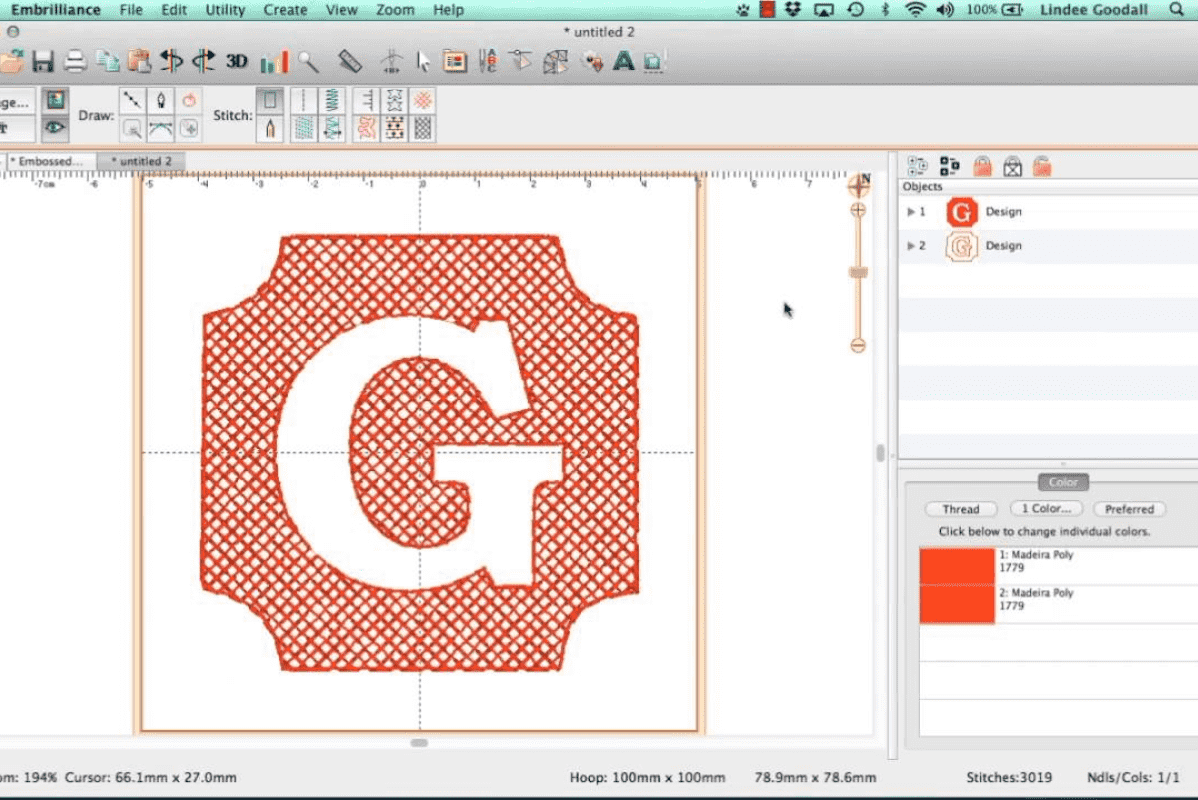
Start with a properly digitized monogram design. Most embroidery machines come with built-in monogram fonts, and many embroidery software packages offer dedicated lettering tools that allow you to type initials, select a font, adjust size and spacing, and export a ready-to-stitch file.
If you are using a custom font or complex decorative design, professional digitizing services can convert artwork into stitch-ready files. The quality of digitizing has a significant effect on output quality, particularly for lettering, where density, underlay, and pull compensation must all be calibrated correctly.
File Transfer and Machine Setup
Load your embroidery file onto the machine via USB drive, direct cable connection, or wireless transfer depending on your equipment. Thread the machine with your chosen embroidery thread and select the correct bobbin thread, typically a lightweight white or matching bobbin thread.
Verify that the needle is the correct type and gauge for your fabric, and confirm the stabilizer is properly applied to the material.
Test Stitching
Before embroidering the actual garment or item, always run a test stitch on a scrap of the same fabric type using the same stabilizer. A test stitch reveals problems with design size, density, thread tension, and hooping that would otherwise damage the final piece. Make any needed adjustments before proceeding.
Embroidering the Final Item
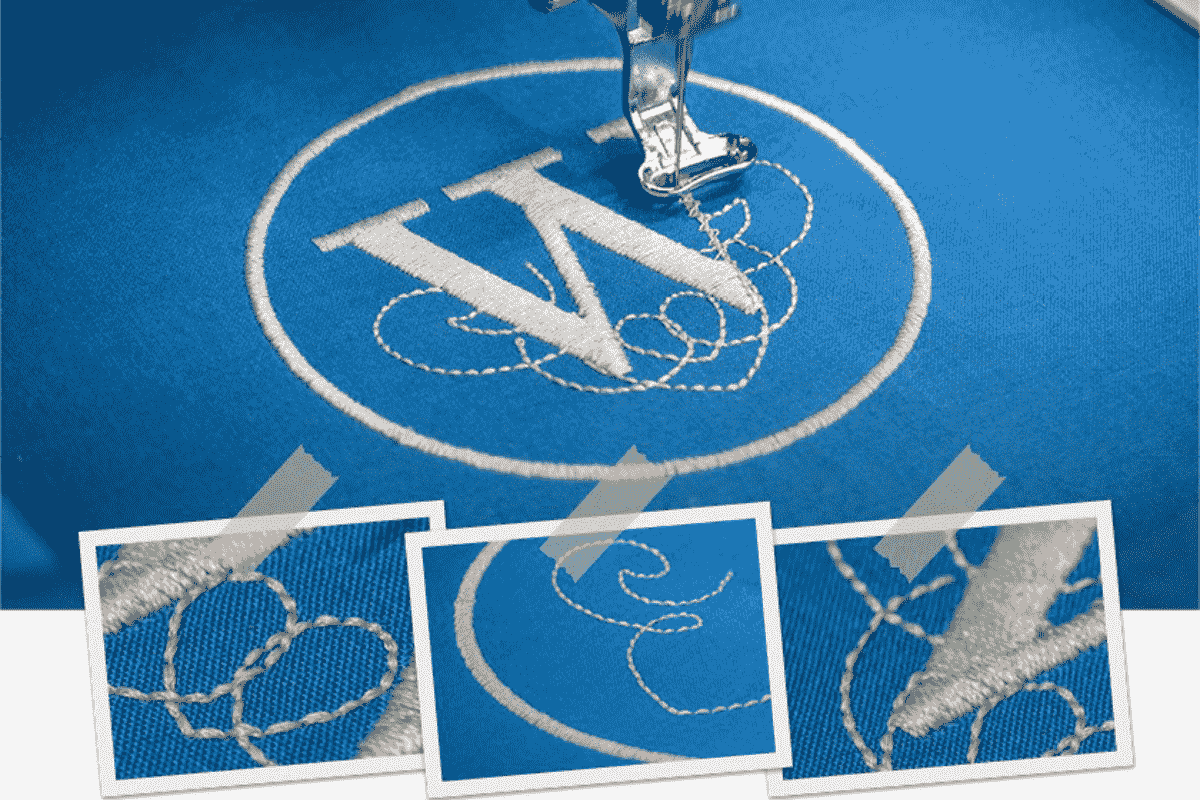
Hoop the item with its stabilizer. Load the design and position it using the machine's center-finding and edge-detection tools if available. Run the embroidery file, monitoring the process for thread breaks, bobbin issues, or fabric shifting. Address any problems immediately rather than allowing the machine to continue stitching over an error.
After stitching is complete, trim jump threads, remove stabilizer according to type, and press from the reverse if needed.
The Best Embroidery Stitches for Monograms
Choosing the right stitch for your design and fabric type is as important as choosing the right font. Here is a concise reference for the most useful monogram stitches:
Satin stitch: The standard for filled monogram lettering. Creates dense, smooth coverage. Works best on letters wider than 3mm. The signature stitch of polished monogram embroidery.
Padded satin stitch: A raised variation of satin stitch. A padding layer is stitched first, then covered with satin stitch. Adds dimension and a handcrafted luxury quality.
Fill stitch (tatami or seed stitch in machine embroidery): Used for large letterforms where satin stitch would create too much thread buildup. Patterned rows of stitching fill large areas without distorting the fabric.
Backstitch: A versatile outline stitch for hand embroidery. Sharp and precise. Works well on any letter size and is especially useful for simple, elegant monograms.
Stem stitch: The go-to stitch for script lettering in hand embroidery. Follows curves naturally and produces a slightly raised, twisted line that complements flowing script beautifully.
Chain stitch: Creates a textured, looped line that adds visual depth and a decorative quality. Popular in traditional and folk-style embroidery.
Running stitch: A minimal, clean stitch that creates a simple dashed outline. Suits contemporary and understated monogram designs.
How to Embroider Monograms on Different Items
The fabric type and structure of each item requires specific adjustments to your approach. Here is how to handle the most commonly monogrammed items.
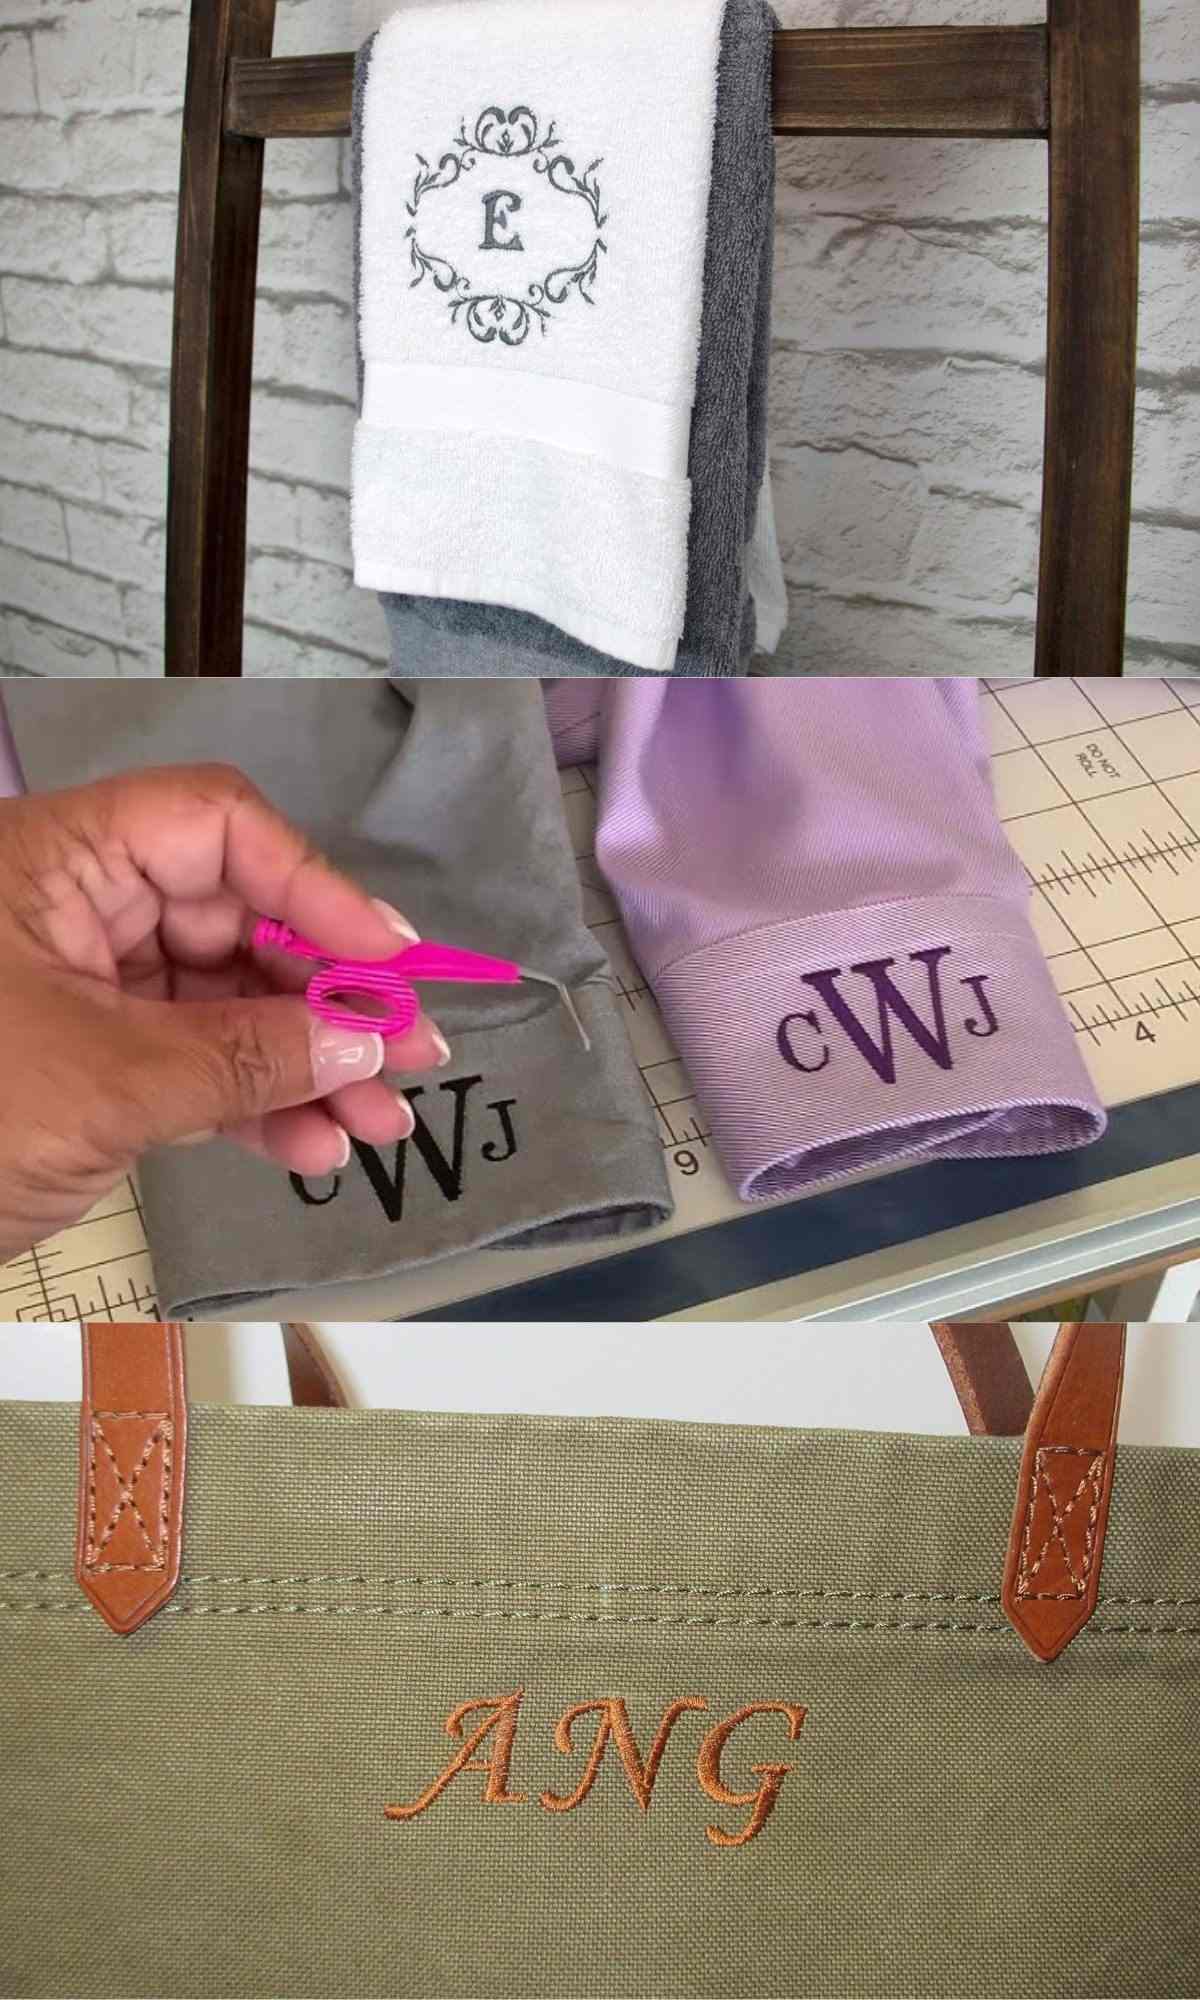
How to Embroider Monograms on Towels
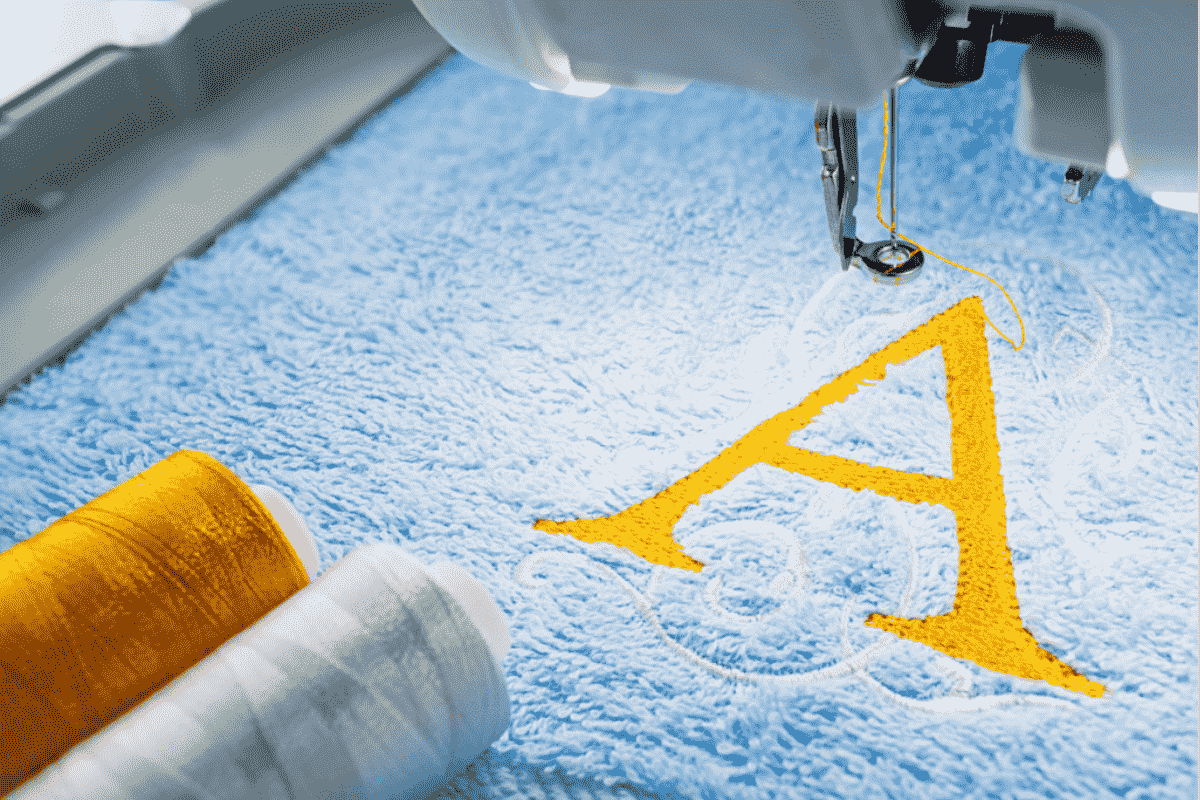
Towels are among the most requested items for monogram embroidery but present a specific challenge: the looped pile fabric creates an uneven surface that can swallow stitches.
The solution is a water-soluble topping placed on top of the towel before embroidery. This topping creates a smooth surface that the needle passes through cleanly, preventing stitches from sinking into the loops. Once embroidery is complete, the topping dissolves in water, leaving the stitching sitting on top of the pile.
Place monograms on towels near one corner or centered above the decorative border. Use a satin stitch with good density to ensure letters stand out against the textured background. Larger font sizes read more clearly on terry fabric than smaller ones. A cut-away stabilizer on the reverse provides lasting support through repeated washing.
How to Embroider Monograms on Shirts
Shirt monograms are traditionally positioned at the chest, cuff, or collar. Each placement creates a different effect: chest monograms make a visible personal statement, cuff monograms appear when a jacket sleeve slides back, and collar monograms are a discreet mark of personalization visible only when a top button is open.
Lightweight dress shirt fabric requires a lightweight tear-away or no-show mesh stabilizer to prevent the backing from showing through the fabric or adding unwanted stiffness. Satin-stitched letters in a refined script font are the classic choice for dress shirts. Keep the design smaller and more understated than you might for a towel or tote bag. A monogram that overwhelms a shirt front looks more like a logo than a personal touch.
Measure placement precisely. An embroidered monogram on a shirt that sits slightly off-center or lopsided undermines the entire effect regardless of stitching quality.
How to Embroider Monograms on Tote Bags
Canvas tote bags offer a forgiving surface for monogram embroidery and generous design real estate. The firm weave of canvas holds stitches well and hoops without distortion.
Position monograms at the center of the bag front, offset to one side for a contemporary feel, or in the upper area near the handles. Larger, bolder monogram designs tend to look proportionate on tote bags because the bag's scale can carry them. Block fonts and large script initials both read well.
Use a tear-away stabilizer for standard canvas. For printed or coated canvas bags, test stabilizer adhesion on a corner before hooping the actual bag.
Common Mistakes When Embroidering Monograms and How to Avoid Them

Most embroidery problems have identifiable causes and straightforward solutions. These are the most common errors made when learning to embroider monograms.
Choosing a font that is too small. Intricate letterforms at small sizes lose their definition during stitching. Thin strokes merge, details disappear, and the overall effect looks muddy. When in doubt, increase the size or simplify the font.
Using the wrong stabilizer. A stabilizer that is too light for the fabric allows movement and causes puckering. A stabilizer that is too heavy creates stiffness and affects the garment's drape. Match the stabilizer to the fabric weight and stretch.
Skipping the test stitch. Stitching directly on the final item without testing is one of the costliest shortcuts in embroidery. A test stitch on a scrap of matching fabric catches problems before they ruin an irreplaceable item.
Loose hooping. A hoop that allows the fabric to shift during stitching causes registration errors, misaligned letters, and inconsistent density. Re-hoop if the fabric has any slack before beginning.
Incorrect needle selection. Using a sharp needle on knit fabric creates runs and holes. Using a ballpoint needle on tightly woven fabric causes skipped stitches. Always match the needle type to the fabric.
Poor placement measurement. Measuring once and assuming is risky. Measure from at least two reference points (for example, the center front and the collar seam) before marking a placement point, and recheck before hooping.
Overcomplicating the design. A single, well-executed initial in a beautiful font often produces a more elegant finished piece than an elaborate multi-element design. Restraint is a professional quality.
Professional Tips for Flawless Monogram Embroidery
These are the habits and practices that separate consistently excellent monogram embroidery from inconsistent results.
Invest in quality thread. Premium embroidery thread breaks less frequently, produces smoother coverage, and maintains its color through washing better than budget alternatives. The thread is visible in the finished product in a way that stabilizers and needles are not.
Digitize specifically for lettering. General-purpose embroidery files are not optimized for the demands of monogram stitching. Letter-specific digitizing accounts for underlay, pull compensation, density adjustments for curves and corners, and the start-end sequence of each letter element. When purchasing or creating embroidery files, verify that the digitizing was designed specifically for lettering rather than adapted from a general design file.
Mind the grain. Align your monogram with the straight grain of the fabric. A design that is even slightly off-grain can appear crooked even when placement measurements are technically correct.
Maintain your equipment. Change needles every eight to ten hours of machine stitching or at the start of every major project. Keep the machine cleaned, oiled, and correctly tensioned. A well-maintained machine produces noticeably better results than a neglected one.
Use a pressing cloth for finishing. Pressing the reverse side of completed embroidery with a pressing cloth and a medium iron relaxes the fabric and stitches, reduces any slight puckering, and gives the finished piece a professional appearance.
Practice consistency above everything else. The detail that most distinguishes professional monogram embroidery from amateur work is consistency: consistent tension, consistent stitch density, consistent placement, consistent finishing. Developing these habits through deliberate repetition is more valuable than any single tip or technique.
Frequently Asked Questions About How to Embroider Monograms
What is the easiest stitch for embroidering a monogram?
Backstitch is the most accessible stitch for beginners attempting hand-embroidered monograms. It creates clean, well-defined lettering with relatively simple technique. Satin stitch produces a more polished, filled appearance but requires more practice to execute evenly.
What size should a monogram be for embroidery?
This depends on the item. For dress shirt chest placement, one to two inches in height is standard. Cuff monograms are typically half an inch to one inch. Towel monograms are often two to four inches. Tote bags can carry monograms ranging from two inches to much larger. When in doubt, scale to the item and the placement area, ensuring the design is proportionate rather than overwhelming.
Do I need embroidery software to embroider monograms?
For machine embroidery, yes. You need either a design file from a font your machine supports natively, a file purchased or downloaded from an embroidery design source, or software that lets you create and digitize your own. For hand embroidery, software is not required. You can print a template from any word processor or font tool and transfer it to fabric manually.
What thread works best for monogram embroidery?
Rayon thread produces the most luminous, decorative finish. Polyester thread is more durable and better suited to frequently washed items. Cotton thread creates a softer, more traditional look. For most beginner projects, a quality 40-weight polyester embroidery thread is a practical starting point.
How do you keep a monogram from puckering?
Puckering is almost always caused by inadequate stabilization, loose hooping, or incorrect thread tension. Use the stabilizer matched to your fabric type, hoop firmly and evenly, and check machine tension with a test stitch on a matching scrap before working on the final item.
Can any embroidery machine embroider monograms?
Most modern home and commercial embroidery machines can embroider monograms. Entry-level machines often include built-in monogram fonts. More advanced machines and software offer greater font variety, sizing flexibility, and design customization. Check your machine's included fonts and hoop sizes before purchasing additional software or designs.
Where should a monogram be placed on a towel?
The most traditional placement is centered above the decorative border of the towel, or positioned in one corner. Corner placement allows the monogram to remain visible when the towel is folded and displayed on a rack.
Conclusion
Learning how to embroider monograms is a skill that rewards every hour of practice. Whether you are working by hand with a hoop and a needle or producing consistent output with an embroidery machine, the fundamentals remain the same: quality materials, proper preparation, thoughtful design choices, and careful execution.
From choosing a font that stitches cleanly at your required size to selecting the right stabilizer for your fabric, each decision contributes to the final result. Master these decisions one by one, and what once seemed like a complex craft quickly becomes an intuitive process.
A well-executed monogram does something no printed label or mass-produced marking can accomplish. It communicates craftsmanship. It signals that someone invested time, skill, and attention into making something specific for a specific person. That is why embroidered monograms have remained in demand across centuries, and why mastering this skill continues to be one of the most valuable investments an embroiderer can make.
Start with a quality fabric, a well-digitized or carefully transferred design, and the correct stabilizer. Practice your tension and hooping. Run a test stitch before committing to the final piece. Repeat the process, and the results will speak for themselves.