Hidden

Turn any picture into a Svg Design. Send us a photo, we'll turn it into a Custom Svg File!
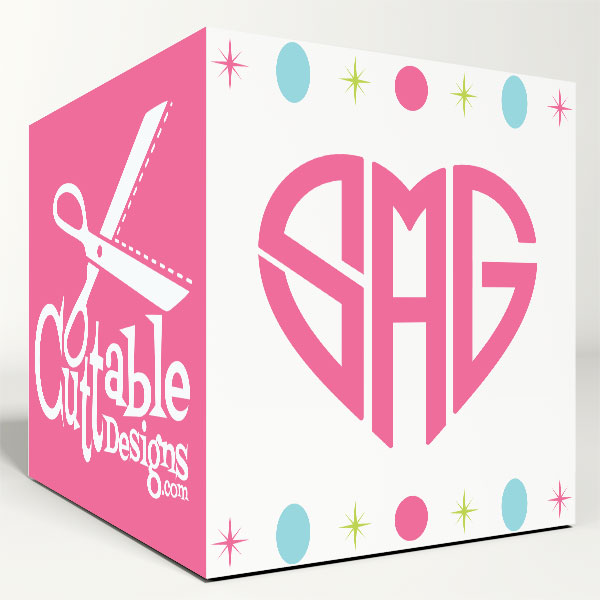
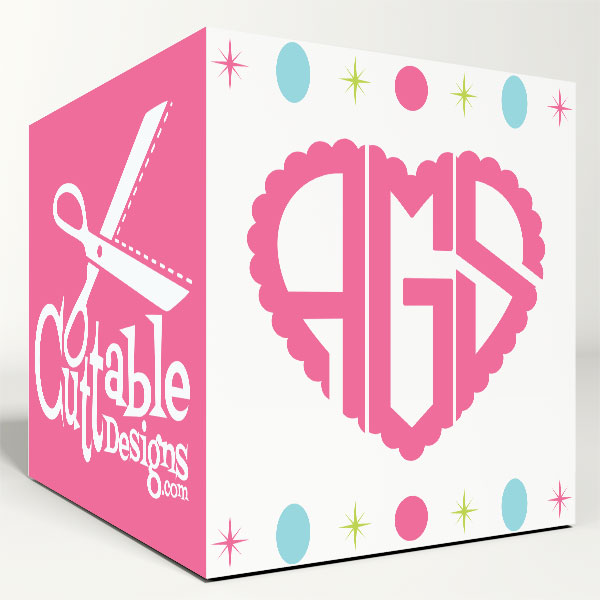
In this tutorial, you will learn how to merge a Heart Monogram Cuttable Font and put them into a heart-shaped frames using Cricut Design Space. It’s perfect for your Valentine’s Day or Wedding projects. At Apex Cuttable Designs, we have two heart-shaped 3-letter monogram fonts and a various collection of heart-shaped frames. We will be using the Heart Monogram Cuttable Font and our FREE pack of Heart Laurel Wreath Cuttable Frames.


After downloading and unzipping files, you will see the SVG folder containing SVG files in upload to Cricut.
Next, select all the letters and frames you've just uploaded and click ‘Insert Images’.

Move the frames aside and enlarge/zoom out the monogram letters to you can see and adjust them easily.

Rearrange the letters so they look pretty like a heart shape. Select all the letters, click ‘Align’ on the top toolbar, and choose ‘Align Top’. This alignment will make sure that the 2 side letters are symmetric.

Now, you can move the center letter a little bit downward and adjust it so that it is in the middle of 2 side letters and the monogram look like a perfect heart. Don’t forget to enlarge/zoom out if you need see it better.

Once it looks somehow good enough, select all the letters and hit ‘Attach’ them to lock them together, also they will be cut them on the same mat. This will change all the letter into one color.
The monogram will be fitted into the frame. Therefore, the size of your design will be the size of the frame. We want to make a 4” wide decal. So we choose the frame and click ‘Edit’ then change the width value to 4 (make sure that the lock icon is locked).

Now move your monogram to the center of the frame and resize it until you’re happy with its look. You can select them both and choose ‘Align Horizontally’ for a perfect alignment.
You can cut the frame and the monogram separately and layer them after cutting. Or you can ‘Attach’ them together and cut on the same mat for a monochrome project.
Voila! Here’s the finished look of your beautiful project for your loved ones. We hope you find this tutorial useful.