 Hi! I’m Kristin from Sweet Whimsy and I am excited to team up with Apex Embroidery to bring you Stabilizer 101. Stabilizers are one of the most frustrating aspects of learning to embroider and appliqué, but oh so necessary! When I first started out, I bought one kind of stabilizer (a tear away I think) and used it on every project!
Needless to say my projects weren’t all successes! Over time I realized that all the talk about which stabilizer is right for the fabric and stitch count was actually something I needed to take into account! So then began a long and confusing learning process with a lot of trial and error. A little too much error for my taste! I hope that you will benefit from my errors and this information will teach you which stabilizers to keep on hand and when to use them, in an easy to digest way. If you are more of a visual learner, check the video below.
The Basics
You will find there are many types of stabilizers used for machine embroidery and variations of every type, so when you go out to the store, it can get very confusing very quickly. I am going to show you the 4 most commonly used stabilizers and explain in what situations that you would use them. When you are starting out, these should be all you need. So, when you are ready to make a purchase, bring your list and put on your blinders!
CUTAWAY

Mesh on left, Medium weight on right
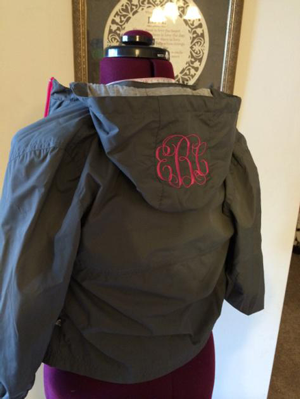
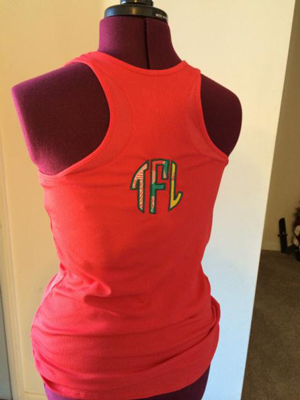
The stabilizer that you will probably use the most is called a cutaway. It is called cutaway because you cutaway the excess stabilizer from the back of the project after the design is finished. It is a good choice for most designs and fabrics and because some remains behind the stitches after the excess is trimmed, it continues to support the stitches after washing. We use Cutaway on any apparel that has stretch like Polos and Tees
Types:
- Medium weight cutaway works best with dense designs such as designs with fill stitches.
- Mesh cutaway comes in white, black and nude and works well with light colored and lighter weight fabrics because it won’t show through or affect the drape of the fabric. It will work with all but the densest designs.
Tip - use fusible mesh on knit fabrics to keep the shirt from stretching during hooping!
Tip - Use two pieces of cutaway if the design is over 10,000 stitch also rotate one of the pieces 90 degrees so the fibers are opposite

Paper Tearaway
TEARAWAY
Another common type of stabilizer is tearaway. It’s called tearaway because you tear away the excess stabilizer from the back of your project. Tearaways work great on less dense designs such as monograms or outline designs. We Use Tearaway of any project that does not stretch Hats, Denim, Button up shirts and Bags or Canvas.
Types:
Tears away easily
- Paper tearaway tears away cleanly from the back of your designs, so if the back of your design will show, the paper tearaway is your best choice.
- Soft tearaway is just a softer version of the original paper tearaway and therefore may leave itchy, fuzzy edges after it’s been torn away. However, the softer tearaway can withstand a slightly higher stitch count. Keep in mind, though, if you have a very dense design, use a cutaway.
Tip - Save large pieces of excess tear away after you have torn it away. It can be used to easily remove water soluble topping from fabrics. See the Water Soluble section for more information on this method of removal.
STICKY

Peel Away Backing
Another common type of stabilizer is the sticky stabilizer. Stickys work best on small or hard to hoop items. Technically, there are 2 types of sticky stabilizer, but honestly you can use a spray adhesive to make any stabilizer a sticky stabilizer. This may be a more cost effective way to go, especially if you don’t plan to use this type of stabilizer a lot. Also, since cutaways are best for dense designs, it would be better to use a spray adhesive on cutaway to make it sticky rather than using an actual sticky stabilizer which won’t stabilize the dense design as well.
Types:
- Water activated is hooped dry and then a small amount of water is painted on using a foam paintbrush.
- Peel away backing is hooped with or without the backing attached. You would just make that decision based on personal preference and what will work best for your particular project. If the sticky is hooped with the backing attached, after it is hooped, you can score the backing in an X shape with a straight pin to make it easier to peel away.
Peel away backing
If you hoop it after the backing is removed, lay your top hoop on top of the sticky, place it in the bottom hoop, then fold over the corners of the sticky to stick it to itself and secure it in the hoop.


Tip - Some stickys have a tendency to gum up your needle, especially the cheaper versions and those made with spray adhesive. If this happens, simply remove the residue with an alcohol wipe. You can always prevent this mess by adding a drop of Sewers Aid to your needle before embroidering on a sticky stabilizer.
Bonus Tip - When using a spray adhesive, put your cut piece of stabilizer in a cardboard box lid (or just go outside!) to spray it. The spray tends to go everywhere and the last thing you need is a sticky sewing machine!
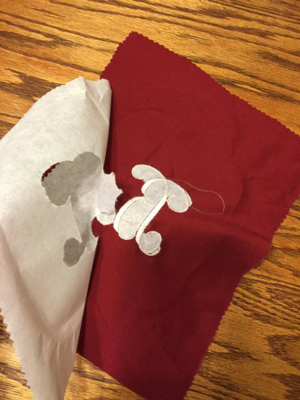
WATER SOLUBLE
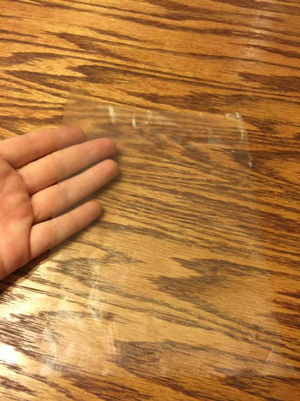
Film… look closely!
The last type of stabilizer that we are going to discuss is water soluble. It is call water soluble because the excess stabilizer is completely dissolved in water after the stitching is complete. This is necessary for use on sheer fabrics with light embroidery, creating designs with cutouts, making patches that need a clean satin stitched edge, and for making free standing lace.
Types:
- Fibrous is used most often for free standing lace. You can use one or two layers of the fibrous (depending on how dense your design is). This is one of the only cases where you may need to use more than one layer of a stabilizer. Just make sure that your design is digitized specifically to be a free standing lace or it will just pull apart as soon as the stabilizer is dissolved.
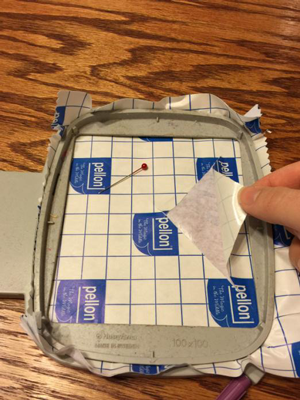
- Film is really more of a topper than a stabilizer, because it is placed on top of the fabric (in conjunction with another type of stabilizer below the fabric) and does not act to stabilize the project. However, it is very important and used so often that I wanted to include it. You would use the film topper on top of fabrics with high pile or nap such as terry cloth and fleece to keep the stitches from sinking into the fabric while it is being stitched. Afterwards, you remove the topper by peeling away the excess from the top then using water to dissolve the rest. This can be used with whichever type of stabilizer you have chosen for your project.
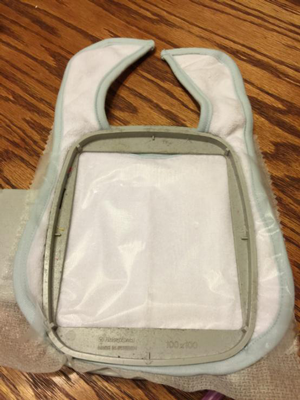
B. The Topper
“sandwich” hooped

A. Cutaway, fabric,
Topper
Note: A topper was chosen because this bib is made with terrycloth.
Tip - Water soluble stabilizer can be removed by spraying with a water bottle, using the steam setting on your iron, or washing in your washing machine. Remember the tearaway tip from earlier in the post? Here is where it comes into play. When using your iron to remove water soluble stabilizer, put a piece of tearway on top of the water soluble then hit it with your iron and plenty of steam. The excess goo from the water soluble will stick to your tearway and leave your project clean and mostly dry!
Bonus Tip - This may be obvious, but I want to say it anyway. Make sure that your fabric can be washed or gotten wet before using a water soluble stabilizer. This would not be appropriate on fabrics like silk or ones that are dry clean only. Ask me how I know.
Now It’s Your Turn!

Whew! That was a ton of info, but hopefully, you have a little more understanding of when to use which stabilizer. Also, check out the chart below. It is an easy way to choose which stabilizer to use based on what fabric you are using and the design density. I would suggest printing it out to keep for quick reference. Please note that Sticky and Water Soluble stabilizer is chosen based on your particular project and not necessarily due to what fabric you are using, so I did not include those in the chart.
Don’t be afraid to experiment and make mistakes. That’s how you learn. Oh, and don’t forget to have fun!
| Fabric | Stabilizer | Design Density |
|---|---|---|
| Broadcloth | Cutaway | Light |
| Burlap | Cutaway | Dense |
| Canvas | Cutaway | Either |
| Cutaway | Dense | |
| Denim | Cutaway | Either |
| Felt | Cutaway or Tearaway | Either |
| Flannel | Cutaway | Either |
| Fleece | Cutaway or Tearaway | Either |
| Jersey Knit | Cutaway | Light |
| Leather | Cutaway | Light |
| Linen | Cutaway | Light |
| Minkee | Cutaway | Dense |
| Muslin | Cutaway or Tearaway | Either |
| Neoprene | Cutaway | Either |
| Nylon | Cutaway | Light |
| PUL | Cutaway | Dense |
| Quilter's Cotton | Tearaway | Light |
| Ribbon | Cutaway | Light |
| Satin | Cutaway or Tearaway | Light |
| Silk | Cutaway or Tearaway | Either |
| Sweater Knit | Cutaway | Either |
| T-shirt | Cutaway | Either |
| Terrycloth | Cutaway | Either |
| Tulle | Water Soluble | Light |
| Velour | Cutaway | Dense |
| Vinyl | Cutaway | Light |
| Waffle Weave | Cutaway | Dense |