Personalized embroidered pocket t-shirts are so cute, and so popular!
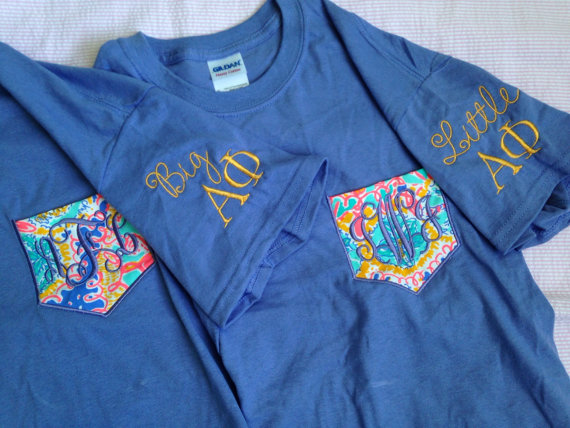
Applique Pocket T-Shirts for Sorority Big-Little Sister Pairs
The bond between a Big and Little sorority sister is special and unique — honor it with matching Big and Little shirts!
This cute project can be customized for each sorority. Personalize with the sorority's color, symbols and collegiate Greek letters. The best part? You can embroider it all!
One of our great customers created these stylish applique-pocket shirts, complete with monograms on the pocket and embroidery on the sleeves.
What you will need for this project:
- Plain t-shirt (you will sew on the pocket — check out the tutorial below!)
- Monogram font
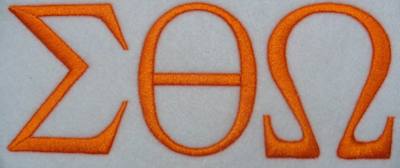
- Greek font
To make the pocket:
- At least a five-inch square of fabric (one for each shirt)
- Iron (helpful for making the pocket)
- Or, use our applique design for pocket t-shirts. Comes with 10 sizes.
Embroidered Pocket T-shirt Tutorial — Make Your Own Pocket
Learn how to make your own customized embroidered frocket. In this tutorial, we'll create shirts for Big-Little sorority sister pairs.
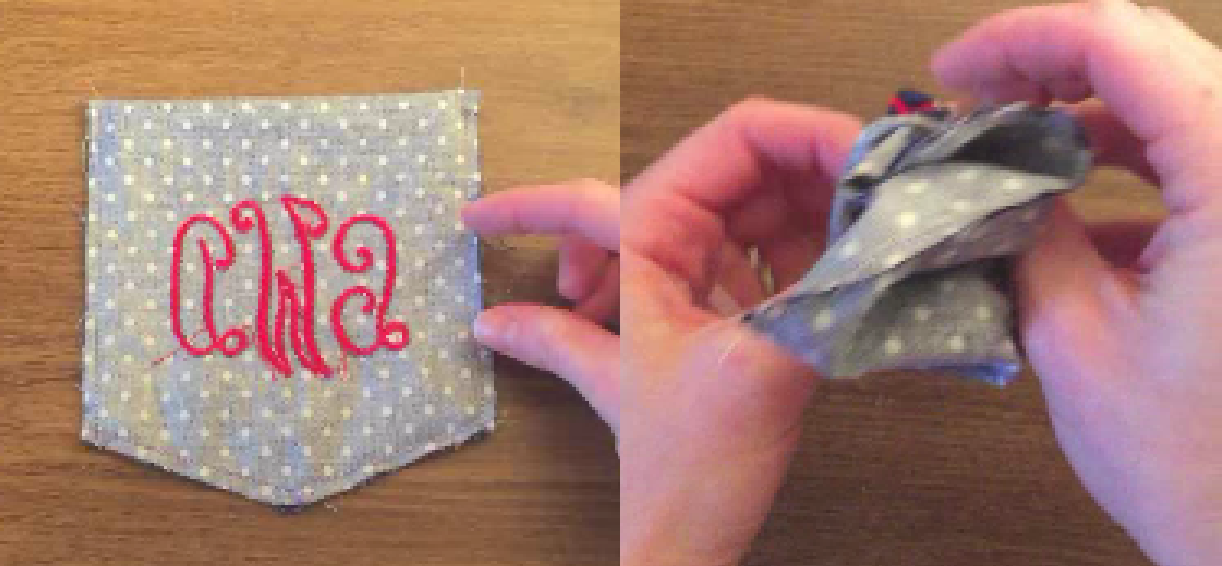
- Take your 5-inch square of material and fold down the top 1 inch. Press and sew.
- Fold halfway lengthwise and mark the center of the fabric (this will help you place your monogram or design).
- Fold and press the sides, leaving a half-inch seam on each side so you can easily sew to the t-shirt.
- To create the bottom of the pocket, locate the center of the piece of fabric at the bottom of the square. This will be the bottom point of the pocket. Fold each bottom corner of the square on a slight upward angle to create your pocket shape (each fold will make a triangle). Press the fabric.
- Sew the design or monogram fully on the separate material before attaching to the t-shirt.
- If possible, pin the pocket on a mannequin or human model to ensure proper location on the garment.
- Sew the pocket to the shirt. Begin on one side, then follow along the two bottom edges to the next side. Use a thin or thick seam, depending on personal preference and style of the shirt.
- Don't forget the sleeve! You could do a straightforward embroidery here, or even add another applique patch. Your options are open to your creativity!
In the sample photo, the following fonts were used:
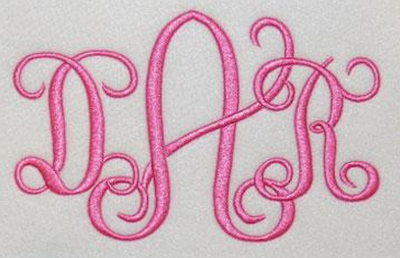
Vine Interlocking embroidery font
Check out all of our great Greek embroidery fonts and embroidery monogram fonts to customize your shirts.
Need a specific design or sorority symbol? Our embroidery designs page has a wide selection, or you can get a custom design through embroidery design digitizing.
Pocket T-Shirt Tutorial with Pictures
Materials Needed for Pocket T-Shirt:
- Cotton T-Shirt
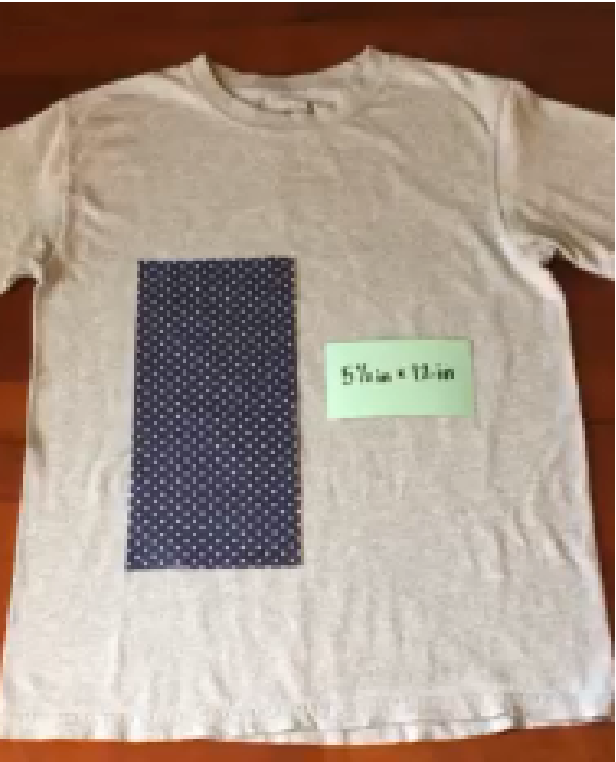
- Piece of fabric for Pocket measuring at least 5.5x12 inches
- Monogram Pillow Small Font from Apex Embroidery
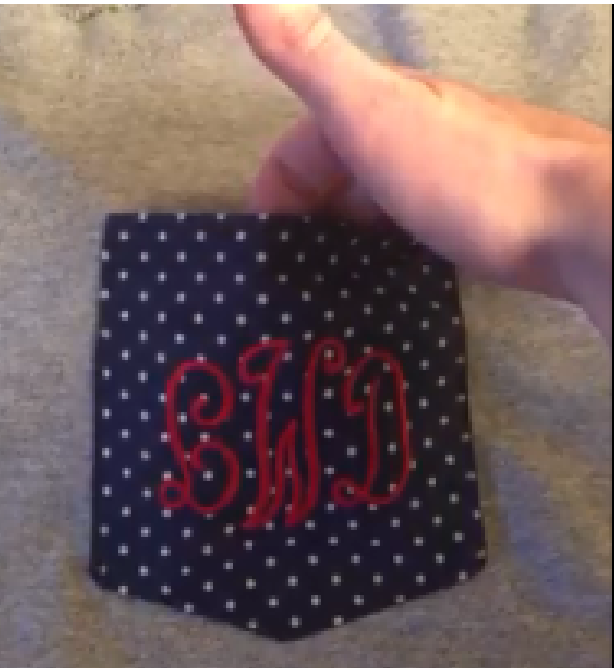
Finished Pocket T-Shirt
- Cut your fabric that you want to use for your pocket to measure 5.5x12 inches.
- Fold your fabric in half so that the folded piece measures 5.5x6 inches with right sides facing out.
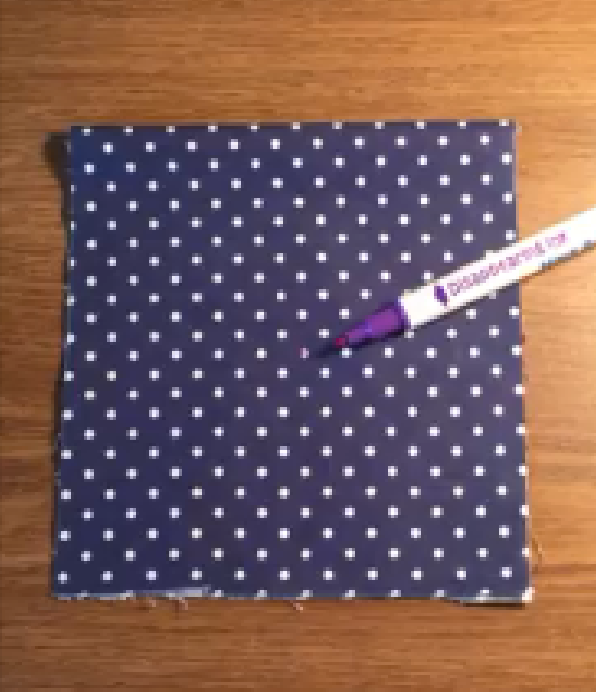
- Mark the center of your folded piece of fabric so that you have a guide for the monogram
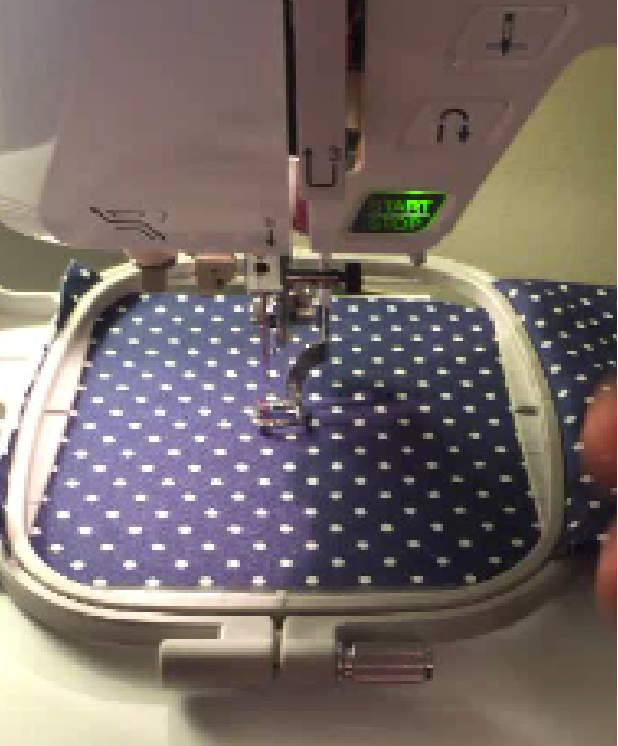
- Place your fabric in the embroidery hoop and monogram with desired font. It is best to use a stabilizer behind your monogram. Check out the Machine Embroidery Stabilizer 101 video or tutorial page for more information on choosing the best stabilizer. In the tutorial, the pillow small embroidery font was used from Apexembdesigns.com for the pocket monogram.
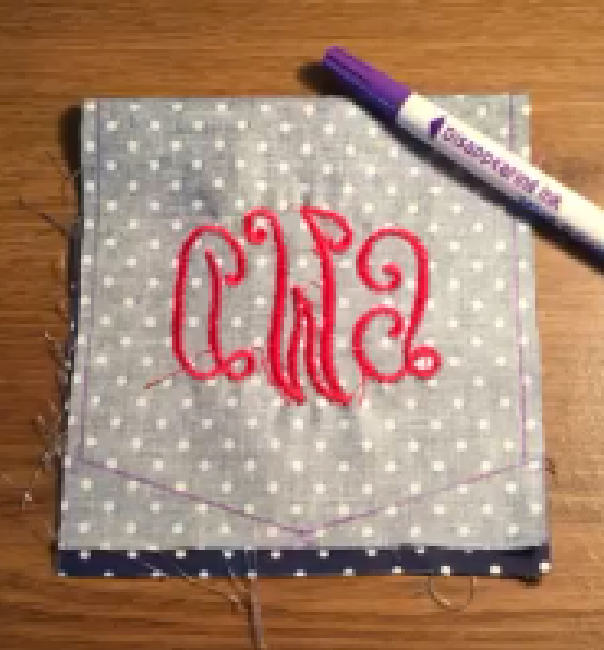
- Once you have your monogram complete, fold your pocket in half so that is measures 5.5x6 inches and you want the right sides facing inward. Draw the basic outline of the shape you want your pocket to be on the wrong side of the material. Feel free to use any shape for the pocket
- Next you want to straight stitch the edges of the pocket where you have drawn your pocket outline. Do not sew on the folded side of the fabric. Leave a 1 inch gap on one side of the pocket so it leaves room to turn your pocket right side out.
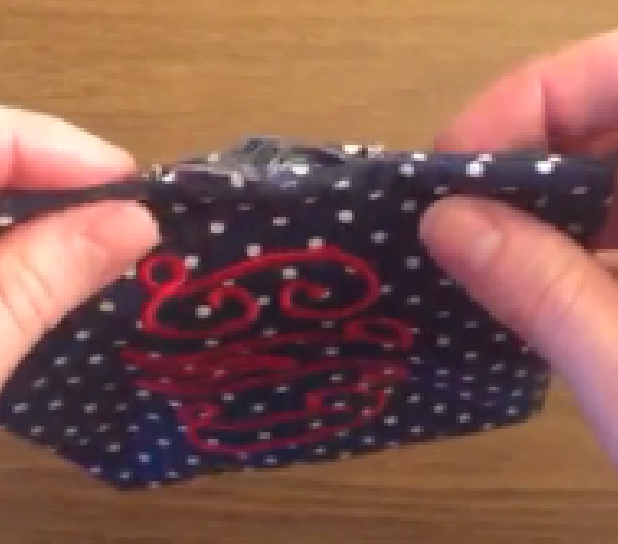
- Once you have your pocket turned right side out, tuck the seams of the area with the 1 inch gap. Take an iron and press the pocket so that all the edges lay flat.
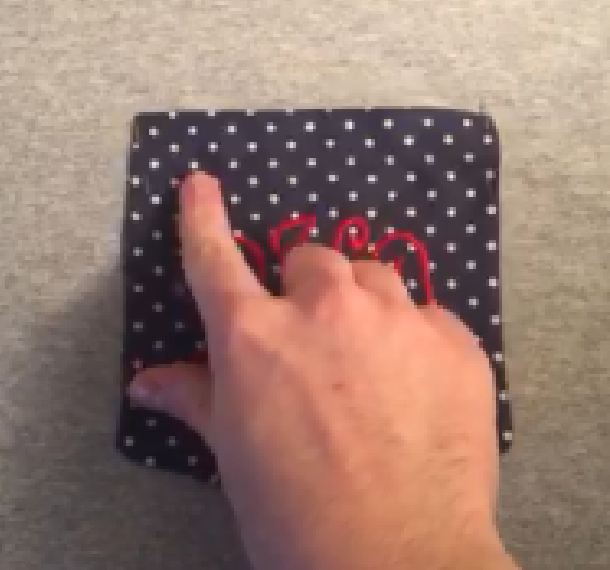
- Before sewing your pocket onto the T-Shirt, you can stitch a straight stitch across the top of the pocket above the monogram to resemble a typical pocket on a shirt. This step is optional.
- Your pocket is now ready to be sewn onto your T-Shirt. Pin your pocket into place as desired on your T-Shirt. It is recommended to try on your shirt before sewing the pocket in place to make sure positioning looks good.
- When you have the pocket perfectly placed, sew a straight stitch down the left, right and bottom edges of your pocket. It helps to go over the upper left and right corners with a reverse or second straight stitch to provide more durability for the pocket.